
Weiser 9GACS74510-018
Weiser Fairfax Smart Key ulaz i sigurnosna brava s kvakom. Upute za uporabu.
Model: 9GACS74510-018
1. Uvod
This manual provides comprehensive instructions for the installation, operation, and maintenance of your Weiser Fairfax Smart Key Entrance and Deadbolt Knobset. Please read these instructions carefully before beginning installation or use to ensure proper function and security.
The Weiser Fairfax combination cylinder and deadbolt set is designed for door thicknesses ranging from 1-3/8" to 1-3/4". It features a universal latch that fits all standard doors and incorporates Weiser's "Securitishield" for increased strength and durability.
2. Proizvod je gotovview i značajke
The Weiser Fairfax Smart Key Entrance and Deadbolt Knobset offers enhanced security and convenience with its innovative features.
- Tehnologija ponovnog kodiranja SmartKey: Allows you to re-key your lock quickly and easily without removing it from the door. This technology provides advanced security against common break-in techniques.
- Poboljšana sigurnost: Features a full 1" projection deadbolt, a 1/4" hardened steel, free-turning roller, and heavy-duty mounting screws. The lock cylinder uses two steel balls to resist drilling attacks.
- Izdržljiva konstrukcija: Made with nickel and steel components, ensuring long-lasting performance.
- Universal Latch: Designed to fit all standard door preparations.
- Adjustable Door Thickness: Compatible with doors 1-3/8" to 1-3/4" thick.
Komponente proizvoda
Paket uključuje sljedeće komponente:
- Exterior Locking Knobset
- Zavrtanj s jednim cilindrom
- Ključevi
- Hardver za montažu
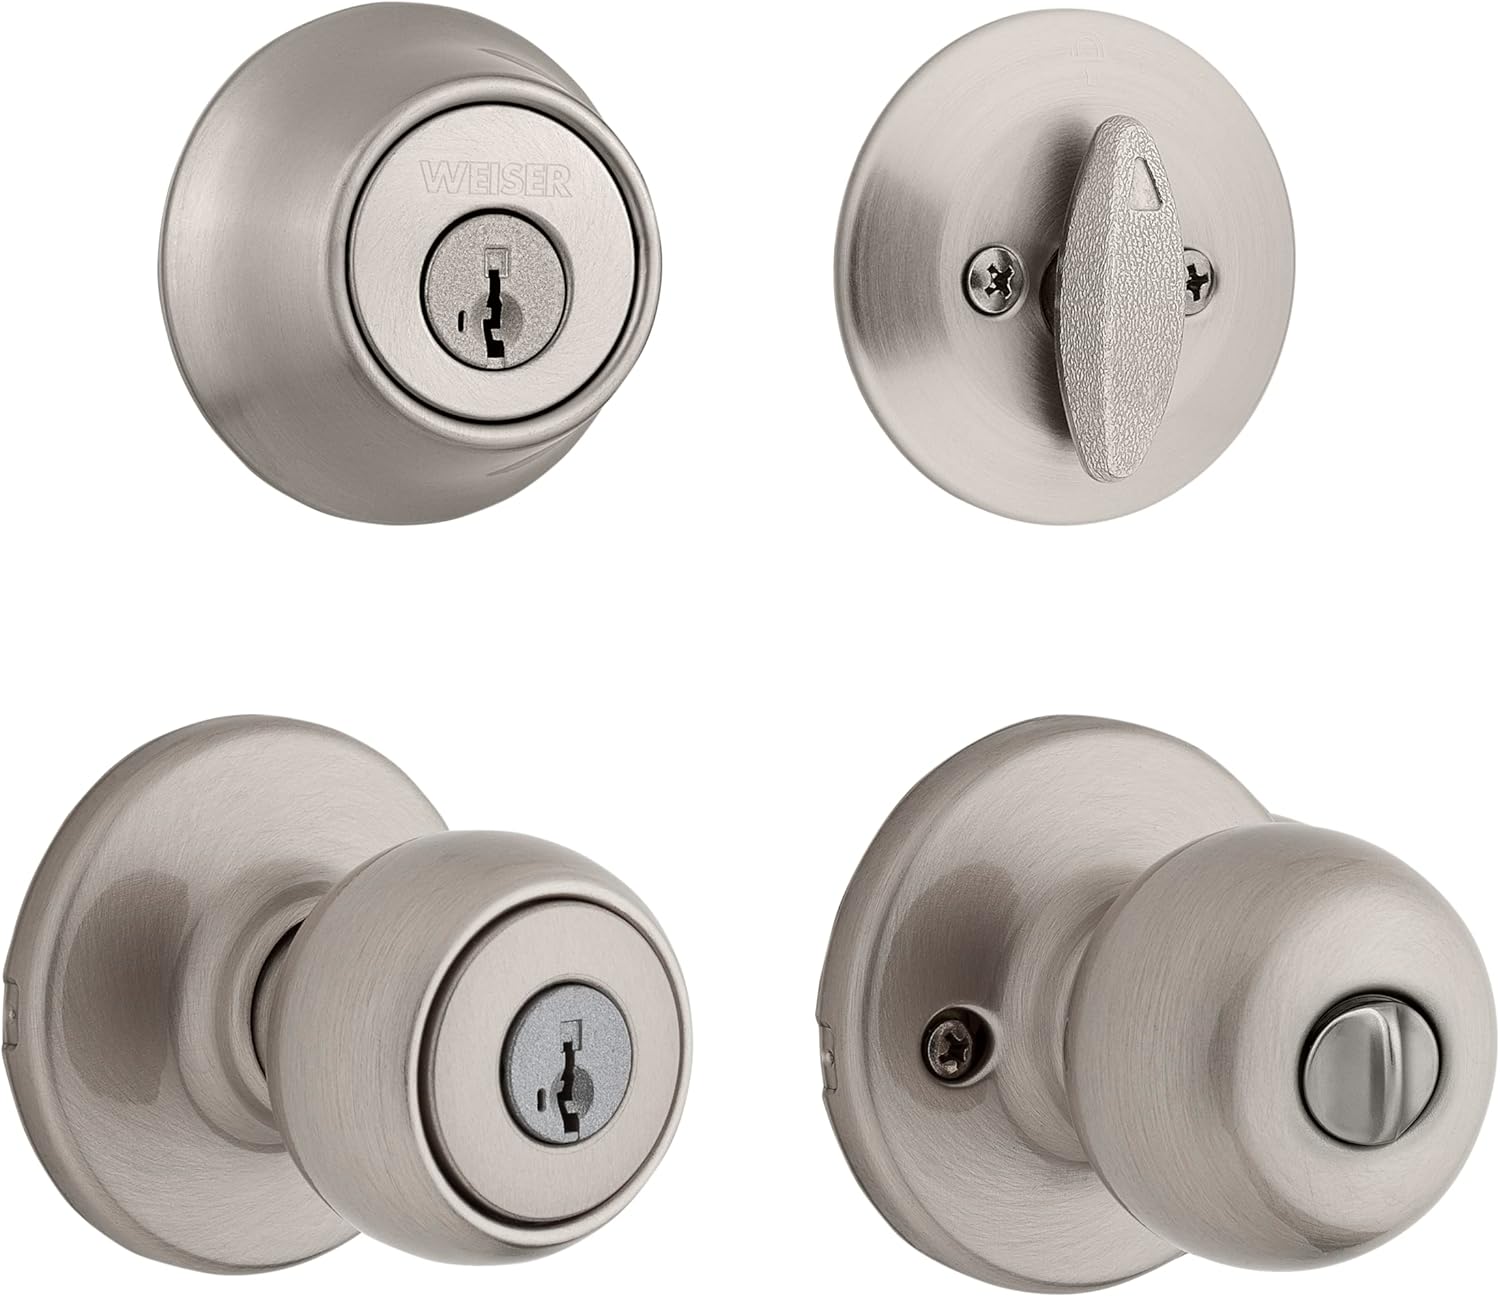
This image displays the complete set, including the exterior knob with keyway and the single cylinder deadbolt, both in a satin nickel finish.

This image highlights the keyway and the satin nickel finish of the knob.

Ovaj view shows the depth and design of the knob from the side.
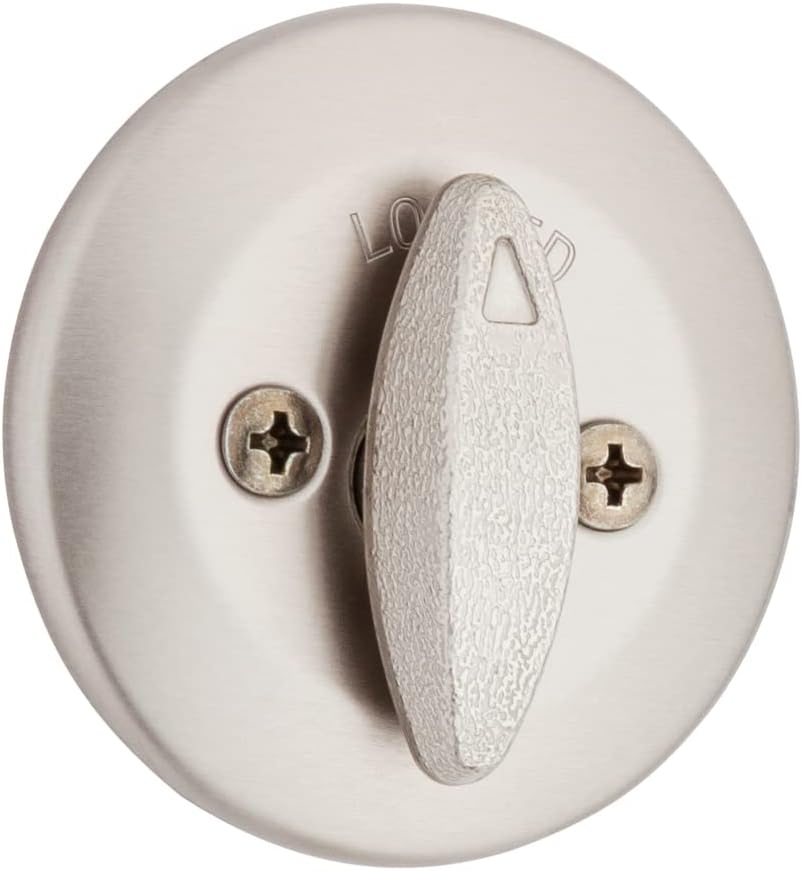
This image shows the internal mechanism and mounting plate of the knob.
3. Postavljanje i instalacija
Before installation, ensure your door is prepared with standard bore holes for both the knobset and deadbolt. Refer to the Fairfax Dimensions image for specific measurements.
3.1 Priprema vrata
Verify that your door thickness is between 1-3/8" and 1-3/4". The universal latch is designed to fit standard backsets (2-3/8" or 2-3/4").

This diagram provides key measurements for the Fairfax knobset, including the overall height (A), projection from the door (B), and knob diameter (C).
3.2 Koraci instalacije
- Instalirajte zasun: Insert the latch into the door edge, ensuring the bevel faces the door frame. Secure with screws.
- Ugradnja zaštitne ploče: Attach the strike plate to the door frame, aligning it with the latch bolt.
- Ugradite vanjsku ručku: Insert the exterior knob assembly through the door bore hole, ensuring the spindle aligns with the latch mechanism.
- Ugradnja unutarnje ručke: Place the interior knob assembly over the spindle and secure it to the exterior assembly using the provided screws.
- Instalirajte zasun: Insert the deadbolt latch into the door edge, ensuring the bolt extends correctly. Secure with screws.
- Install Deadbolt Cylinder: Insert the exterior deadbolt cylinder through the upper bore hole.
- Install Interior Deadbolt Thumbturn: Attach the interior thumbturn assembly, aligning it with the cylinder tailpiece. Secure with screws.
- Testna operacija: Close the door and test both the knobset and deadbolt with the key and thumbturn to ensure smooth operation.
For detailed visual instructions, refer to the full installation guide included in your product packaging.
4. Upute za rad
4.1 Zaključavanje i otključavanje
- From Exterior (Knob): Insert the key and turn to lock or unlock the knob.
- From Interior (Knob): Turn the knob to open the door. The knob may have a push-button or turn-button for locking from the inside, depending on the specific model variant.
- From Exterior (Deadbolt): Insert the key and turn to extend or retract the deadbolt.
- From Interior (Deadbolt): Turn the thumbturn to extend or retract the deadbolt.
4.2 SmartKey Re-keying
The SmartKey technology allows you to re-key your lock to a new key in seconds. This is useful if you've recently moved, lost keys, or wish to use one key for multiple Weiser SmartKey locks.
- Umetni trenutni ključ: Insert your currently working key fully into the lock cylinder.
- Turn Key: Turn the key 90 degrees clockwise (to the 3 o'clock position).
- Umetnite alat SmartKey: While holding the key in the 90-degree position, insert the SmartKey reset tool firmly into the small hole next to the keyway. You will feel a click.
- Ukloni trenutni ključ: Remove the current key while keeping the reset tool inserted.
- Umetni novi ključ: Insert the new key fully into the cylinder.
- Uklonite alat SmartKey: Remove the SmartKey reset tool.
- Okrenite novi ključ: Turn the new key 90 degrees counter-clockwise (back to the 12 o'clock position).
- Testiraj novi ključ: Remove the new key and test it to ensure it operates the lock correctly.

This diagram illustrates how to use the SmartKey reset tool and a new key to re-key your lock, making previous keys obsolete.
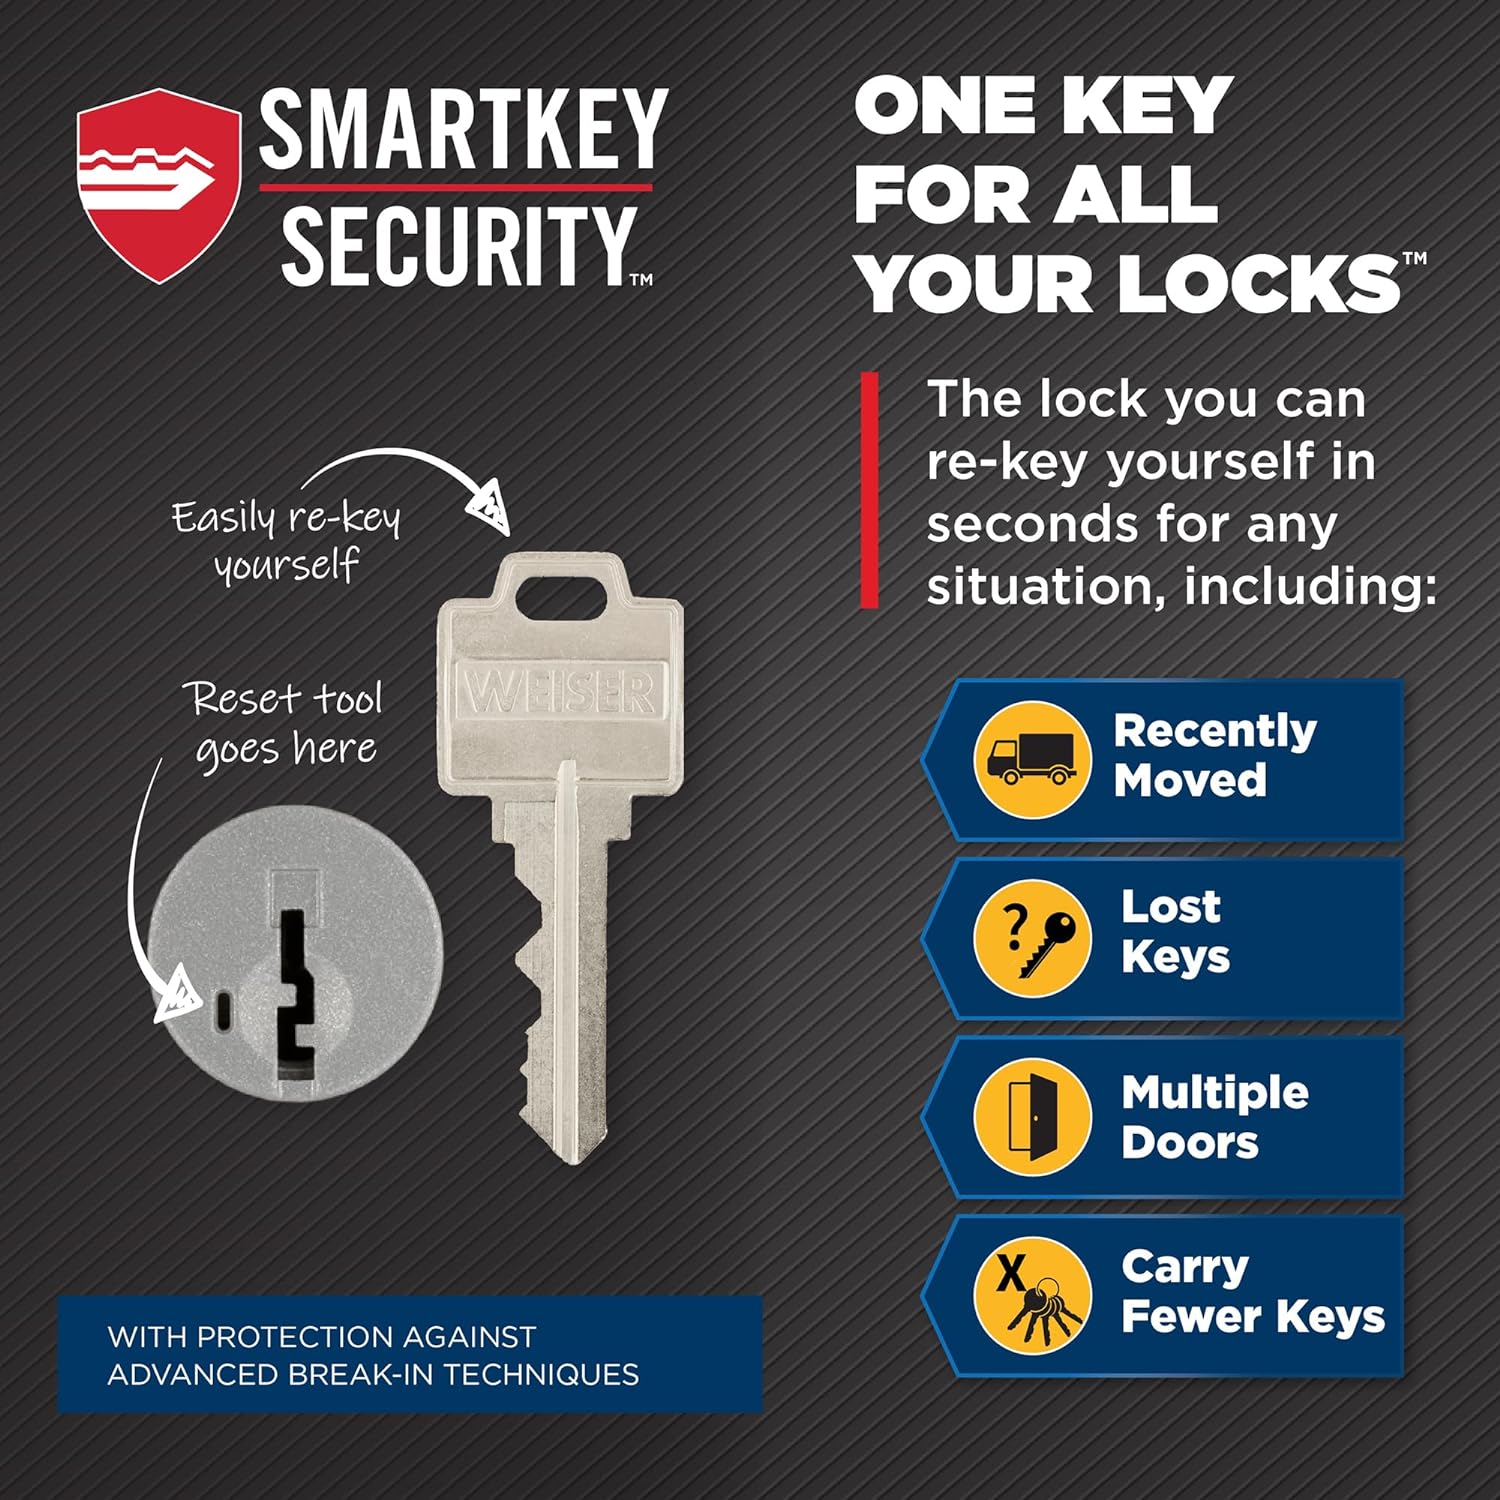
This image details the robust security measures integrated into the SmartKey cylinder, providing protection against various forced entry methods.
5. Održavanje
Proper maintenance will ensure the longevity and smooth operation of your Weiser lockset.
- Čišćenje: Očistite vanjske površine mekom,amp cloth. Avoid abrasive cleaners or solvents, as they can damage the finish.
- Podmazivanje: If the lock mechanism feels stiff, apply a small amount of graphite lubricant or a silicone-based spray lubricant into the keyway and moving parts. Do not use oil-based lubricants, as they can attract dirt.
- Zategnutost vijaka: Periodically check and tighten all mounting screws to ensure the lockset remains securely fastened to the door. Do not overtighten.
6. Rješavanje problema
| Problem | Mogući uzrok | Otopina |
|---|---|---|
| Ključ se ne okreće ili je tvrd. | Dirt in keyway, worn key, or misaligned cylinder. | Clean keyway with compressed air. Lubricate with graphite. Try a different key. Check cylinder alignment. |
| Zasun se ne izvlači/uvlači u potpunosti. | Strike plate misalignment, door sag, or debris in bolt path. | Adjust strike plate. Check door alignment. Clear any obstructions. |
| Gumb je labav. | Montažni vijci su labavi. | Tighten the mounting screws on the interior side of the knob. |
| Ponovno kodiranje SmartKeyja ne uspijeva. | Incorrect key insertion, tool not fully inserted, or wrong key type. | Ensure current key is fully inserted and turned 90 degrees. Insert reset tool firmly until a click is felt. Use only SmartKey compatible keys. |
If you encounter issues not listed here or if the suggested solutions do not resolve the problem, please contact Weiser customer support.
7. Specifikacije
| Atribut | Detalj |
|---|---|
| Marka | Weiser |
| Broj modela | 9GACS74510-018 |
| Završiti | Satin nikal |
| Materijal | Nickel, Steel, Alloy Steel |
| Vrsta brave | Key Lock (SmartKey Re-key Technology) |
| Kompatibilnost debljine vrata | 1-3/8" - 1-3/4" |
| Deadbolt Projection | 1" |
| Težina artikla | 2 funti |
| Dimenzije proizvoda | 9 x 9 x 3 inča |
| Uključene komponente | Deadbolt, Knob, Key, Lock |
8. Jamstvo i podrška
Weiser products are backed by a limited lifetime mechanical and finish warranty, and a 1-year electronics warranty (if applicable). For specific warranty details and terms, please refer to the warranty card included with your product or visit the official Weiser webmjesto.
For technical support, replacement parts, or warranty claims, please contact Weiser Customer Service:
- Webstranica: www.weiserlock.com
- Telefon: Refer to the Weiser webmjesto za regionalne kontakt brojeve.
Please have your product model number (9GACS74510-018) and purchase date available when contacting support.
Ask a question about this manual
Ask about setup, troubleshooting, compatibility, parts, safety, or missing instructions. Manuals+ will review the question and use this page’s manual context to help answer it.