1. Važne sigurnosne informacije
Please read this instruction manual carefully before using the appliance and save it for future reference. Incorrect use may result in electric shock, fire, or serious injury.
- Ovaj uređaj namijenjen je samo za kućnu upotrebu. Ne koristite ga na otvorenom ili na mokrim površinama.
- Ne dopustite djeci da koriste usisavač. Potreban je strog nadzor prilikom korištenja u blizini djece.
- Ne usisavajte zapaljive ili zapaljive tekućine, poput benzina, niti ih koristite u područjima gdje bi mogle biti prisutne.
- Ne skupljajte ništa što gori ili se dimi, poput cigareta, šibica ili vrućeg pepela.
- Nemojte koristiti bez postavljene čaše za prašinu i/ili filtera.
- Turn off the appliance before connecting or disconnecting the motorized brush, crevice tool, or square brush.
- Za ponovno punjenje koristite samo punjač koji je isporučio proizvođač.
- Ne rukujte punjačem ili uređajem mokrim rukama.
2. Proizvod je gotovview
The Princess 339490 Rapido Cordless Stick Vacuum Cleaner is designed for efficient cleaning of various surfaces. It features a powerful motor, a removable battery, and multiple attachments for versatile use.
Uključene komponente:
- Princess Rapido Cordless Vacuum Unit
- Wall-mounted Charging Station
- Alat za pukotine
- Kvadratna četka
- Li-ion baterija
- Main Brush Head (Motorized)
- Vakuumska cijev
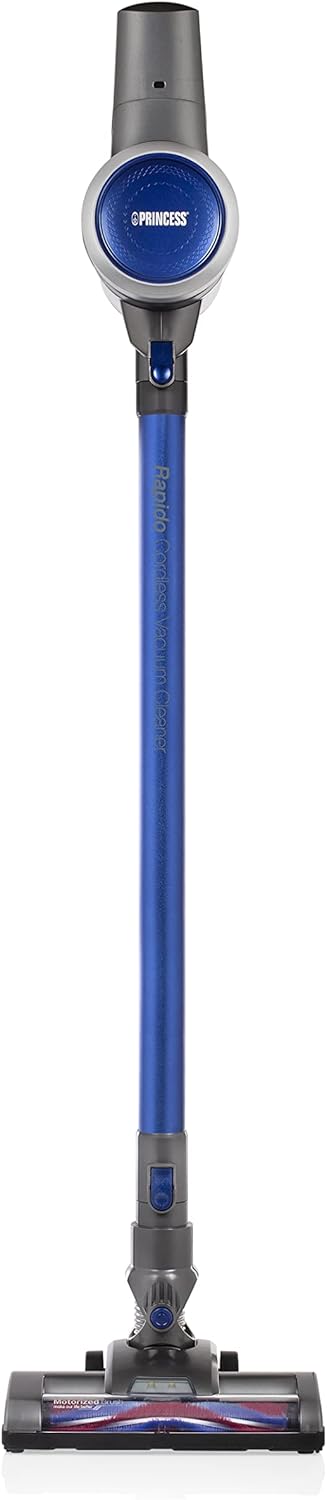
Slika 2.1: Prednja strana view of the Princess 339490 Rapido Cordless Stick Vacuum Cleaner.

Slika 2.2: Kutno view of the Princess 339490 Rapido Cordless Stick Vacuum Cleaner, showing its sleek design.

Figure 2.3: Close-up of the motorized brush head, designed for effective cleaning on various floor types.

Figure 2.4: The vacuum unit configured as a handheld cleaner with the crevice tool attached, ideal for tight spaces.
3. Postavljanje
3.1 Sastavljanje
- Attach the Vacuum Tube: Insert the vacuum tube into the main vacuum unit until it clicks securely into place.
- Pričvrstite glavnu glavu četke: Connect the motorized brush head to the other end of the vacuum tube, ensuring it locks firmly.
- Ugradite bateriju: Slide the Li-ion battery pack into the designated slot on the main vacuum unit until it clicks. Ensure it is fully seated.

Figure 3.1: Proper insertion of the Li-ion battery pack into the main vacuum unit.
3.2 Punjenje
Before first use, fully charge the battery for approximately 4 hours.
- Mount the Charging Station: Secure the wall-mounted charging station in a convenient location near a power outlet.
- Place the Vacuum: Hang the assembled vacuum cleaner on the charging station. Ensure the charging contacts align.
- Spojite na napajanje: Plug the charging station into a standard electrical outlet.
- Punjenje monitora: The charging indicator light on the vacuum unit will illuminate during charging. It will change color or turn off when fully charged.
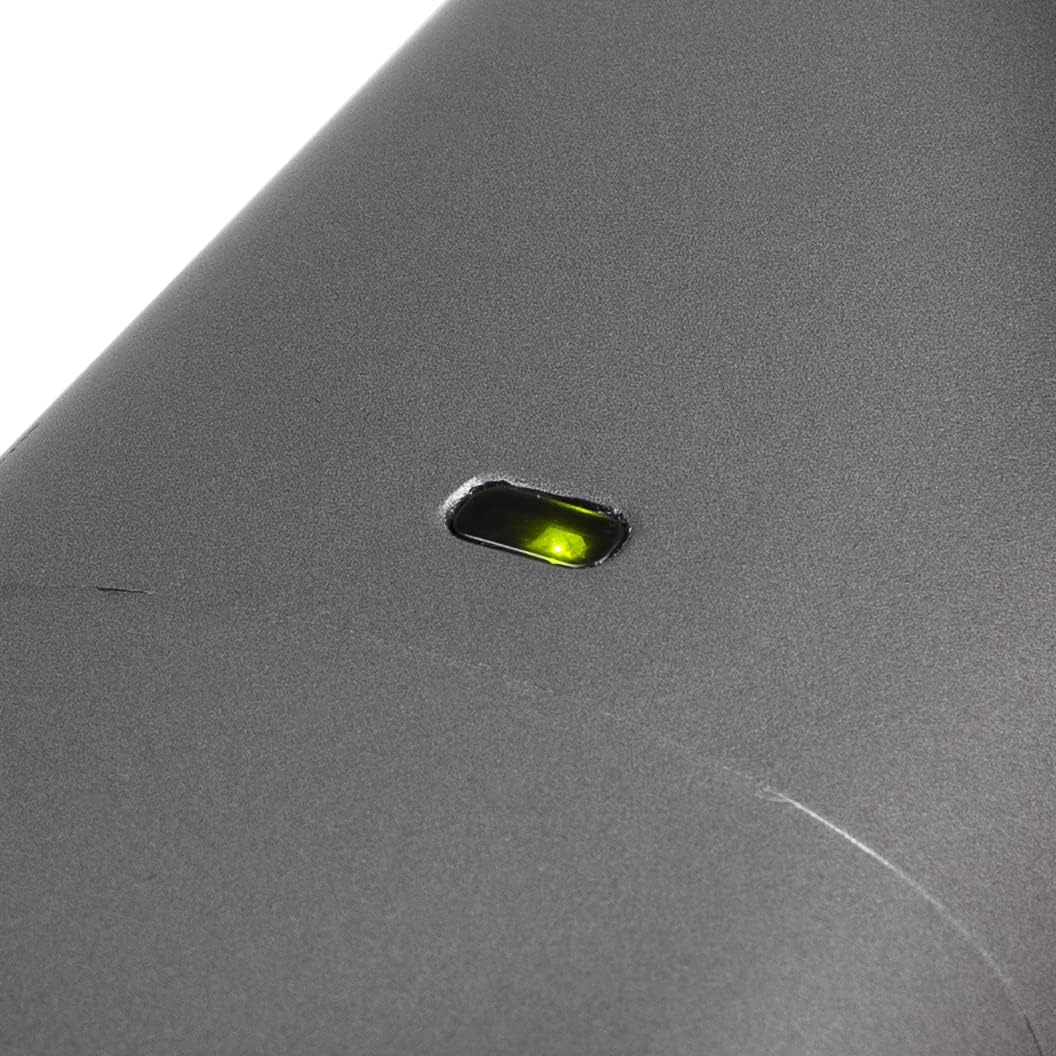
Figure 3.2: The charging indicator light, which shows the charging status of the battery.
4. Upute za rad
4.1 Uključivanje/isključivanje
To turn the vacuum cleaner on, press the power button located on the handle. Press it again to turn off the appliance.

Figure 4.1: The handle and trigger mechanism for operating the vacuum cleaner.
4.2 Korištenje kao štapnog usisavača
With the vacuum tube and main brush head attached, the appliance functions as a stick vacuum, suitable for floors and carpets. The luxury brush head is designed to transition smoothly between hard floors and carpets without needing to change attachments.
4.3 Korištenje kao ručnog usisavača
To convert to a handheld vacuum, detach the vacuum tube and main brush head from the main unit. You can then attach the crevice tool or square brush directly to the main vacuum unit for cleaning stairs, upholstery, or car interiors.
Figure 4.2: The main unit used as a handheld vacuum with the crevice tool for detailed cleaning.
4.4 Vrijeme rada baterije
The fully charged Li-ion battery provides approximately 32 minutes of continuous operation, allowing you to clean an entire floor without interruption.
5. Održavanje
Redovito održavanje osigurava optimalne performanse i produžuje vijek trajanja vašeg usisavača.
5.1 Pražnjenje kante za prašinu
The dustbin should be emptied regularly, especially when the MAX line is reached.
- Uvjerite se da je usisavač isključen.
- Hold the main unit over a waste bin.
- Pritisnite gumb za otpuštanje posude za prašinu kako biste otvorili donji poklopac i ispraznili sadržaj.
- Čvrsto zatvorite poklopac dok ne klikne.

Figure 5.1: The transparent dustbin showing the HEPA filter inside, indicating the MAX fill line.
5.2 Čišćenje HEPA filtra
The removable HEPA filter should be cleaned periodically to maintain suction power.
- Isključite usisavač i izvadite posudu za prašinu.
- Carefully remove the HEPA filter from the dustbin.
- Lagano kucnite filterom po kanti za smeće kako biste uklonili rastresitu prašinu.
- Ako je potrebno, isperite filter pod mlazom hladne vode. Prije ponovnog umetanja provjerite je li potpuno suh.
- Reassemble the filter and dustbin, then attach to the main unit.
5.3 Čišćenje valjka četke
Periodically check the motorized brush roll for tangled hair or debris.
- Ensure the vacuum cleaner is turned off and disconnected from the charging station.
- Detach the main brush head from the vacuum tube.
- Locate the release mechanism for the brush roll (refer to diagrams in the full manual if needed).
- Remove the brush roll and carefully cut away any tangled hair or fibers using scissors.
- Vratite valjak četke i pričvrstite ga na mjesto.
6. Rješavanje problema
If you encounter issues with your Princess 339490 Rapido, refer to the following common problems and solutions:
| Problem | Mogući uzrok | Otopina |
|---|---|---|
| Vakuum se ne uključuje | Baterija nije napunjena ili nije pravilno instalirana. | Ensure battery is fully charged and correctly inserted. Check charging station connection. |
| Niska usisna snaga | Dustbin full, filter clogged, or blockage in the tube/brush head. | Empty dustbin. Clean HEPA filter. Check for and remove any blockages in the tube or brush head. |
| Valjak četke se ne okreće | Hair or debris tangled in the brush roll, or brush head not properly attached. | Clean the brush roll of any obstructions. Ensure the brush head is securely attached to the tube. |
| Kratko vrijeme rada baterije | Baterija nije potpuno napunjena ili je baterija degradirana. | Ensure battery is fully charged (4 hours). If runtime remains significantly reduced, the battery may need replacement. |
7. Specifikacije
- Broj modela: 01.339490.01.001
- Vlast: 130 vata
- Voltage: 22.2 volti
- Vrsta baterije: Litij-ionski
- Vrijeme rada baterije: Do 32 minuta
- Vrijeme punjenja: Otprilike 4 sata
- Kapacitet za prašinu: 0.8 litara
- Vrsta filtra: HEPA, Cartridge
- Razina buke: 70 decibela
- Dimenzije (D x Š x V): 109 x 22 x 23 cm
- Težina: 2.6 kg
- Posebne karakteristike: Cordless, Bagless, Handheld conversion, Motorized brush head
8. Jamstvo i podrška
8.1 Informacije o jamstvu
The Princess 339490 Rapido Cordless Stick Vacuum Cleaner comes with a 24-mjesečno jamstvo proizvođača from the date of purchase. This warranty covers defects in materials and workmanship under normal household use. It does not cover damage resulting from misuse, neglect, accident, alteration, or improper maintenance.
Zadržite svoj dokaz o kupnji za jamstvene zahtjeve.
8.2 Korisnička podrška
For technical assistance, warranty claims, or to order replacement parts, please contact Princess customer support:
- Webstranica: www.princesshome.eu/en-gb/service
- Email: support@princesshome.eu
- Telefon: Refer to your regional Princess webstranica za lokalne kontaktne brojeve.