
Uvod
This manual provides detailed instructions for the installation, operation, and maintenance of your XVIM 8CH 1080P Home Security Camera System. Please read this manual thoroughly before using the product to ensure proper setup and functionality. Keep this manual for future reference.
Proizvod gotovview
The XVIM 8CH 1080P Home Security Camera System includes an 8-channel Digital Video Recorder (DVR) with a 1TB hard drive and four 2MP HD outdoor IP66 waterproof cameras. The system is designed for reliable surveillance with features such as night vision and remote access capabilities.

Slika: Prekoview of the XVIM 1080P HD Security Camera System, showing a camera and a smartphone displaying live view.
Značajke kamere
- IP66 Metal Housing: Durable and weatherproof construction.
- 3.6 mm HD objektiv: Pruža kut od 75° viewing kut.
- IR-Cut filter: Ensures clear day and night vision.
- 24 LED diode: Offers up to 65ft night vision range.

Image: Diagram highlighting key camera features: IP66 metal housing, 3.6mm HD lens, IR-cut filter, and 24 LEDs.
Day and Night Monitoring
The cameras are equipped with an IR-Cut filter and infrared LEDs to provide clear surveillance both during the day and at night. During the day, images are colorful and high definition. At night, the cameras automatically switch to infrared mode for clear black and white vision in low-light conditions.
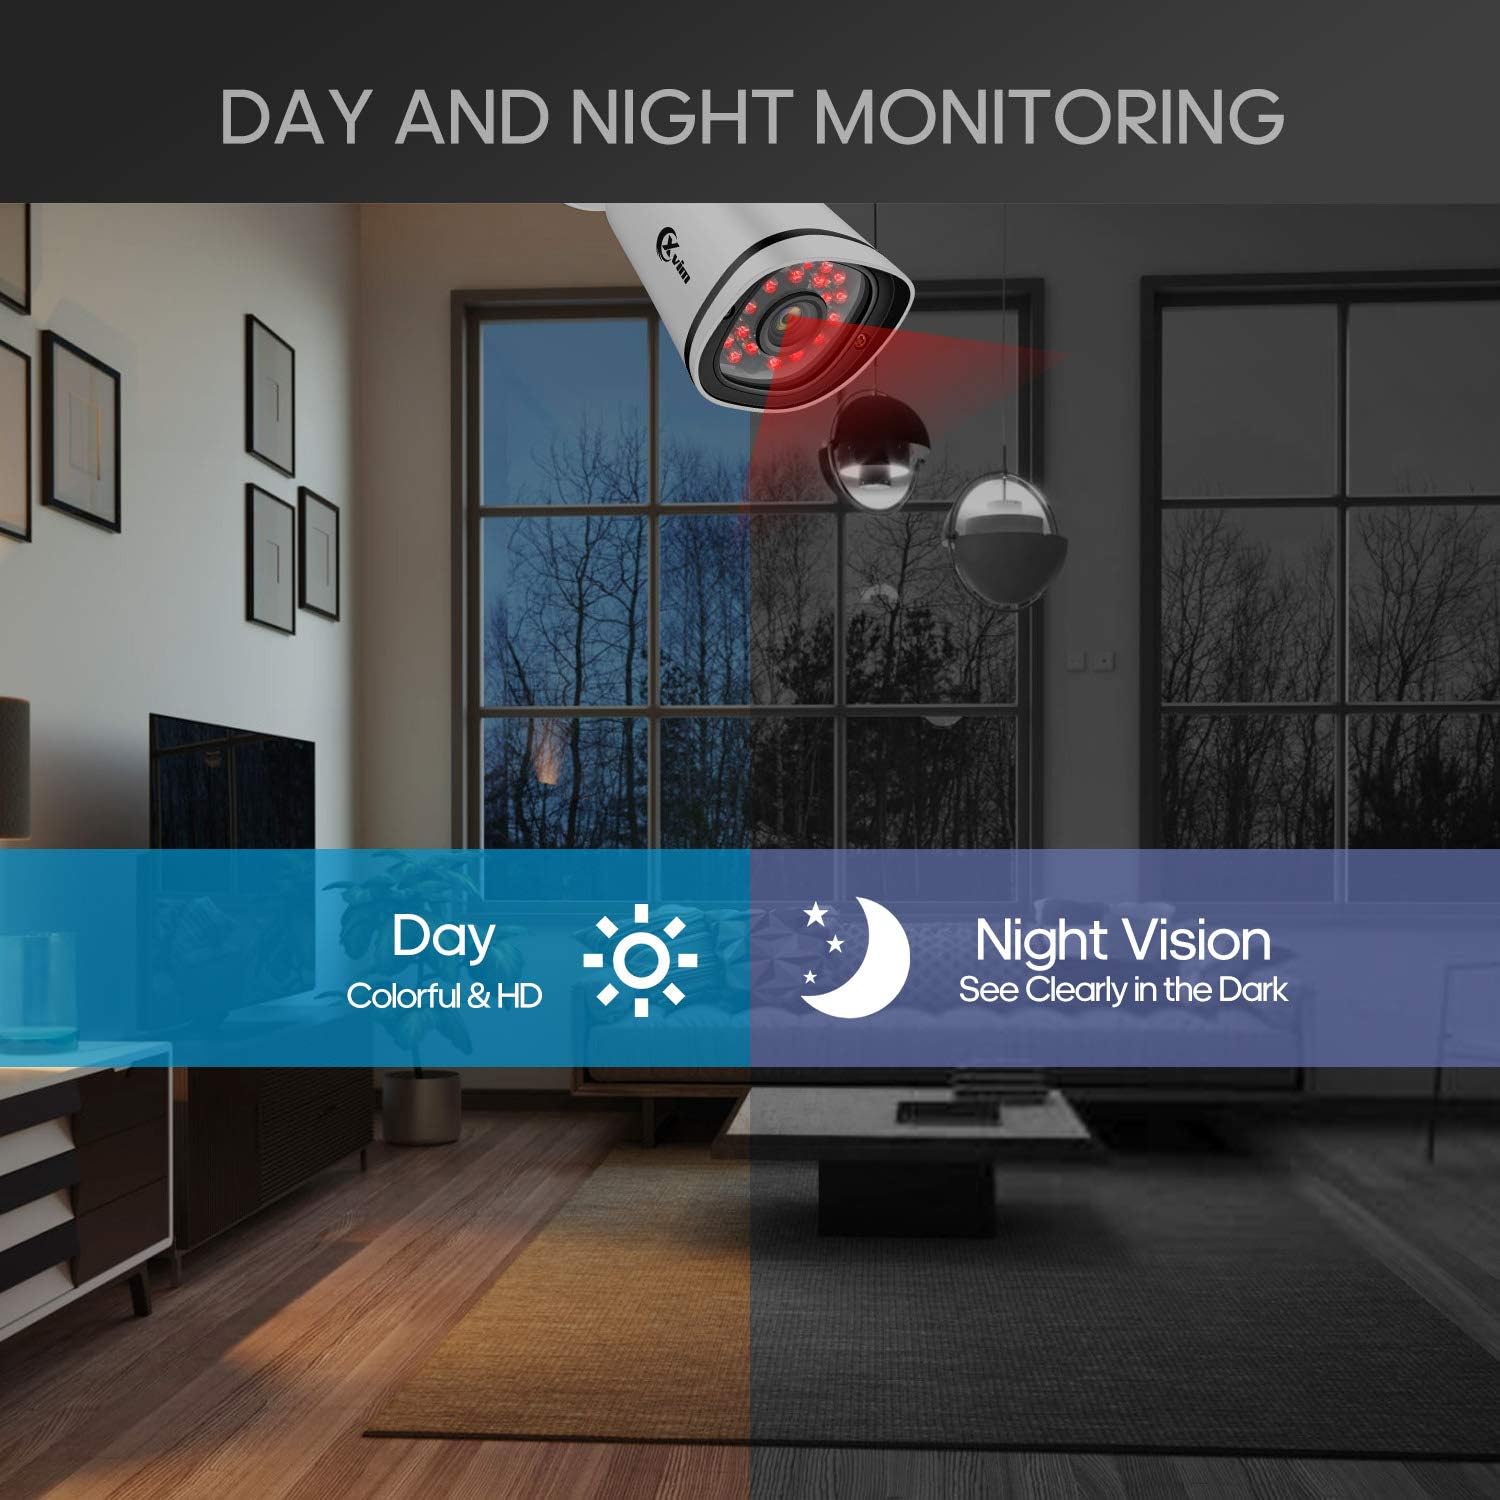
Image: Illustration showing the camera's ability to monitor both during the day (colorful HD) and at night (clear vision in the dark).
Vodootporan dizajn
The cameras feature an IP66-rated metal housing, ensuring they are protected against dust and powerful water jets, making them suitable for outdoor installation in various weather conditions.
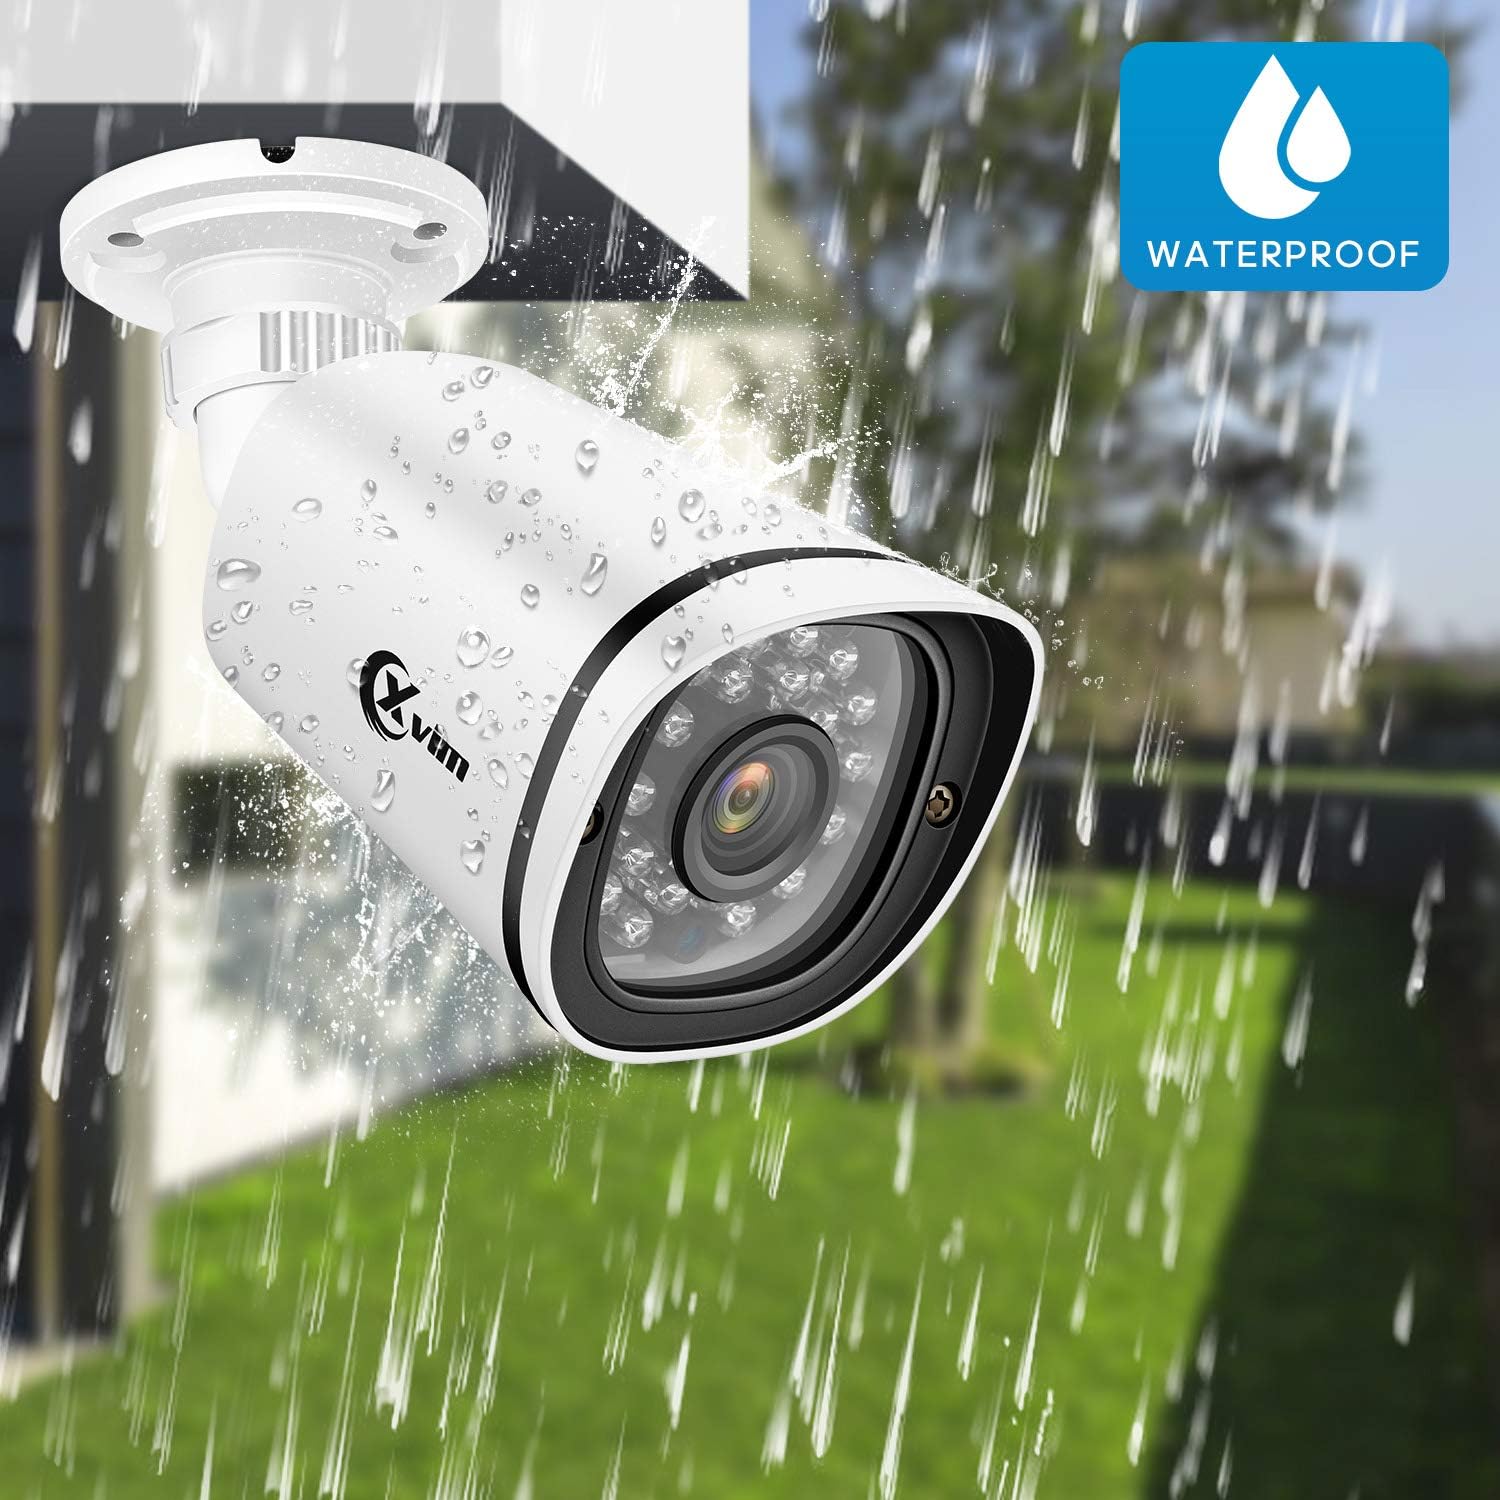
Image: An XVIM camera being sprayed with water, illustrating its waterproof design.
DVR Back Panel Overview
The DVR unit provides multiple ports for connecting cameras, a monitor, audio input/output, and network connectivity. Familiarize yourself with the ports before installation.
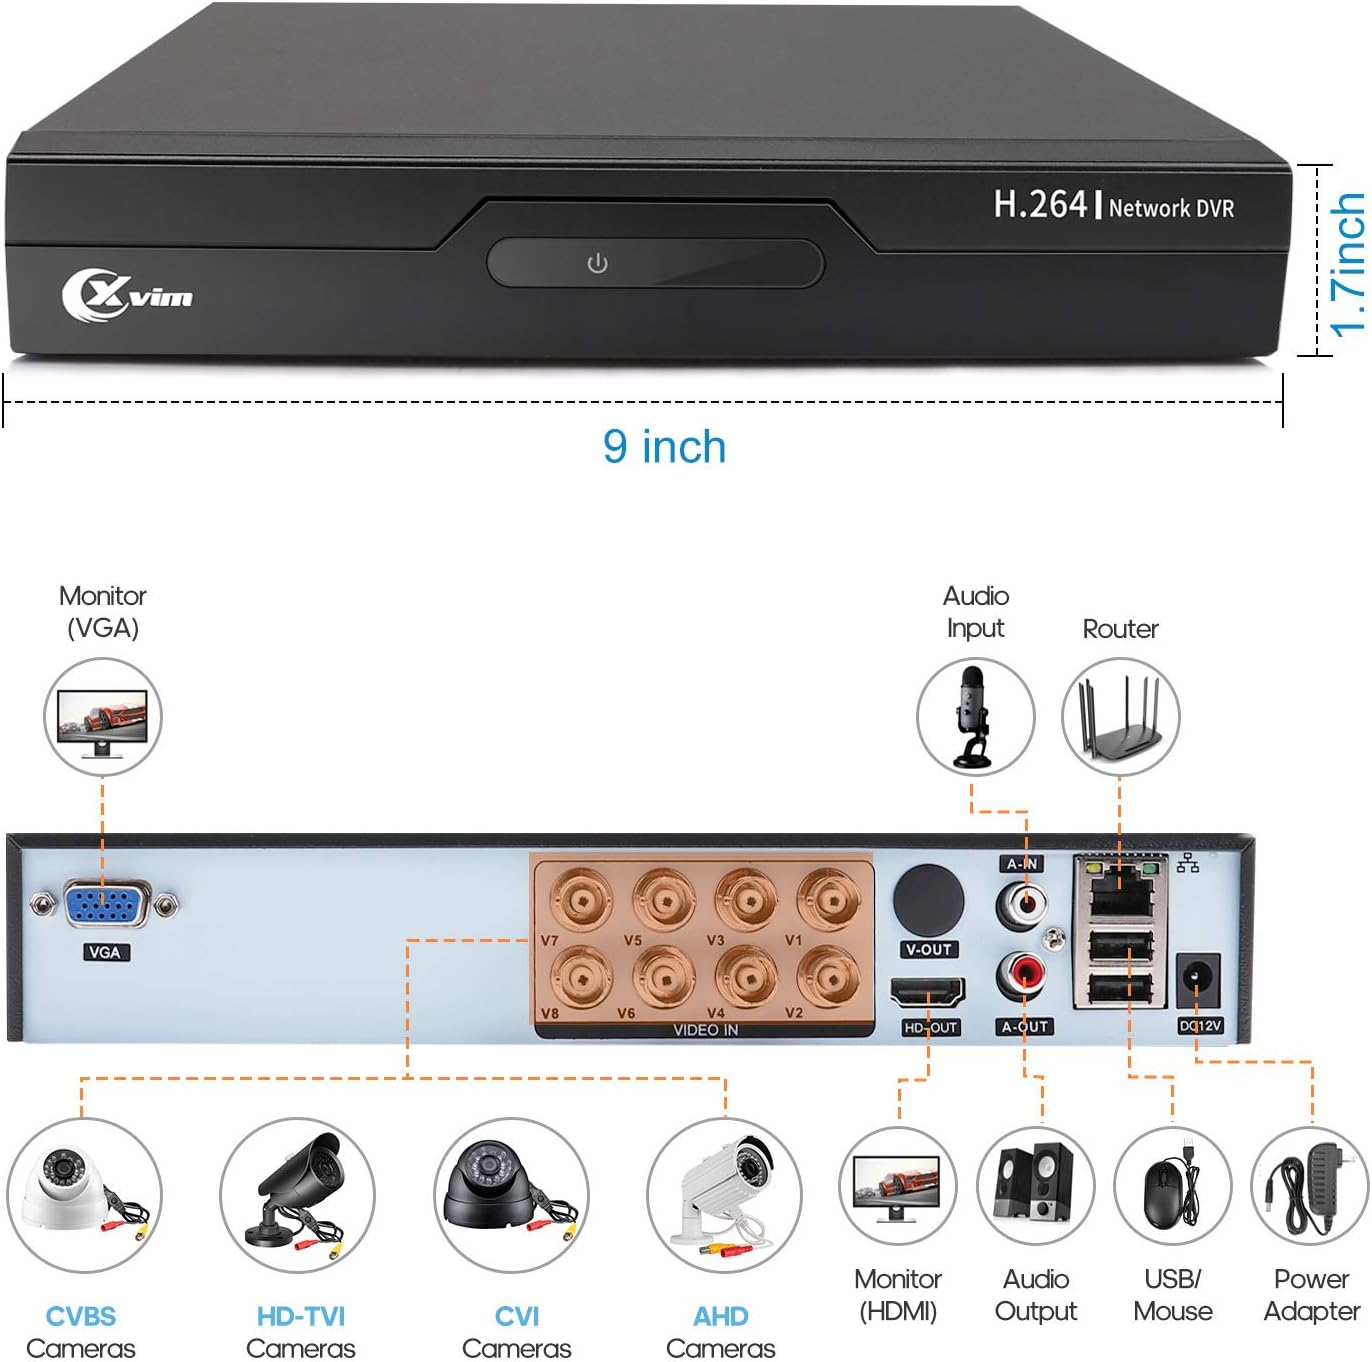
Image: Diagram of the DVR's back panel, showing ports for VGA, HDMI, video input (BNC), audio input/output, USB, and power.
Upute za postavljanje
- Spajanje kamera na DVR: Connect each camera to the corresponding video input (BNC) port on the DVR using the provided cables. Ensure secure connections.
- Spojite DVR na monitor: Connect the DVR to a monitor using either the VGA or HDMI port.
- Spojite DVR na mrežu: Za udaljeni pristup, spojite DVR na ruter pomoću Ethernet kabela.
- Priključite napajanje: Connect the power adapters to the cameras and the DVR, then plug them into a power outlet. The system will power on automatically.
- Početno postavljanje: Follow the on-screen prompts on your monitor to complete the initial DVR setup, including setting up a password and configuring basic settings.
- Postavljanje mobilne aplikacije:
- Download the "XVR Pro" app from your smartphone's app store.
Preuzmite za Android
Preuzmite za iOS - Registrirajte se za račun unutar aplikacije.
- Add your DVR device by scanning the QR code displayed on the DVR's monitor or by manually entering the device ID.
- Nakon što ga dodate, možete view your cameras remotely from anywhere.
- Download the "XVR Pro" app from your smartphone's app store.

Image: Step-by-step guide for connecting the system components and setting up the XVR Pro mobile application.
Upute za rad
Živjeti View
Nakon uspješnog postavljanja, možete view živi footage from your cameras on the connected monitor or through the XVR Pro mobile app. The DVR interface allows you to switch between single-camera view i mreža s više kamera view.
Načini snimanja
The system supports various recording modes:
- Ručno snimanje: Start and stop recording manually via the DVR interface.
- Snimanje detekcije pokreta: Configure the system to record automatically when motion is detected in specified areas. This helps conserve hard drive space.
- Zakazano snimanje: Set specific times for continuous recording.
Refer to the DVR's on-screen menu for detailed configuration of recording schedules and motion detection zones.
Udaljeni pristup
The XVR Pro app enables you to:
- View prijenosi uživo s kamere s bilo kojeg mjesta s internetskom vezom.
- Reprodukcija snimljena footage stored on the DVR.
- Primajte upozorenja o detekciji pokreta.
- Control certain DVR settings remotely.
Camera Mode Switching (OSD Menu)
Each camera features an OSD (On-Screen Display) button on its cable, allowing you to switch between different video modes (Analog, AHD, TVI, CVI) to ensure compatibility with various DVRs. To access the OSD menu and switch modes:
- Analog (CVBS) Mode: Pritisnite OSD tipku prema gore 5 sekunde.
- AHD Mode: Pritisnite OSD tipku Lijevo 5 sekunde.
- TVI Mode: Pritisnite OSD tipku Desno 5 sekunde.
- CVI Mode: Pritisnite OSD tipku prema dolje 5 sekunde.
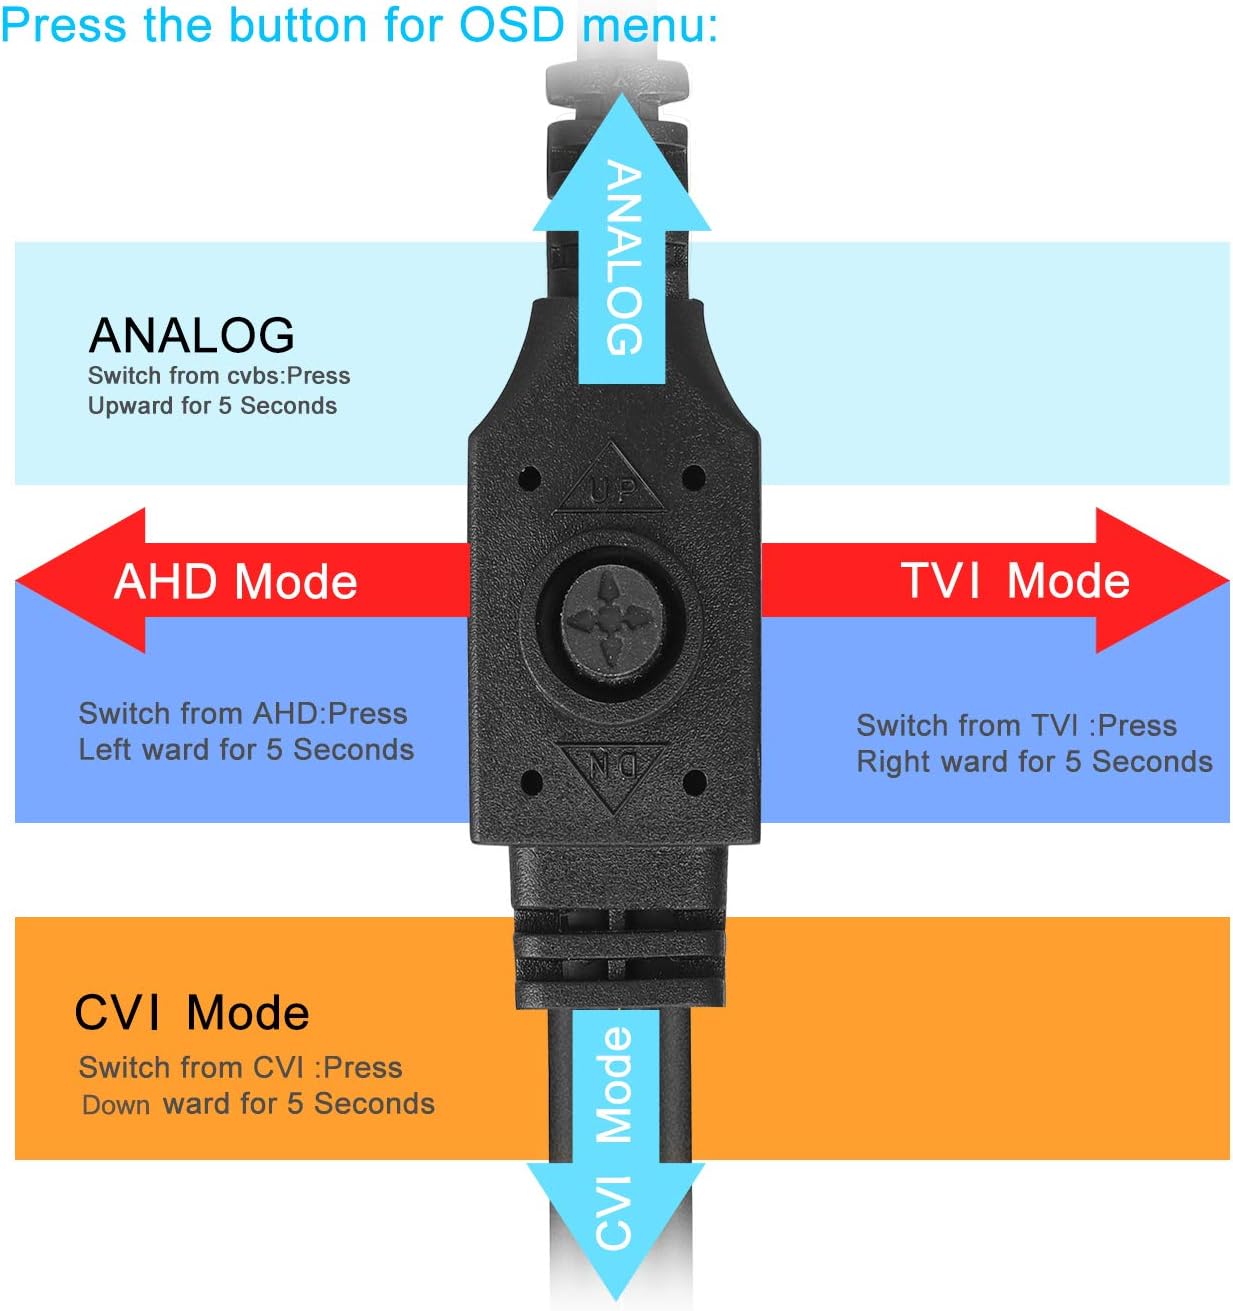
Image: Diagram illustrating how to use the OSD button on the camera cable to switch between Analog, AHD, TVI, and CVI video modes.
Održavanje
- Čišćenje kamere: Redovito čistite leće fotoaparata mekom krpomamp krpom kako biste osigurali jasnu kvalitetu slike. Izbjegavajte abrazivna sredstva za čišćenje.
- Pregled kabela: Periodically check all cables and connections for wear, damage, or loose connections.
- Ventilacija DVR-a: Osigurajte da DVR uređaj ima odgovarajuću ventilaciju kako biste spriječili pregrijavanje. Ventilacijske otvore držite čistima.
- Upravljanje tvrdim diskom: Tvrdi disk od 1 TB automatski će prebrisati najstarije datoteketage kada je pun. Redovito izrađujte sigurnosne kopije važnih snimaka ako je potrebno.
- Ažuriranja firmvera: Check the XVIM official website for any available firmware updates for your DVR to ensure optimal performance and security.
Rješavanje problema
No Video Display
- Check all power connections for the DVR and cameras.
- Verify that the monitor is correctly connected to the DVR via VGA or HDMI and is set to the correct input source.
- Ensure camera cables are securely connected to the DVR's video input ports.
- If a specific camera has no video, try switching its video mode using the OSD button (refer to "Camera Mode Switching" section).
Remote Access Issues
- Confirm the DVR is connected to your router and has internet access.
- Provjerite internetsku vezu vašeg rutera.
- Ensure the XVR Pro app is updated to the latest version.
- Verify that the device ID is correctly added in the app and your login credentials are correct.
Slab noćni vid
- Provjerite je li objektiv kamere čist i bez prepreka.
- Check for strong light sources near the camera that might interfere with the infrared LEDs.
DVR ne snima
- Check the hard drive status in the DVR's system settings. Ensure it is detected and functioning.
- Provjerite jesu li rasporedi snimanja ili postavke detekcije pokreta ispravno konfigurirani.
- Ensure there is sufficient hard drive space (though the system typically overwrites old footagi).
If you encounter persistent issues not covered here, please contact XVIM customer support for assistance.
Tehnički podaci
| Marka | XVIM |
| Broj modela | US-D8-4AHD7-1T-203 |
| Tehnologija povezivanja | Ožičeno |
| Rezolucija video snimanja | 1080 p |
| Posebne značajke | Image, Motion Sensor, Night Vision, Waterproof |
| Broj kanala | 4 (cameras included, DVR supports 8 channels) |
| Kapacitet pohrane memorije | 1 TB (tvrdi disk) |
| Izvor napajanja | Električni na kabel |
| Dimenzije predmeta (D x Š x V) | 13.94 x 11.85 x 6.93 inča |
| Domet noćnog vida | 85 stopa |
| Način snimanja | Manual, Motion Detection |
| Hardversko sučelje | USB 3.0 tip B |
| Vrsta objektiva | Popravljeno |
| Video ulaz | BNC, RCA (CVBS) |
| Viewing kut | 81 stupnja |
Jamstvo i podrška
XVIM products are designed for reliability and performance. For specific warranty details, please refer to the warranty card included with your product or visit the official XVIM website. For technical support, troubleshooting assistance, or any inquiries, please contact XVIM customer service through their official channels.
Mrežni resursi: For additional support, FAQs, and software downloads, please visit the XVIM Store on Amazon or the official XVIM webmjesto.