
1. Uvod
This manual provides detailed instructions for the safe and efficient operation of your Fitnet AL-300L Aquarium Chiller. This unit is designed to maintain optimal water temperatures for various aquatic environments, including freshwater and saltwater aquariums, as well as hydroponic systems. Please read this manual thoroughly before installation and use to ensure proper function and longevity of the product.

Figure 1: Fitnet AL-300L Aquarium Chiller. This image shows the main chiller unit with its digital display and water inlet/outlet nozzles.
Značajke proizvoda:
- Učinkovito hlađenje: Features a high-efficiency compressor and R134a refrigerant for stable and precise temperature control.
- Raspon temperature: Effectively maintains water temperature between 68°F-79°F (20°C-26°C).
- Učinkovita disipacija topline: Equipped with multiple ventilation holes and two built-in cooling fans.
- Niska buka rada: Designed with silent fans to minimize operational noise.
- Svestrana primjena: Suitable for freshwater and saltwater fish tanks, and hydroponic systems.
- Kompletan komplet: Includes water pump, water pipe, and connectors for immediate setup.
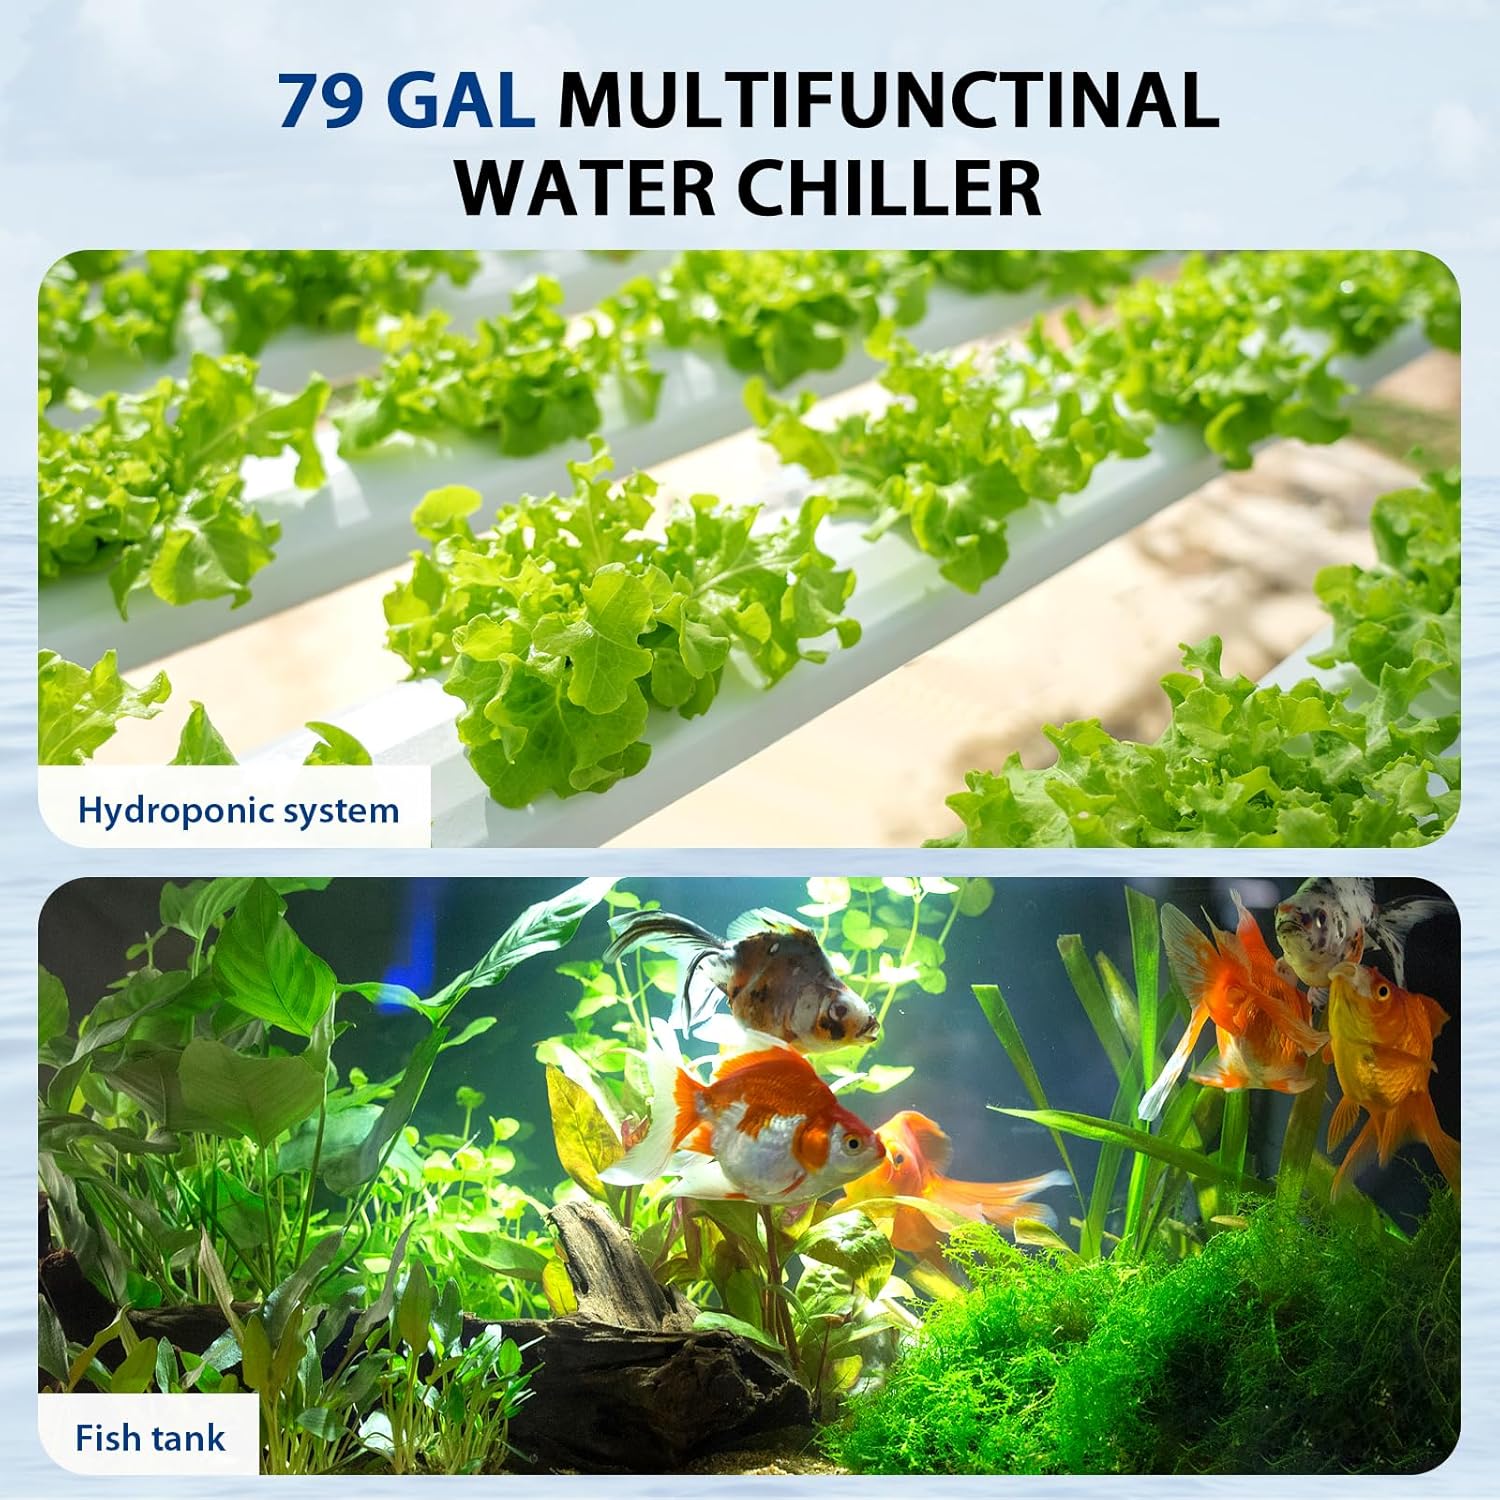
Figure 2: Versatile applications. This image illustrates the chiller's suitability for both hydroponic systems (top) and traditional fish tanks (bottom).
2. Sigurnosne informacije
Molimo vas da se pridržavate sljedećih sigurnosnih mjera opreza kako biste spriječili ozljede ili oštećenje proizvoda.
- Uvijek isključite napajanje prije bilo kakvog održavanja, instalacije ili čišćenja.
- Osigurajte da je hladnjak postavljen na stabilnu, ravnu površinu.
- Maintain at least 6 inches (15 cm) of clear space around the chiller for adequate heat dissipation. Blocking vents can lead to overheating and reduced performance.
- Do not operate the chiller if the power cord or plug is damaged.
- Do not immerse the main chiller unit in water. The water pump is submersible, but the chiller unit is not.
- Ovaj uređaj je samo za unutarnju upotrebu.
- Čuvati izvan dohvata djece.
- Use a Ground Fault Circuit Interrupter (GFCI) for all electrical connections to prevent electrical shock.

Figure 3: Recommended clearance for heat dissipation. This diagram illustrates the importance of maintaining at least 6 inches (15 cm) of space between the chiller and any walls or obstructions to ensure proper airflow and cooling efficiency.
3. Sadržaj paketa
Prije nego što nastavite s instalacijom, provjerite jesu li svi elementi prisutni u pakiranju.
- Fitnet AL-300L Aquarium Chiller Unit
- Potopna pumpa za vodu
- Vodovodna cijev (crijevo)
- Connectors and Clamps
- Kabel za napajanje
- Upute za uporabu (ovaj dokument)

Figure 4: Included components. This image displays the main chiller unit alongside the water pump, hoses, connectors, and clamps that come with the product.

Figure 5: Submersible water pump. This image shows the water pump, designed for submersion in fresh or saltwater, which circulates water through the chiller.
4. Upute za postavljanje
Follow these steps for proper installation of your aquarium chiller.
- Positioning the Chiller: Place the chiller on a flat, stable surface near your aquarium or hydroponic system. Ensure there is at least 6 inches (15 cm) of clear space around all sides for optimal airflow and heat dissipation.
- Pripremite konektore: Gather the provided connectors, including the white sealing washers.
- Install Inlet/Outlet Nozzles:
- Insert a white sealing washer onto each inlet/outlet nozzle.
- Place the pipe joint into the black nut cap.
- Tighten the black nuts onto the chiller's inlet and outlet ports.
- Connect Water Pump: Attach one end of the water pipe to the outlet of the submersible water pump. Secure it with a clamp ako je potrebno.
- Connect Chiller to System:
- Connect the other end of the water pipe from the pump to the chiller's inlet port.
- Connect a second water pipe from the chiller's outlet port back to your aquarium or hydroponic system.
- Provjerite jesu li svi spojevi sigurni i vodonepropusni kako biste spriječili curenje.
- Potopna pumpa: Place the submersible water pump into your aquarium or hydroponic reservoir. Ensure it is fully submerged and positioned to draw water effectively.
- Priključak za napajanje: Plug the chiller's power cord into a GFCI-protected electrical outlet. Plug in the water pump's power cord.
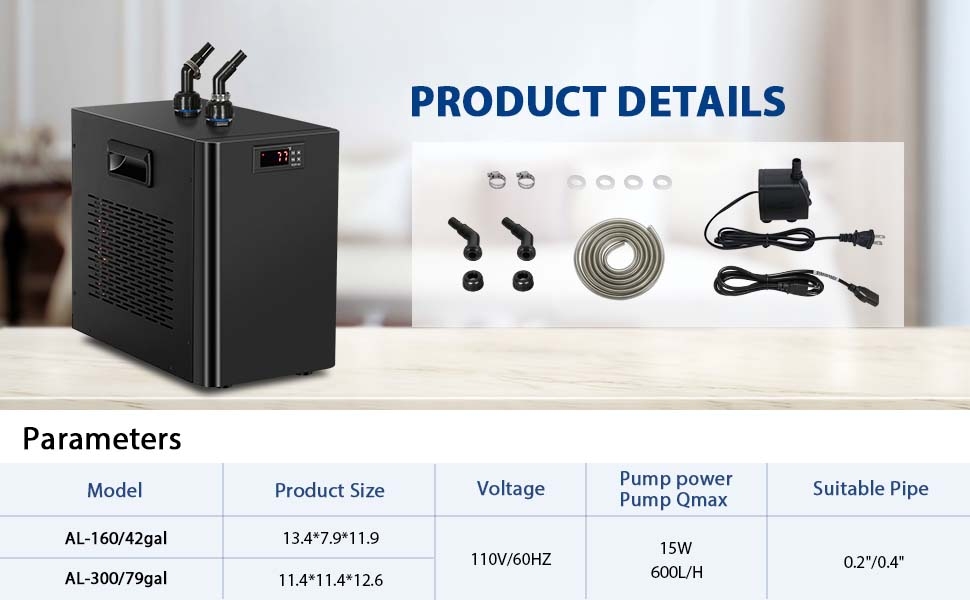
Figure 6: Chiller installation steps. This diagram illustrates the process of preparing accessories, installing sealing washers, attaching pipe joints, and tightening the black nuts for secure hose connections.

Figure 7: Chiller setup with an aquarium. This image shows the chiller unit connected to a small fish tank, illustrating the hose routing and the overall footprint of the chiller (dimensions: 12.6" H x 11.4" W x 11.4" D).
5. Upute za rad
The chiller features a digital control panel for temperature setting and calibration.
5.1. Uključivanje/isključivanje
Locate the power switch on the back of the unit. Flip the switch to the 'ON' position to power on the chiller. The digital display will illuminate.

Figure 8: Power switch. This image shows the main power switch located on the rear panel of the chiller unit.
5.2. Temperature Setting (Assumed Target Temperature Range: 75-79°F)
The chiller will begin cooling after a 2-3 minute power-on delay. To adjust the target temperature:
- Set Shutdown Temperature: Pritisnite tipku set ključ. Koristiti ▲ (gore) ili ▼ (down) arrow keys to adjust the desired shutdown temperature (e.g., 77°F). Press the Rst ključ za spremanje.
- Set Starting Temperature (F1 Code): Dugo pritisnite set ključ do F1 code appears. Then, press the set key again. Use the ▲ or ▼ arrow keys to adjust the temperature difference (e.g., to 4°F for a working range of 4°F).

Figure 9: Temperature setting and F2 calibration. This image provides a visual guide to setting the shutdown temperature and adjusting the F1 code for the working temperature range, as well as the F2 calibration process.
5.3. F2 Calibration Setting
If the chiller's displayed temperature does not match an external thermometer, you can calibrate it:
- Dugo pritisnite set ključ za prikaz F1. Pritisnite tipku ▲ ključ za prikaz F2. Pritisnite set opet.
- Koristite ▲ or ▼ arrow keys to adjust the offset value (e.g., to 5 if the chiller reads 77°F and the actual temperature is 72°F, meaning a -5 adjustment is needed). Press Rst za povratak na prikaz trenutne temperature.
6. Održavanje
Redovito održavanje osigurava optimalne performanse i produžuje vijek trajanja vašeg hladnjaka.
- Čisti ventilacijski otvori: Periodically check and clean the air intake and exhaust vents to prevent dust and debris buildup, which can impede heat dissipation. Use a soft brush or vacuum cleaner.
- Pregledajte crijeva i spojeve: Regularly check hoses and connections for any signs of leaks, kinks, or damage. Replace damaged components immediately.
- Clean Water Pump: Disconnect power to the pump and remove it from the water. Disassemble and clean the impeller and pump housing to remove any algae or debris that may affect water flow.
- Kvaliteta vode: Maintain good water quality in your aquarium or hydroponic system to reduce the buildup of contaminants in the chiller's internal components.
7. Rješavanje problema
If you encounter issues with your chiller, refer to the following common problems and solutions.
| Problem | Mogući uzrok | Otopina |
|---|---|---|
| Chiller not cooling or insufficient cooling. |
|
|
| Curenje vode iz spojeva. |
|
|
| Chiller making unusual noise. |
|
|
| Digital display shows incorrect temperature. |
|
|
8. Specifikacije
| Značajka | Detalj |
|---|---|
| Naziv modela | AL-300L |
| Kapacitet | 79 galona / 300 litara |
| Dimenzije (D x Š x V) | 12.6 x 11.4 x 11.39 inča |
| Rashladno sredstvo | R134a |
| Preporučeni temperaturni raspon | 20°C - 26°C |
| Materijal | Aluminij |
| Boja | Crna |
| Proizvođač | fitnessnet |
| Pump Power (Qmax) | 15W, 600L/H |
| Voltage | 110V/60HZ |
9. Jamstvo i podrška
Fitnet offers a 1-godišnje jamstvo proizvođača for this 79-gallon water chiller. This warranty covers defects in materials and workmanship under normal use.
For warranty claims, technical support, or any questions regarding your Fitnet Aquarium Chiller, please contact Fitnet customer service through your original purchase platform or the official Fitnet webmjesto.
Molimo sačuvajte dokaz o kupnji radi potvrde jamstva.