Midea MA200W100/W-SA
Midea 10 kg Top Load Washing Machine User Manual
Model: MA200W100/W-SA
1. Proizvod je gotovview
Thank you for choosing the Midea 10 kg Top Load Washing Machine, Model MA200W100/W-SA. This appliance is designed to provide efficient and convenient laundry care for your home. Featuring a generous 10 kg capacity and intuitive touch controls, it simplifies your washing routine. Please read this manual thoroughly before operating your new washing machine to ensure safe and optimal performance.

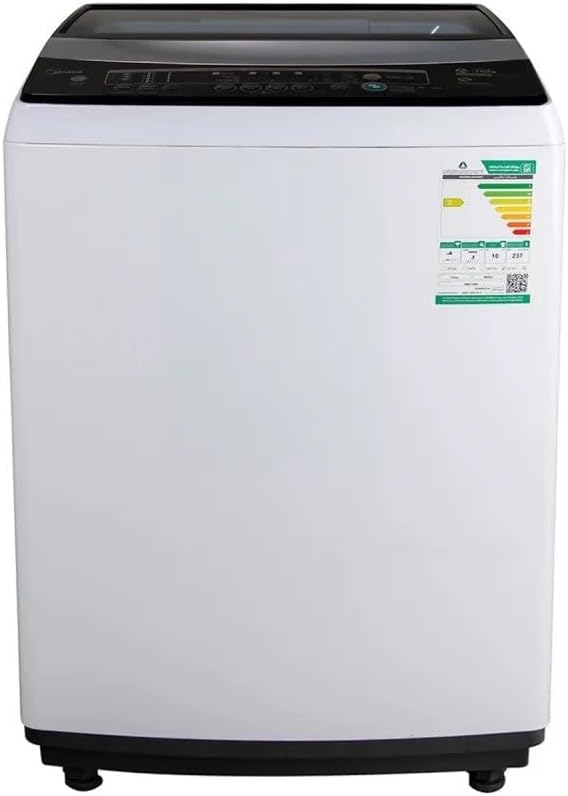
Slika 1: Kutno view of the Midea 10 kg Top Load Washing Machine.
2. Postavljanje i instalacija
Pravilna instalacija je ključna za siguran i učinkovit rad vaše perilice rublja.
2.1 Raspakiranje
- Carefully remove all packaging materials, including the base packaging and any protective foam.
- Inspect the washing machine for any signs of damage during transit. If damaged, do not proceed with installation and contact customer support.
2.2 Zahtjevi za lokaciju
- Perilicu rublja postavite na čvrstu, ravnu površinu kako biste smanjili vibracije i buku tijekom rada.
- Osigurajte dovoljno prostora oko stroja za ventilaciju i održavanje.
- The location must have access to a water supply (hot and cold, if applicable), a drain, and a grounded electrical outlet (220 Volts).
2.3 Niveliranje stroja
The Midea washing machine is equipped with adjustable leveling legs.
- Tilt the machine slightly and adjust the front leveling legs by turning them clockwise or counter-clockwise until the machine is stable.
- Use a spirit level to ensure the machine is perfectly level from front to back and side to side.
- Tighten the lock nuts on the leveling legs to secure them in place.
2.4 Spajanje crijeva za vodu i odvod
- Connect the water inlet hoses to the corresponding hot and cold water faucets (if applicable) and to the inlet valves on the back of the washing machine. Ensure connections are tight to prevent leaks.
- Position the drain hose securely into a standpipe or laundry tub, ensuring it is not kinked or blocked.
2.5 Električni priključak
- Uključite kabel za napajanje u uzemljenu električnu utičnicu od 220 V. Nemojte koristiti produžne kabele ili adaptere.
Slika 2: Prednja strana view of the Midea 10 kg Top Load Washing Machine with control panel.
3. Upute za rad
Follow these steps for optimal washing performance.
3.1 Kontrolna ploča prekoview
The Midea MA200W100/W-SA features a user-friendly touch control panel. Familiarize yourself with the various buttons and indicators before use.
3.2 Punjenje rublja
- Razvrstajte rublje prema vrsti tkanine, boji i stupnju zaprljanosti.
- Open the top lid and load items loosely into the drum, ensuring not to overload the 10 kg capacity. Overloading can reduce washing efficiency and damage the machine.
- Čvrsto zatvorite poklopac.

Slika 3: Vrh view of the Midea 10 kg Top Load Washing Machine with lid open.
3.3 Dodavanje deterdženta i omekšivača
- Dodajte odgovarajuću količinu deterdženta u dozator deterdženta. Za doziranje pogledajte upute za deterdžent.
- Pour fabric softener into the designated softener compartment (if available).
3.4 Odabir programa pranja
- Pritisnite gumb za uključivanje kako biste uključili uređaj.
- Use the program selection buttons on the touch control panel to choose the desired wash cycle. The machine offers various standard cycles.
- Adjust additional settings such as water level, temperature, or spin speed (up to 1500 RPM) if available and desired.
3.5 Pokretanje i pauziranje ciklusa
- Pritisnite tipku Start/Pauza za početak ciklusa pranja.
- To pause a cycle, press the Start/Pause button again. Press it once more to resume.
- Perilica će automatski nastaviti s fazama pranja, ispiranja i centrifugiranja.
3.6 Kraj ciklusa
Once the cycle is complete, the machine will signal with an audible alert. Remove laundry promptly to prevent wrinkles and odors.
4. Održavanje
Regular maintenance helps prolong the life of your washing machine and ensures optimal performance. Always unplug the machine before performing any cleaning or maintenance.
4.1 Čišćenje vanjskog dijela
- Obrišite vanjske površine mekom, damp tkanina.
- Avoid using abrasive cleaners, solvents, or harsh chemicals that could damage the finish.
4.2 Čišćenje dozatora deterdženta
- Periodically remove and clean the detergent and softener dispenser compartments to prevent residue buildup. Rinse with warm water and dry thoroughly before reinserting.
4.3 Čišćenje bubnja
- Run a "Tub Clean" or "Self Clean" cycle (if available) regularly to remove detergent residue and odors from the drum.
- Alternativno, pokrenite prazan ciklus s vrućom vodom i šalicom bijelog octa ili sredstva za čišćenje perilice rublja.
- Nakon upotrebe ostavite poklopac malo otvoren kako bi se bačva osušila na zraku i spriječila pojava plijesni.
4.4 Water Inlet Filter Cleaning
- If you notice reduced water flow, the inlet filters may be clogged. Turn off the water supply and disconnect the inlet hoses.
- Remove the mesh filters from the inlet valves and clean them under running water with a brush. Reinstall and reconnect hoses.
5. Rješavanje problema
Prije nego što kontaktirate korisničku službu, pogledajte sljedeće uobičajene probleme i njihova rješenja.
| Problem | Mogući uzrok | Otopina |
|---|---|---|
| Stroj se ne pokreće | Kabel za napajanje isključen; Poklopac nije pravilno zatvoren; Nestalo strujetage. | Ensure power cord is securely plugged in; Close the lid completely; Check household circuit breaker. |
| Bez punjenja vodom | Water supply turned off; Water inlet hoses kinked; Inlet filters clogged. | Turn on water supply; Straighten hoses; Clean inlet filters (refer to Maintenance section). |
| Stroj prekomjerno vibrira ili je bučan | Stroj nije niveliran; transportni vijci nisu uklonjeni; preopterećen ili neuravnotežen teret. | Adjust leveling legs; Ensure all shipping bolts are removed; Redistribute laundry evenly in the drum. |
| Voda ne otječe | Odvodno crijevo je presavijeno ili začepljeno; filter odvodne pumpe je začepljen. | Check and straighten drain hose; Clean drain pump filter (refer to manual for location, if applicable). |
| Odjeća je još uvijek mokra nakon ciklusa centrifuge | Load unbalanced; Spin speed too low; Overloaded. | Redistribute load; Select a higher spin speed; Reduce load size. |
Ako problem i dalje postoji nakon isprobavanja ovih rješenja, obratite se korisničkoj podršci tvrtke Midea.
6. Specifikacije
| Marka | Midea |
| Informacije o modelu | MA200W100/W-SA |
| Dimenzije proizvoda | 22.83 x 38.11 x 23.46 cm (D x Š x V) |
| Težina artikla | 45 kg |
| Kapacitet | 10 kilogram |
| Ponderirana godišnja potrošnja energije | 191 kilovat sati godišnje |
| Godišnja potrošnja energije | 255 vata |
| Maksimalna brzina centrifuge | 1500 okretaja u minuti |
| Razina buke | 30 dB |
| Vrsta instalacije | Samostojeći |
| Boja | Bijela |
| Upravljačka konzola | Dodir |
| Standardni ciklusi | 60 |
| Pristup lokaciji | Gornje opterećenje |
| Voltage | 220 volti |
| Vrsta materijala | Plastični |
| Posebne značajke | Podesive noge za izravnavanje |
7. Informacije o jamstvu
Your Midea 10 kg Top Load Washing Machine comes with a standard 2 godina jamstva od datuma kupnje, pokrivajući proizvodne nedostatke i kvarove pri normalnoj uporabi.
Planovi proširene zaštite
For additional peace of mind, the following protection plans are available for purchase:
- 1-Year Extended Warranty by Tawuniya: Provides an additional year of warranty coverage.
- 1 Year Accidental Damage Protection Plan: Covers accidental damage for one year.
- 2 Years Accidental Damage Protection Plan: Covers accidental damage for two years.
Please refer to the specific terms and conditions of each protection plan for full details on coverage and exclusions.
8. Korisnička podrška
For installation services, technical assistance, or any inquiries regarding your Midea washing machine, please contact the Midea customer support team at the following regional numbers:
- Rijad: +966-11-4094006 lok. – 113
- Džeda: +966-12-6577714
- Damam: +966-13-8343691
- Kasim: +966 581044198
- Abha: +966 593322785
Please have your model number (MA200W100/W-SA) and purchase details ready when contacting support.
Ask a question about this manual
Ask about setup, troubleshooting, compatibility, parts, safety, or missing instructions. Manuals+ will review the question and use this page’s manual context to help answer it.