
1. Uvod
This manual provides detailed instructions for the setup, operation, maintenance, and troubleshooting of your ELECROW 10.1 Inch Touchscreen Monitor. Please read this manual thoroughly before using the product to ensure proper functionality and to prevent damage.
The ELECROW 10.1 inch portable monitor features a 1280x800 IPS display, offering clear visuals and wide viewing angles. It supports touch input and is compatible with various devices and operating systems, including Raspberry Pi, Jetson Nano, Banana Pi, PC, and Windows.
2. Postavljanje
2.1 Sadržaj paketa
Provjerite jesu li sve dolje navedene stavke uključene u vaš paket:
- 1x 10.1 inch Touch Display
- 1x HD to HD Cable
- 2x USB cable (USB A to Micro USB)
- 1x HD to Mini HD Adapter
- 1x Screw Pack (4x Small Copper Pillars, 4x M2.5 Screws)
- 2x Bracket (Pro Stand)
- 1x odvijač
- 1x korisnički priručnik

Image: All components included in the ELECROW 10.1 Inch Touchscreen Monitor package.

Slika: Detaljna view of the monitor, cables, stand, and tools.
2.2 Fizički overview i Veze
Familiarize yourself with the monitor's ports and dimensions.

Image: Monitor dimensions and port layout.

Image: Close-up of the monitor's rear panel showing port functions and mounting points.
2.3 Spajanje monitora
The monitor connects via HDMI for video signal and USB for power and touch functionality. Ensure your device has compatible ports.
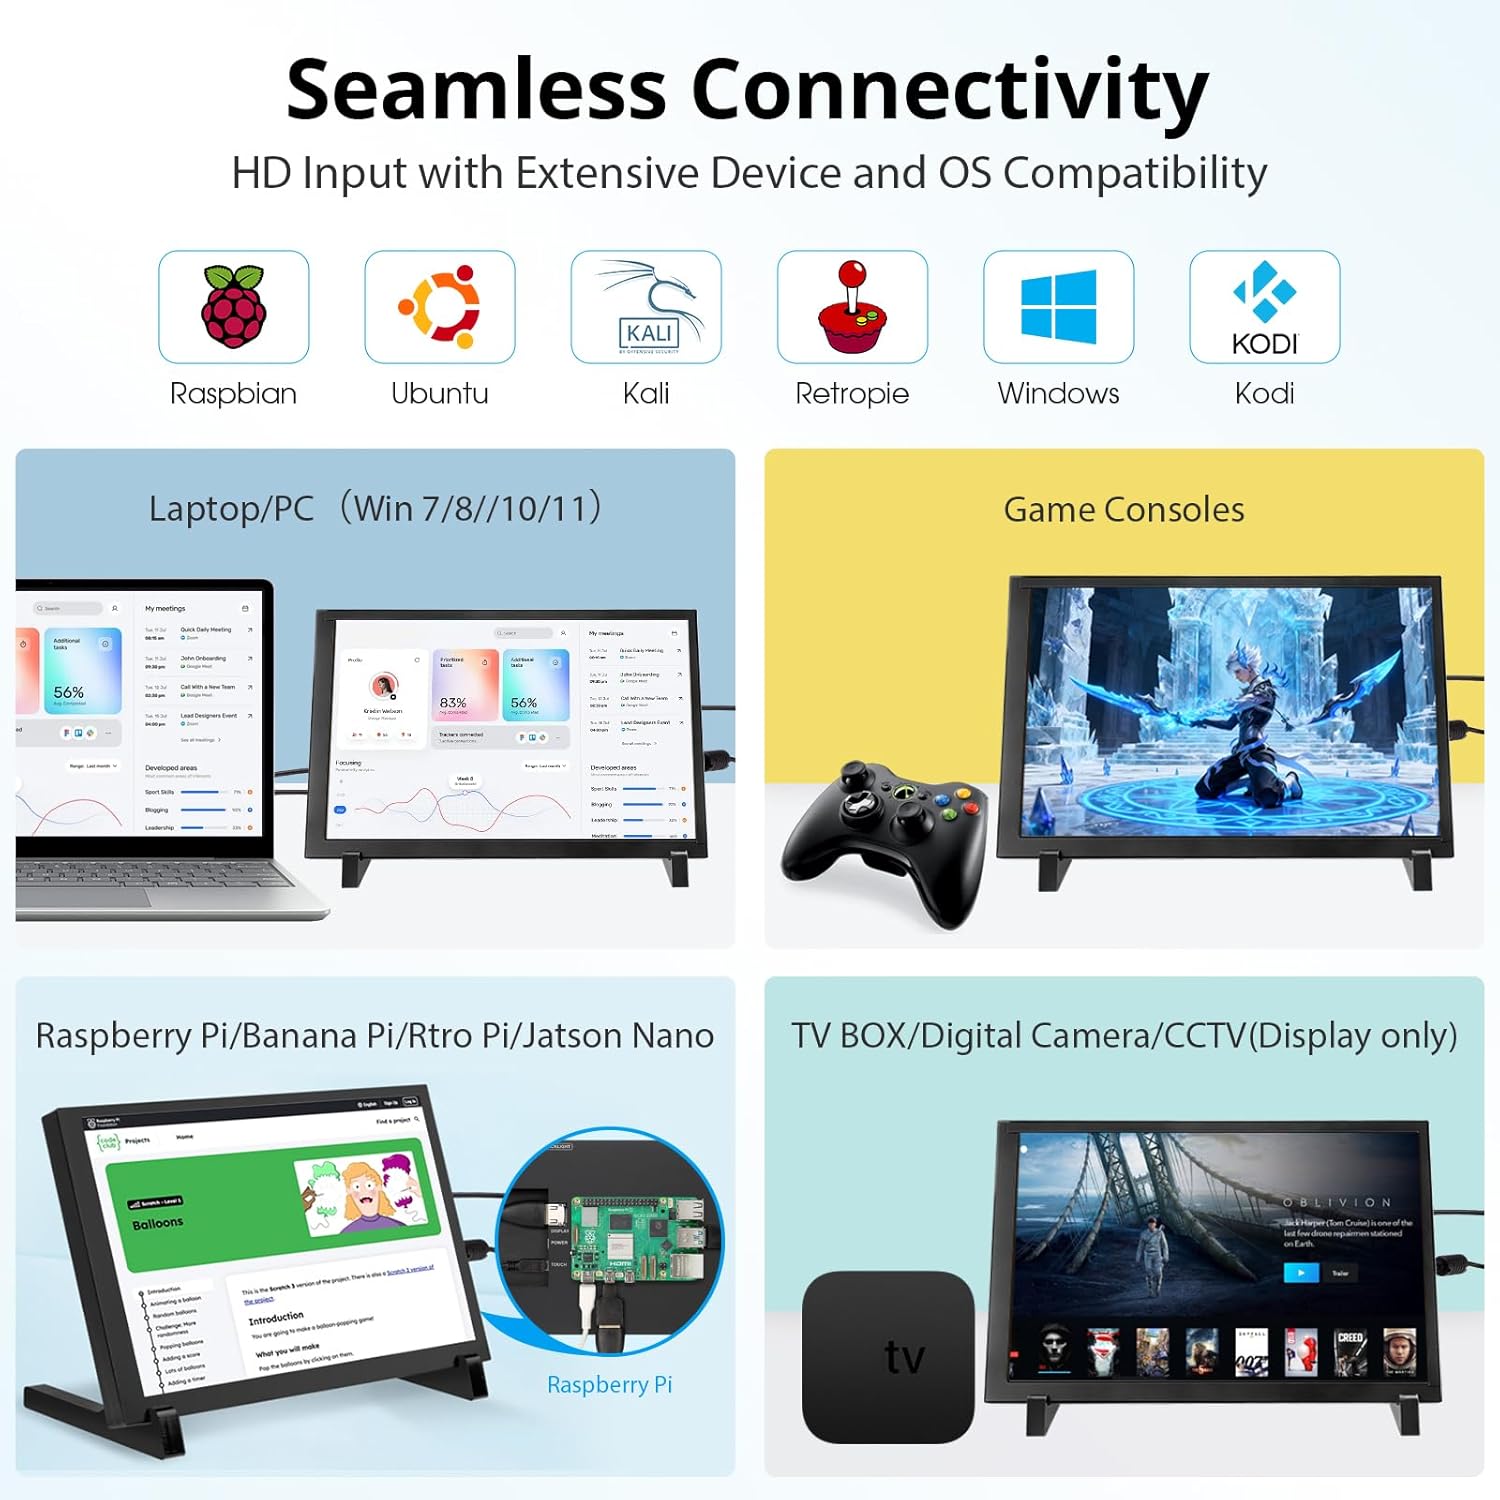
Slika: Prekoview of compatible devices and operating systems.
2.3.1 Spajanje na Raspberry Pi
Connect the monitor to your Raspberry Pi using the provided HDMI cable for video and a USB cable for power and touch. For Raspberry Pi 4/5, use the included HD to Mini HD adapter if necessary. The monitor supports single-point touch on Raspberry Pi OS (Raspbian), Ubuntu, and Kali Linux.

Image: Raspberry Pi connection setup.
2.3.2 Spajanje na računalo/prijenosno računalo
Connect the monitor to your PC or laptop using an HDMI cable for video and a USB cable for power and touch. The monitor supports 5-point touch on Windows 11/10/8/7 systems.

Image: PC/Laptop connection setup.
2.3.3 Povezivanje s drugim uređajima
The monitor is compatible with Jetson Nano, Banana Pi, Beaglebone, and game consoles. Use appropriate HDMI and USB connections for these devices.

Image: Jetson Nano connection setup.
2.4 Mogućnosti montaže
The monitor includes a stand for desktop use and features four mounting holes on the back for integration with Raspberry Pi or wall mounting.
2.4.1 Using the Included Stand
Attach the two bracket pieces to the bottom of the monitor to form a stable stand for desktop placement.
2.4.2 Mounting Raspberry Pi Behind the Display
The monitor is designed to allow a Raspberry Pi to be mounted directly behind it, creating a compact setup. Use the provided screws and copper pillars to secure the Raspberry Pi to the designated mounting holes.

Image: Raspberry Pi mounted discreetly behind the display.

Image: Integrated Raspberry Pi and monitor setup.
2.5 Postavljanje završenoview Video
Video: An official ELECROW overview and demonstration of the 10.1 Inch 1280x800 IPS LCD Touchscreen Monitor, showcasing its features and basic setup.
3. Upute za rad
3.1 Uključivanje/isključivanje
Once connected to a power source via the USB cable, the monitor will automatically power on. To power off, disconnect the USB power cable. Some operating systems may offer display power management options.
3.2 Funkcionalnost zaslona osjetljivog na dodir
The monitor features a capacitive touchscreen. The number of touch points supported depends on the connected operating system:
- Windows (11/10/8/7): Supports 5-point multi-touch.
- Raspberry Pi OS (Raspbian), Ubuntu, Kali Linux, Win10 IoT: Supports single-point touch.

Image: 5-point multi-touch in action.

Image: Multi-touch gestures supported.
3.3 Kvaliteta prikaza
The 1280x800 IPS LCD panel provides a wide 178-degree viewkut snimanja i točna reprodukcija boja.

Image: Display resolution comparison.

Image: Wide viewing angle demonstration.
3.4 Svestrane primjene
The monitor can be used for various purposes beyond its primary function with development boards, including:
- As a second monitor for PC/Laptops.
- As a digital photo frame.
- For home monitoring displays (CCTV).
- As a display for gaming consoles.

Slika: pramples of versatile display applications.

Image: Monitor used for gaming.

Image: Monitor used for home monitoring.
4. Održavanje
4.1 Čišćenje zaslona
Za čišćenje zaslona, nježno ga obrišite mekom krpom koja ne ostavlja dlačice. Za tvrdokorne mrlje, laganoampen the cloth with water or a screen-safe cleaning solution. Avoid using harsh chemicals, abrasive materials, or excessive moisture, as these can damage the screen surface.
4.2 Opća briga
- Držite monitor dalje od izravne sunčeve svjetlosti, izvora topline i ekstremnih temperatura.
- Izbjegavajte ispuštanje ili izlaganje monitora jakim udarcima.
- Do not attempt to disassemble the monitor. Unauthorized disassembly will void the warranty.
- Osigurajte odgovarajuću ventilaciju tijekom upotrebe.
5. Rješavanje problema
5.1 Nema prikaza / Crni ekran
- Provjerite snagu: Ensure the monitor is receiving power via the USB cable and the power source is active.
- Check HDMI Connection: Verify that the HDMI cable is securely connected to both the monitor and the source device. Try a different HDMI cable if available.
- Izlaz izvornog uređaja: Confirm that your source device (e.g., Raspberry Pi, PC) is configured to output video to the connected HDMI port.
- Kompatibilnost rezolucije: Ensure the source device's output resolution is compatible with the monitor (1280x800).
5.2 Funkcionalnost dodira ne radi
- Check USB Touch Connection: Ensure the USB cable for touch functionality is securely connected from the monitor's 'TOUCH' port to a USB data port on your source device.
- Instalacija upravljačkog programa: For some operating systems (especially Linux distributions), specific drivers or configuration might be required for touch input. Refer to the documentation for your specific OS and device (e.g., Raspberry Pi documentation for touchscreen setup).
- OS kompatibilnost: Confirm your operating system supports touch input with this monitor. Windows systems generally offer multi-touch, while Linux-based systems often require specific setup for single-touch.
5.3 Problemi s kvalitetom slike
- Kvaliteta kabela: A faulty HDMI cable can cause image distortion or flickering. Try a different cable.
- Izvorna rezolucija: Ensure the source device is outputting at the monitor's native resolution (1280x800) for optimal clarity.
6. Specifikacije
| Značajka | Specifikacija |
|---|---|
| Marka | ELEKTRIČNA KRIVICA |
| Naziv modela | DIS85101D |
| Veličina zaslona | 10.1 inča |
| Rezolucija | 1280x800 |
| Izvorna razlučivost | 1280x800 piksela |
| Omjer slike | 16:10 |
| Vrsta zaslona | LCD |
| Tehnologija zaslona | IPS |
| Opis površine zaslona | Sjajna |
| Omjer kontrasta | 2000:1 |
| Brzina osvježavanja | 60 Hz |
| Viewing kut | 178 stupnjeva |
| Svjetlina | 250 cd/m² |
| Vrijeme odziva | 8 milisekundi |
| Tehnologija povezivanja | HDMI, USB |
| Ukupno HDMI priključaka | 1 |
| Ukupno USB priključaka | 2 (Micro USB for power, Micro USB for touch/power) |
| Potrošnja energije | 5.29 vata |
| Voltage | 5 volta |
| Težina artikla | 521 g |
| Dimenzije predmeta (D x Š x V) | 1.6"D x 6.2"Š x 9.4"V |
| Vrsta montaže | Desk Mount, Wall Mount (4 mounting holes) |
| Kompatibilni uređaji | Raspberry Pi 3/3B+/4B/5, Jetson Nano, Banana Pi, Beaglebone, PC (Windows, Linux, Ubuntu) |
7. Informacije o jamstvu
This ELECROW 10.1 Inch Touchscreen Monitor comes with a 1 godine jamstva proizvođača. Please retain your proof of purchase for warranty claims. The warranty covers defects in materials and workmanship under normal use. It does not cover damage caused by misuse, accidents, unauthorized modifications, or improper installation.
8. Korisnička podrška
For technical assistance, troubleshooting not covered in this manual, or warranty inquiries, please contact ELECROW customer support through the retailer where you purchased the product or visit the official ELECROW webstranica za kontakt podatke.