1. Uvod
The Walfront MPPT Solar Charge Controller is designed to efficiently manage power flow from your solar panels to your battery bank, optimizing charging performance for off-grid solar systems. This manual provides essential information for the safe and effective installation, operation, and maintenance of your 50A MPPT solar charge controller.

Image 1.1: Walfront MPPT Solar Charge Controller 50A. This image shows the front view of the orange and black controller, featuring an LCD screen displaying PV, Battery, and Load information, along with 'ESC' and 'SET' buttons.
2. Ključne značajke
- High Efficiency MPPT Tracking: Features MPPT tracking efficiency greater than 99% and a maximum conversion efficiency of up to 98%, maximizing energy harvest from solar panels.
- Wide 180V PV Input and Auto Voltage Prepoznavanje: Supports a maximum solar input voltage of 180V (at 25℃) and automatically recognizes 12V, 24V, 36V, and 48V battery systems. Compatible with battery voltagod 9V do 64V.
- Clear LCD Display and Smart Protection: Built-in LCD provides real-time system data (voltage, current, operating status). Includes temperature compensation and multiple protection features for safe operation.
- Low No-Load Loss and Reliable Performance: No-load loss of ≤0.4W conserves energy. Designed for reliable operation in temperatures from -10℃ to 65℃ and altitudes up to 3000 meters.
- Jednostavan za instaliranje i korištenje: Auto-recognition feature simplifies setup. Compact design allows for straightforward mounting.

Slika 2.1: Automatska glasnoćatage Identification. This image highlights the controller's ability to automatically identify 12V, 24V, 36V, and 48V systems, shown with various solar panel application examples.
3. Sigurnosne informacije
Please read all instructions carefully before installation and operation. Failure to follow these safety guidelines may result in personal injury, damage to the controller, or other equipment.
- Ensure all wiring is correctly polarized and securely connected. Loose connections can cause overheating and damage.
- Uvijek prvo spojite bateriju, zatim solarni panel i na kraju opterećenje. Isključite obrnutim redoslijedom.
- Do not connect the solar panel array to the controller without a battery connected.
- Osigurajte sustav voltage of the solar panel and battery are compatible with the controller's specifications.
- Regulator postavite u dobro prozračenom prostoru, dalje od zapaljivih materijala i izravne sunčeve svjetlosti.
- Izbjegavajte dodirivanje priključaka pod naponom. Tijekom instalacije koristite izolirane alate.
- This device is not waterproof. Protect it from moisture and water exposure.
4. Sadržaj paketa
Provjerite jesu li sve dolje navedene stavke uključene u vaš paket:
- 1 x Walfront MPPT Solar Charge Controller (50A)
- 4 x vijka
- 4 x ekspanzionih vijaka
- 1 x Korisnički priručnik (ovaj dokument)
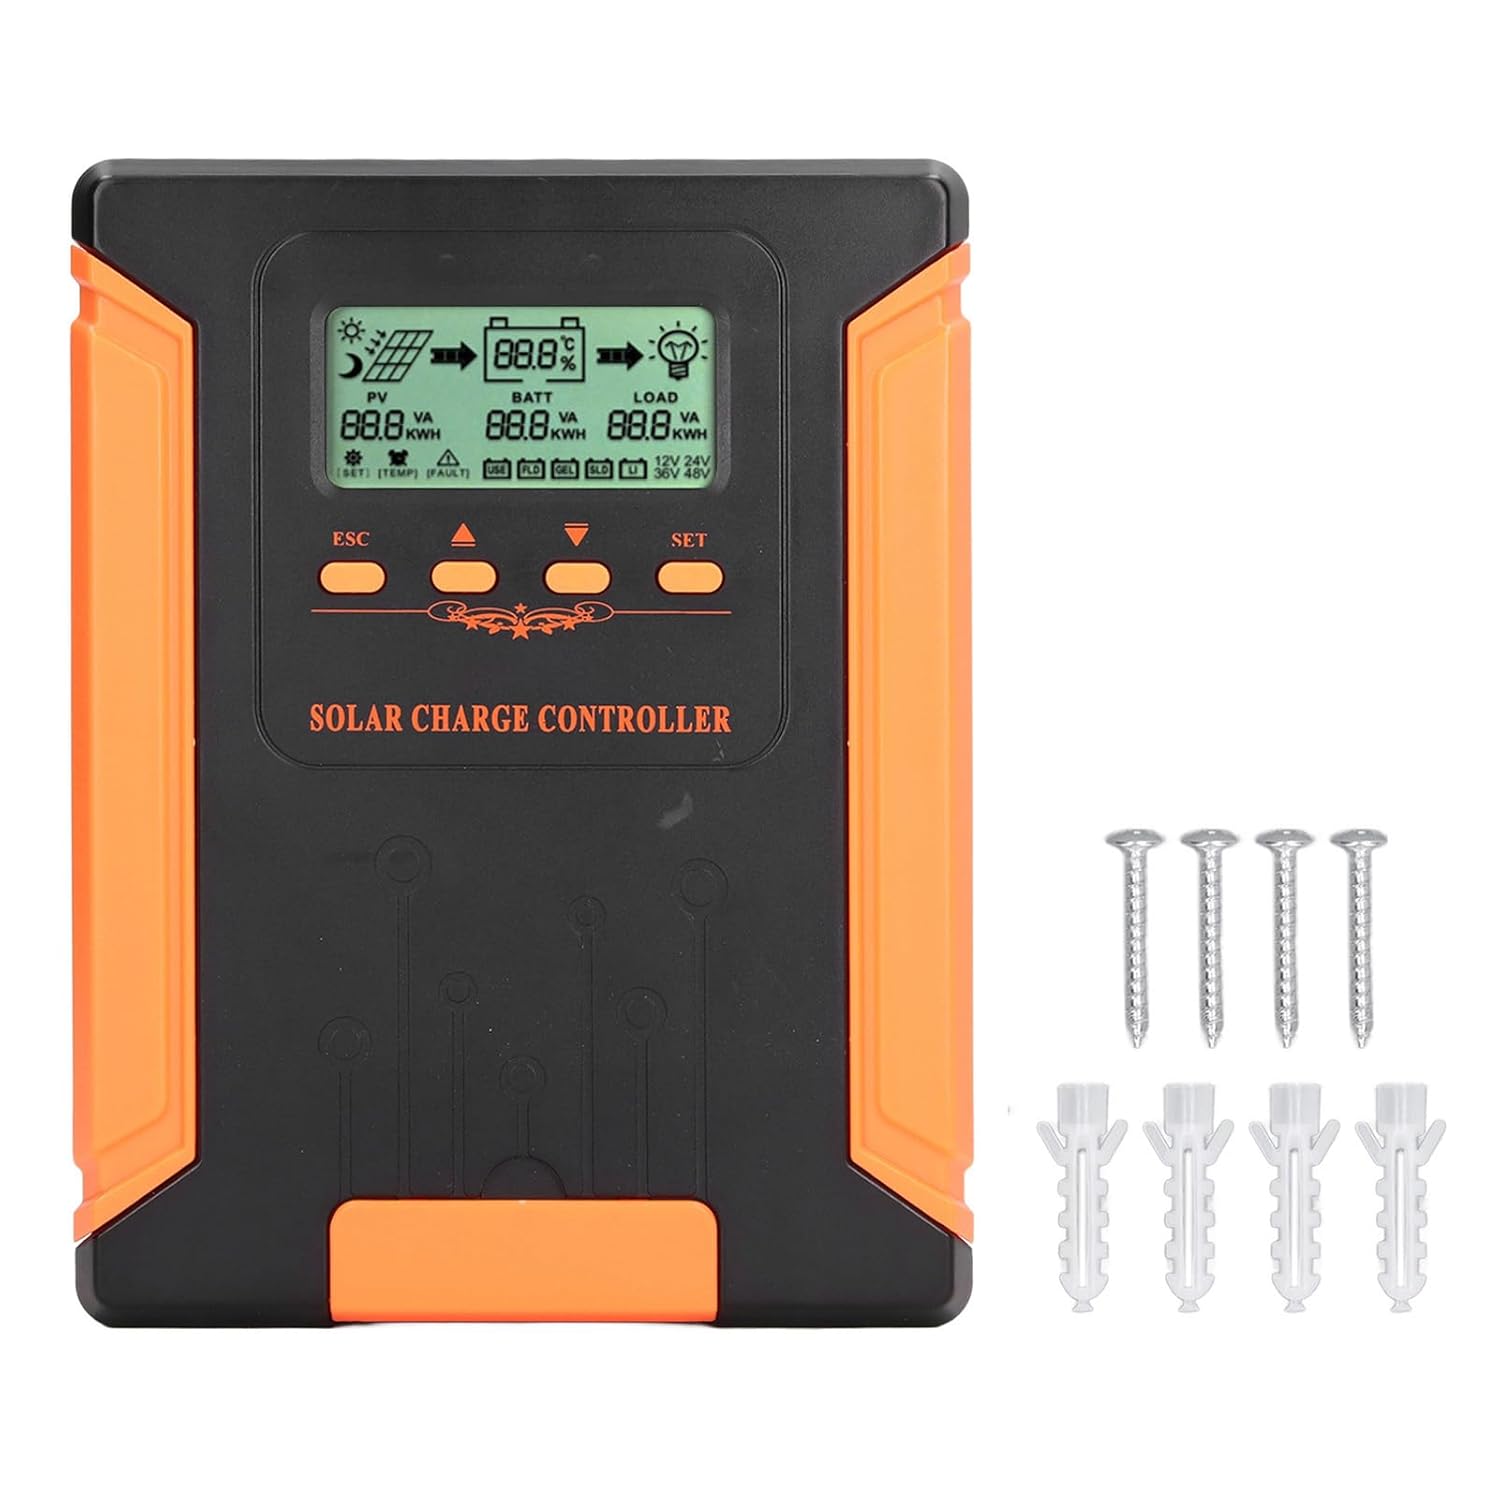
Image 4.1: Package Contents. This image displays the solar charge controller alongside the mounting screws and expansion screws provided in the package.
5. Postavljanje i instalacija
Slijedite ove korake za pravilnu instalaciju solarnog regulatora punjenja.
5.1 Montaža kontrolera
- Odaberite suho, dobro prozračeno mjesto, zaštićeno od izravne sunčeve svjetlosti, visokih temperatura i vlage.
- Ensure there is sufficient space around the controller for heat dissipation, especially around the cooling fins.
- Mount the controller vertically on a solid surface using the provided screws.
5.2 Spajanje ožičenja
Refer to the wiring diagrams below for correct connection sequence. Always connect in the following order:
- Spojite bateriju: Connect the battery to the controller's battery terminals. Ensure correct polarity (+ to + and - to -). The controller will automatically detect the battery voltage.
- Spojite solarni panel: Spojite solarni panel na PV terminale regulatora. Osigurajte ispravan polaritet.
- Spojite istosmjerno opterećenje (opcionalno): Spojite istosmjerno opterećenje na priključke opterećenja regulatora. Osigurajte ispravan polaritet.
To disconnect the system, follow the reverse order: disconnect load, then solar panel, then battery.

Image 5.1: Basic System Connection Diagram. This diagram illustrates the connection order: 1. Battery Assembly, 2. Solar Panel Assembly, 3. DC Load. It also shows an AC Load and Inverter connected to the Battery Assembly.

Image 5.2: Detailed System Wiring Diagram. This diagram provides a more comprehensive view of a solar power system, including solar panels, battery, inverter (AC Output/Input), and various AC loads like laptops, lights, air conditioners, televisions, and fans.
6. Upute za rad
The controller features an LCD display and control buttons for monitoring and configuration.
6.1 LCD zaslon
The LCD screen provides real-time information about your solar system, including:
- Status fotonaponskog sustava (PV): Ulazni voltage, current, and power from solar panels.
- BATT (Battery) Status: Baterija voltage, charging current, and state of charge.
- LOAD Status: Output current and power to the DC load.
- Sustav Voltage: Automatically detected battery system voltage (12V/24V/36V/48V).
- Indikatori grešaka: Displays fault codes or warnings if issues occur.
6.2 gumba za upravljanje
The controller has three buttons: ESC, Up/Down arrows, and SET.
- Gumb ESC: Used to exit current menu or cancel an operation.
- Gumbi gore/dolje: Used to navigate through menu options or adjust parameter values.
- Gumb SET: Used to enter a menu, confirm a selection, or save changes to parameters.

Image 6.1: Control Buttons. This close-up image shows the 'ESC', 'Up arrow', 'Down arrow', and 'SET' buttons on the controller's front panel.
7. Održavanje
Redovito održavanje osigurava optimalne performanse i dugotrajnost vašeg solarnog regulatora punjenja.
- Čišćenje: Periodically clean the controller's exterior with a dry cloth. Ensure the cooling fins are free from dust and debris to maintain proper heat dissipation.
- Veze: Check all wiring connections regularly to ensure they are tight and free from corrosion.
- Inspekcija: Inspect the controller for any signs of physical damage, overheating, or unusual odors.
- Okruženje: Ensure the installation environment remains dry and well-ventilated.

Image 7.1: Cooling Fins. This close-up shows the cooling fins on the top of the controller, which are crucial for heat dissipation and require regular cleaning.
8. Rješavanje problema
If you encounter issues with your controller, refer to the following common problems and solutions:
| Problem | Mogući uzrok | Otopina |
|---|---|---|
| Zaslon kontrolera je isključen | Baterija nije spojena ili je baterija prenapunjenatage prenisko. | Ensure battery is connected correctly and has sufficient charge (above 9V). |
| No charging current from PV | Solar panels not connected, insufficient sunlight, or PV polarity reversed. | Check PV connections and polarity. Ensure adequate sunlight. Verify PV voltage je u dometu. |
| Učitavanje ne radi | Load disconnected, load current too high, or load polarity reversed. | Check load connections and polarity. Ensure load current does not exceed controller's rating. |
| Baterija nije potpuno napunjena | Insufficient solar input, undersized solar array, or battery issues. | Increase solar panel capacity or check for shading. Inspect battery health. |
9. Tehničke specifikacije
Below are the technical specifications for the Walfront MPPT Solar Charge Controller 50A.
| Parametar | Specifikacija |
|---|---|
| Sustav Voltage | 12 V / 24 V / 36 V / 48 V Automatski |
| Nazivna struja punjenja | 50A |
| No Load Loss | ≤0.4W |
| Solar Maximum Input Voltage | 180V (at 25℃), 150V (at -25℃) |
| Baterija Voltage Domet | 9-64 V |
| Maximum Power Point Voltage Domet | Baterija Voltage +2V do 150V |
| Učinkovitost pretvorbe | ≤98% |
| Učinkovitost MPPT praćenja | >99% |
| Koeficijent temperaturne kompenzacije | -2mv/℃/2V (default value) |
| Radna temperatura | -10 ℃ do 65 ℃ |
| Stupanj zaštite | IP21 |
| Nadmorska visina | ≤3000 Meter / 9842.5ft |

Image 9.1: Model Comparison Table. This table provides a comparison of rated charging current and solar panel maximum input power for CM-50 (50A) and CM-60 (60A) models across different system voltages.
10. Jamstvo i podrška
Za informacije o jamstvu i tehničkoj podršci, molimo pogledajte dokumentaciju koju ste dobili prilikom kupnje ili se obratite prodavaču. Sačuvajte račun kao dokaz o kupnji.