
IK Multimedia ARC Studio
IK Multimedia ARC Studio Room Correction System User Manual
Model: ARC Studio (IK000183)
1. Uvod
The IK Multimedia ARC Studio is an advanced room correction system designed to optimize the acoustic performance of your studio or listening environment. This system includes a high-precision measurement microphone, sophisticated ARC 4 software, and a dedicated hardware processor. By analyzing your room's acoustic response, ARC Studio creates a custom correction profile to ensure accurate and balanced audio reproduction, leading to more reliable mixing and mastering decisions.
2. Sigurnosne informacije
Please read and follow all safety instructions to prevent damage to the device or personal injury.
- Ne izlažite uređaj vodi ili prekomjernoj vlazi.
- Izbjegavajte postavljanje uređaja blizu izvora topline ili na izravnu sunčevu svjetlost.
- Koristite samo strujni adapter isporučen s jedinicom.
- Ne pokušavajte sami otvarati ili servisirati uređaj. Za sve servisne radove obratite se kvalificiranom osoblju.
- Osigurajte odgovarajuću ventilaciju oko jedinice kako biste spriječili pregrijavanje.
- Čuvati izvan dohvata djece.
3. Sadržaj paketa
Verify that all items are present in your ARC Studio package:
- ARC Studio Hardware Processor
- ARC Measurement Microphone
- USB kabel
- Napajanje
- ARC 4 Software License (downloadable)
- Kratki vodič za početak
4. Proizvod je gotovview
The ARC Studio system comprises three main components working in conjunction to achieve precise room correction.
4.1 ARC Studio Hardware Processor
This dedicated hardware unit processes the audio signal, applying the room correction profile in real-time. It features balanced XLR inputs and outputs for seamless integration into your studio setup. The processor operates with 24-bit/96 kHz AD/DA converters for transparent signal integrity.

Image: The ARC Studio hardware processor and measurement microphone.

Slika: Stražnja strana view of the ARC Studio processor, highlighting XLR inputs and outputs, USB port, and DC power input.
4.2 ARC Measurement Microphone
The included high-precision omnidirectional measurement microphone is crucial for accurately capturing your room's acoustic characteristics. It connects to your audio interface (not included) during the calibration process.

Image: Close-up of the ARC measurement microphone.
4.3 ARC 4 Software
The ARC 4 software guides you through the room measurement process and generates the correction profiles. It also allows for advanced customization, including target curves and monitor emulations. The software is used to load the generated profiles onto the ARC Studio hardware processor.

Image: ARC 4 software interface shown on a laptop, demonstrating frequency response analysis and correction, with the ARC Studio hardware and microphone in the foreground.
5. Postavljanje
5.1 Instalacija softvera
- Register your product on the IK Multimedia website to access the ARC 4 software download.
- Download and install the ARC 4 software on your computer (Windows or macOS).
- Follow the on-screen instructions to complete the installation and authorize the software.
5.2 Hardverske veze
The ARC Studio processor should be placed between your audio interface's outputs and your studio monitors. The measurement microphone is connected to your audio interface during calibration.

Image: Connection diagram for the ARC Studio processor in a typical studio setup.
- Connect the ARC Studio Processor:
- Connect the outputs of your audio interface to the L i R XLR inputs on the rear of the ARC Studio processor.
- Spojite L i R XLR outputs of the ARC Studio processor to the inputs of your studio monitors.
- Connect the supplied USB cable from the ARC Studio processor to an available USB port on your computer.
- Spojite napajanje na DC IN port on the ARC Studio processor and plug it into a power outlet.
- Connect the Measurement Microphone (for calibration):
- Connect the ARC Measurement Microphone to an XLR input on your audio interface. Ensure phantom power (+48V) is enabled for the microphone input on your audio interface.

Image: A studio environment showing the ARC Studio processor integrated with a laptop, audio interface, and a microphone on a stand for calibration.
5.3 Room Calibration Process
The calibration process uses the ARC 4 software and the measurement microphone to analyze your room and create a correction profile.
- Launch the ARC 4 software on your computer.
- Select your audio interface as the input device for the measurement microphone and ensure the output is routed through the ARC Studio processor.
- Follow the on-screen instructions in the ARC 4 software to perform the room measurements. This typically involves placing the microphone at various positions around your listening area.
- The software will generate a room correction profile based on these measurements.
- Jednom profesionalacfile is generated, you can save it and upload it to the ARC Studio hardware processor via the USB connection.
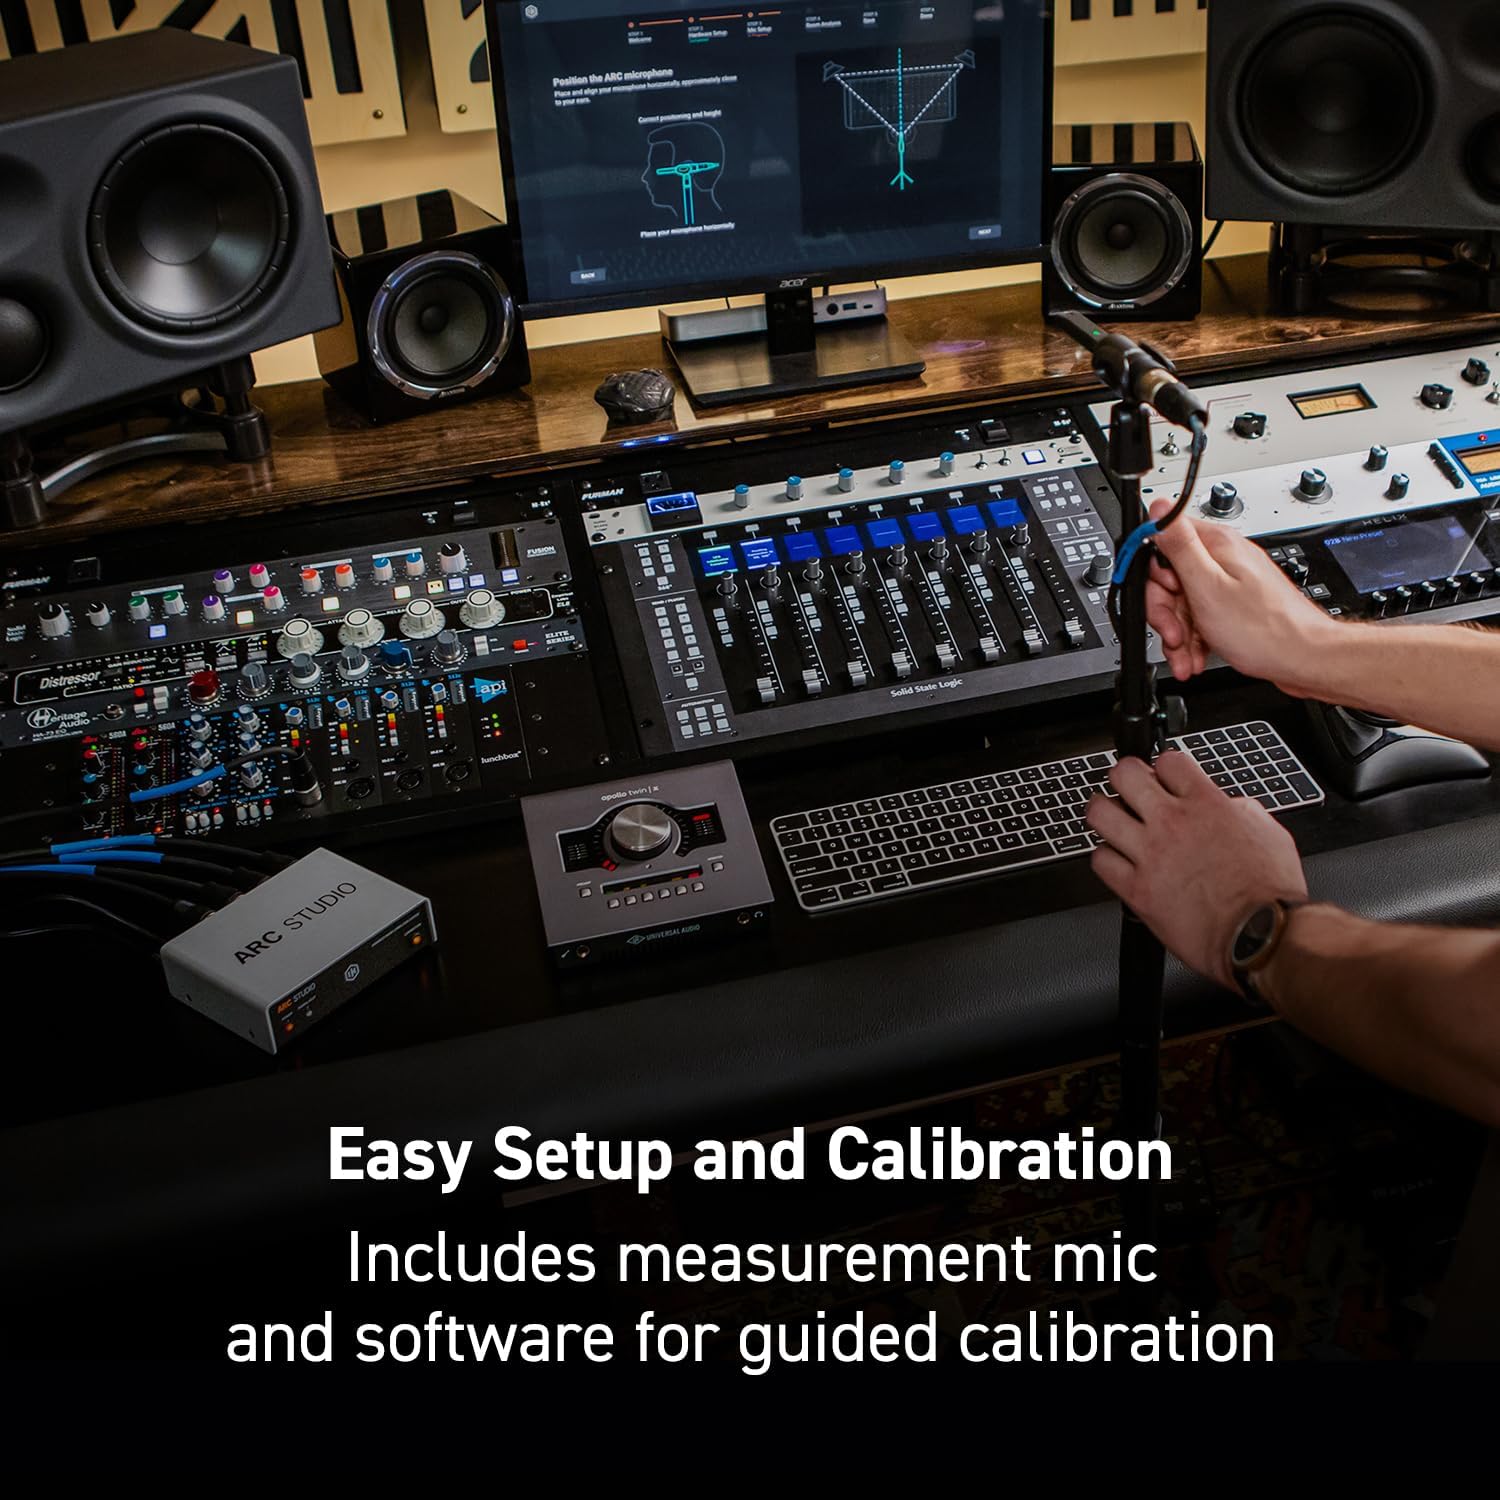
Image: A user positioning the ARC measurement microphone on a stand, preparing for room calibration with the ARC 4 software.
6. Operating the ARC Studio System
6.1 Using the ARC Studio Hardware Processor
Once a correction profile is loaded onto the ARC Studio processor, it operates independently of your computer. The processor applies the correction to all audio passing through it.
- LED za napajanje: Pokazuje status napajanja jedinice.
- LED signal / isječak: Shows audio signal presence and clipping. Adjust input levels on your audio interface to avoid clipping.
- Correction Button/LED: Toggles the room correction on or off. The LED indicates whether correction is active.

Image: Front panel of the ARC Studio processor, detailing the Power, Signal/Clip, and Correction indicators.
6.2 ARC 4 Software Features
The ARC 4 software provides advanced control and customization options for your room correction profiles.
- Custom EQ Profiles: Tailor the correction to your specific preferences or room characteristics.
- Monitor Emulations: Simulate the sound of various studio monitors and reference systems, allowing you to cross-check your mixes without needing multiple sets of speakers.
- Vrste korekcija: Choose between different correction algorithms (e.g., Natural, Linear) to suit your workflow.

Image: ARC 4 software interface displaying a frequency response graph and controls for system tuning.

Image: ARC 4 software interface with a dropdown menu illustrating various monitor emulation options.
7. Održavanje
- Čišćenje: Use a soft, dry cloth to clean the exterior of the ARC Studio processor and microphone. Do not use liquid cleaners or solvents.
- Skladištenje: Kada se uređaj ne koristi dulje vrijeme, čuvajte ga na hladnom i suhom mjestu, dalje od izravne sunčeve svjetlosti i ekstremnih temperatura.
- Ažuriranja softvera: Regularly check the IK Multimedia website for ARC 4 software updates to ensure optimal performance and access to new features.
8. Rješavanje problema
| Problem | Mogući uzrok | Otopina |
|---|---|---|
| No sound output from monitors. | Incorrect cabling, ARC Studio not powered, correction bypassed. | Check all XLR and power connections. Ensure the ARC Studio processor is powered on and the Correction LED is illuminated (or bypassed if desired). Verify audio interface output routing. |
| Microphone not detected during calibration. | Phantom power off, incorrect input selected, faulty cable. | Ensure +48V phantom power is enabled on your audio interface input. Select the correct input in ARC 4 software. Test with a different XLR cable. |
| Audio sounds distorted or clips. | Input levels too high. | Reduce the output level from your audio interface to the ARC Studio processor. Monitor the Signal/Clip LED on the ARC Studio unit. |
| Correction profile not loading to hardware. | USB connection issue, software error. | Ensure the USB cable is securely connected. Restart ARC 4 software and the ARC Studio processor. Try a different USB port. |
9. Specifikacije
| Značajka | Detalj |
|---|---|
| Naziv modela | ARC studio |
| Broj modela artikla | IK000183 |
| Proizvođač | IK Multimedija |
| Dimenzije proizvoda | 4.72 x 5.67 x 1.77 inča |
| Težina artikla | 0.037 unci (1.05 grama) |
| AD/DA pretvarači | 24-bitni / 96 kHz |
| Unosi | 2 x balansirani XLR |
| Izlazi | 2 x balansirani XLR |
| Povezivost | USB for software communication |
10. Jamstvo i podrška
IK Multimedia products are covered by a limited warranty. For detailed warranty information, product registration, and technical support, please visit the official IK Multimedia webstranica:
You can also find FAQs, software downloads, and contact information for customer service on their support page.
Ask a question about this manual
Ask about setup, troubleshooting, compatibility, parts, safety, or missing instructions. Manuals+ will review the question and use this page’s manual context to help answer it.