
1. Uvod
Thank you for choosing the TURN RAISE AT040 210° Two-Way Articulating Borescope. This industrial endoscope is designed for detailed visual inspection in hard-to-reach areas, featuring a dual-lens system, a 7-inch IPS display, and a flexible articulating probe. This manual provides essential information for the safe and effective operation, maintenance, and troubleshooting of your device. Please read it thoroughly before use.
2. Proizvod je gotovview
2.1 Ključne značajke
- 210° Two-Way Articulating Probe: Allows precise control and locking of the probe tip for optimal viewing kutova.
- Sustav s dvostrukim lećama: Front and side cameras for comprehensive inspection, supporting split-screen display.
- 7-inčni IPS zaslon: Provides a wide and clear view of inspection areas.
- 0.25-inch (6.5mm) Slim Probe: Designed for access into small diameter gaps.
- Podesivo LED osvjetljenje: Integrated lights on the probe with adjustable brightness for clear visibility in dark environments.
- Foto i video snimanje: Capture images and videos to a 32GB memory card.
- Ergonomski dizajn: Facilitates comfortable one-hand operation.
- Ugrađena baterija od 4000 mAh: Nudi do 4 sata neprekidnog rada.
- IP67 Rated Probe: Water-resistant for use in damp ili vlažnim uvjetima.
2.2 Sadržaj paketa
- Borescope with light (Main Unit) x1
- Torbica za nošenje x1
- Kabel za punjenje Type-C x1
- Korisnički priručnik x1
- 32GB Memory Card (pre-installed or separate) x1
2.3 Komponente uređaja

Figure 1: Main components of the TURN RAISE AT040 Borescope, including the display unit, articulating probe, and protective carrying case.
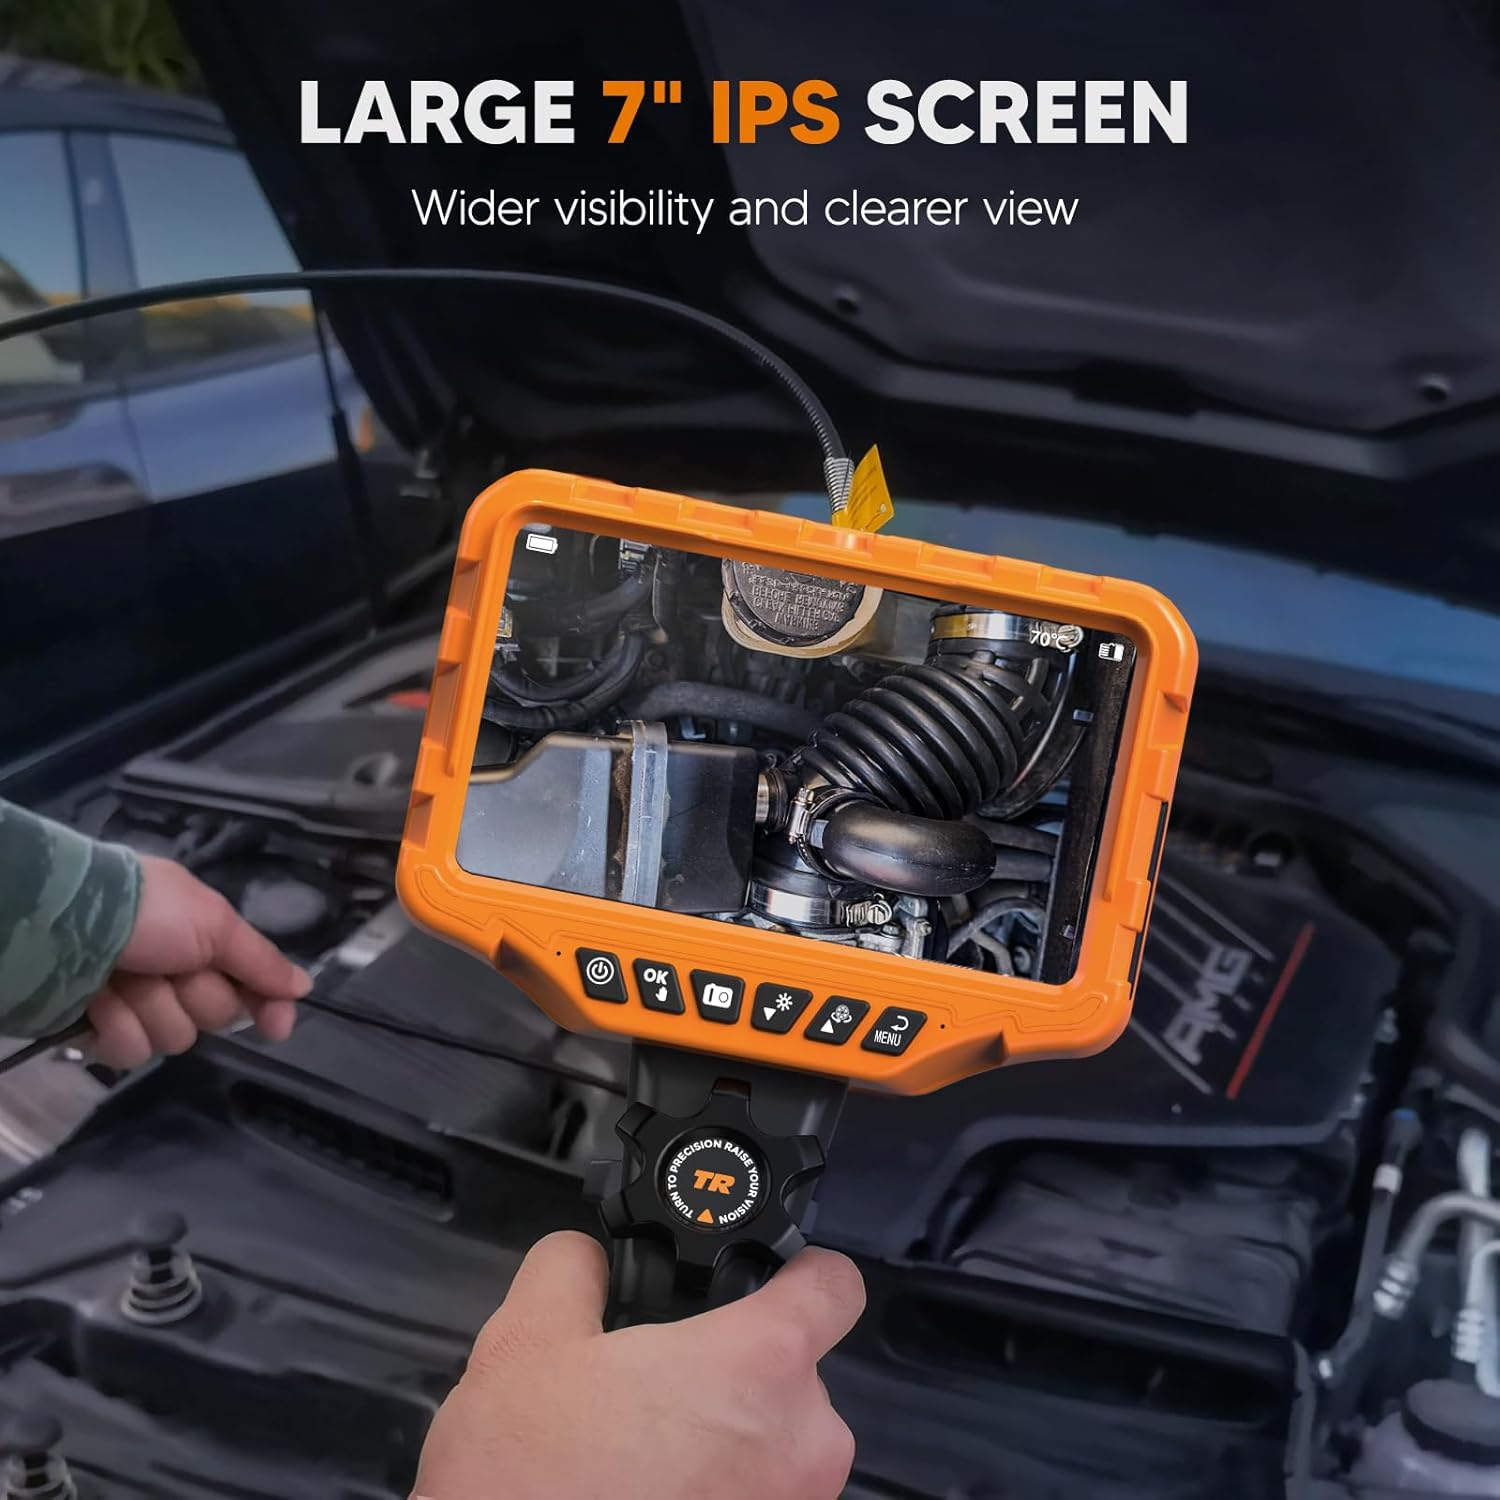
Figure 2: The large 7-inch IPS screen provides a clear and detailed view during inspections.
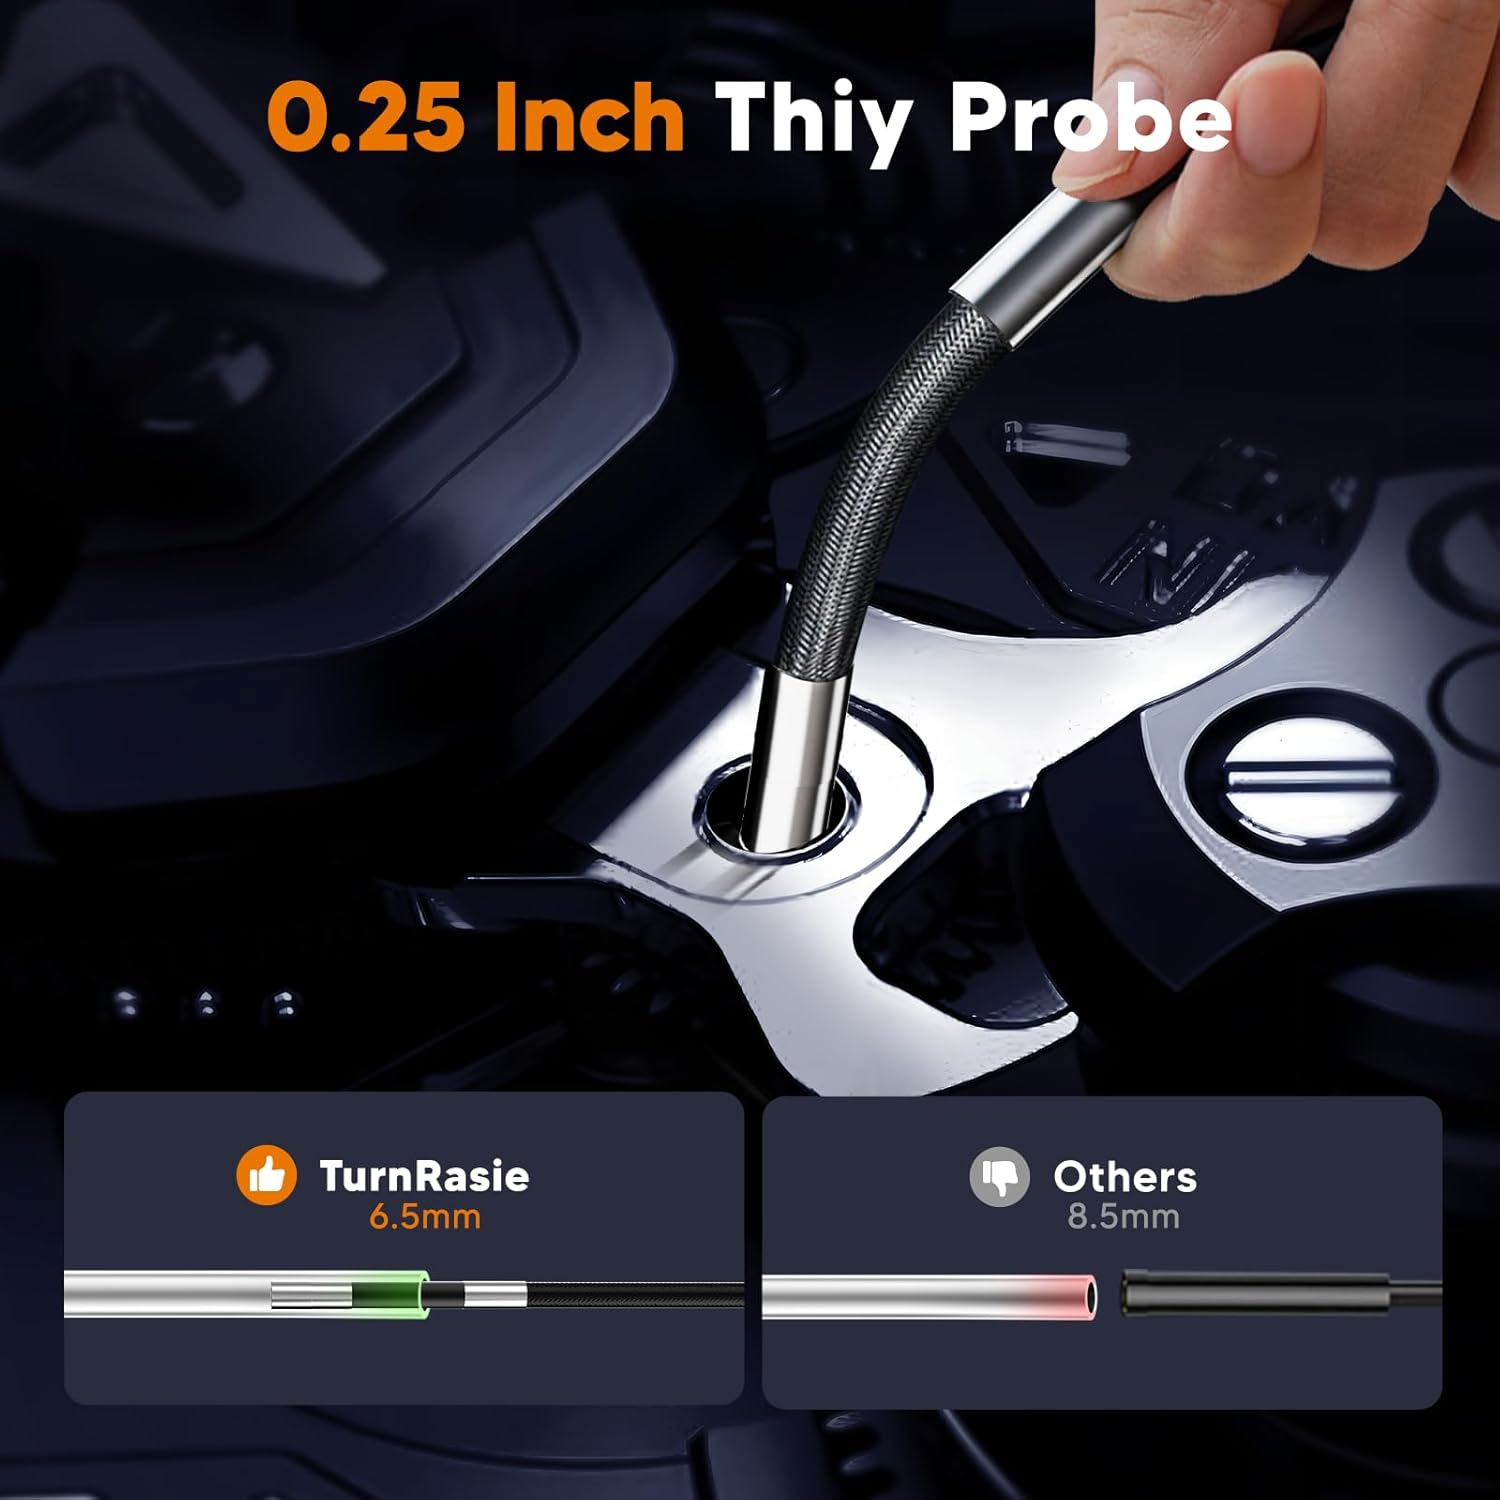
Figure 3: The ultra-slim 0.25-inch (6.5mm) probe allows access into very narrow spaces.
3. Postavljanje
3.1 Punjenje uređaja
- Connect the provided Type-C charging cable to the charging port on the borescope unit.
- Drugi kraj kabela spojite na standardni USB adapter za napajanje (nije uključen) ili USB priključak računala.
- The charging indicator will illuminate. A full charge typically takes approximately 4 hours. Ensure the device is fully charged before first use for optimal battery life.
3.2 Umetanje memorijske kartice
The device supports a 32GB memory card for storing images and videos. If not pre-installed, locate the memory card slot (usually on the side of the display unit) and gently insert the card until it clicks into place. Ensure the card is inserted in the correct orientation.
3.3 Pričvršćivanje sonde
The articulating probe is typically pre-attached. If it needs to be connected, align the connector on the probe cable with the port on the main unit and secure it firmly. Do not force the connection.
4. Upute za rad
4.1 Uključivanje/isključivanje
- Za uključivanje: Pritisnite i držite tipku za napajanje (⏻) nekoliko sekundi dok se zaslon ne osvijetli.
- Za isključivanje: Pritisnite i držite tipku za napajanje (⏻) again until the screen shuts down.
4.2 Basic Navigation and Menu
Use the directional buttons and the 'OK' button to navigate through menus and confirm selections. The 'Menu' button typically accesses settings such as resolution, date/time, and language.
4.3 Articulating Probe Control
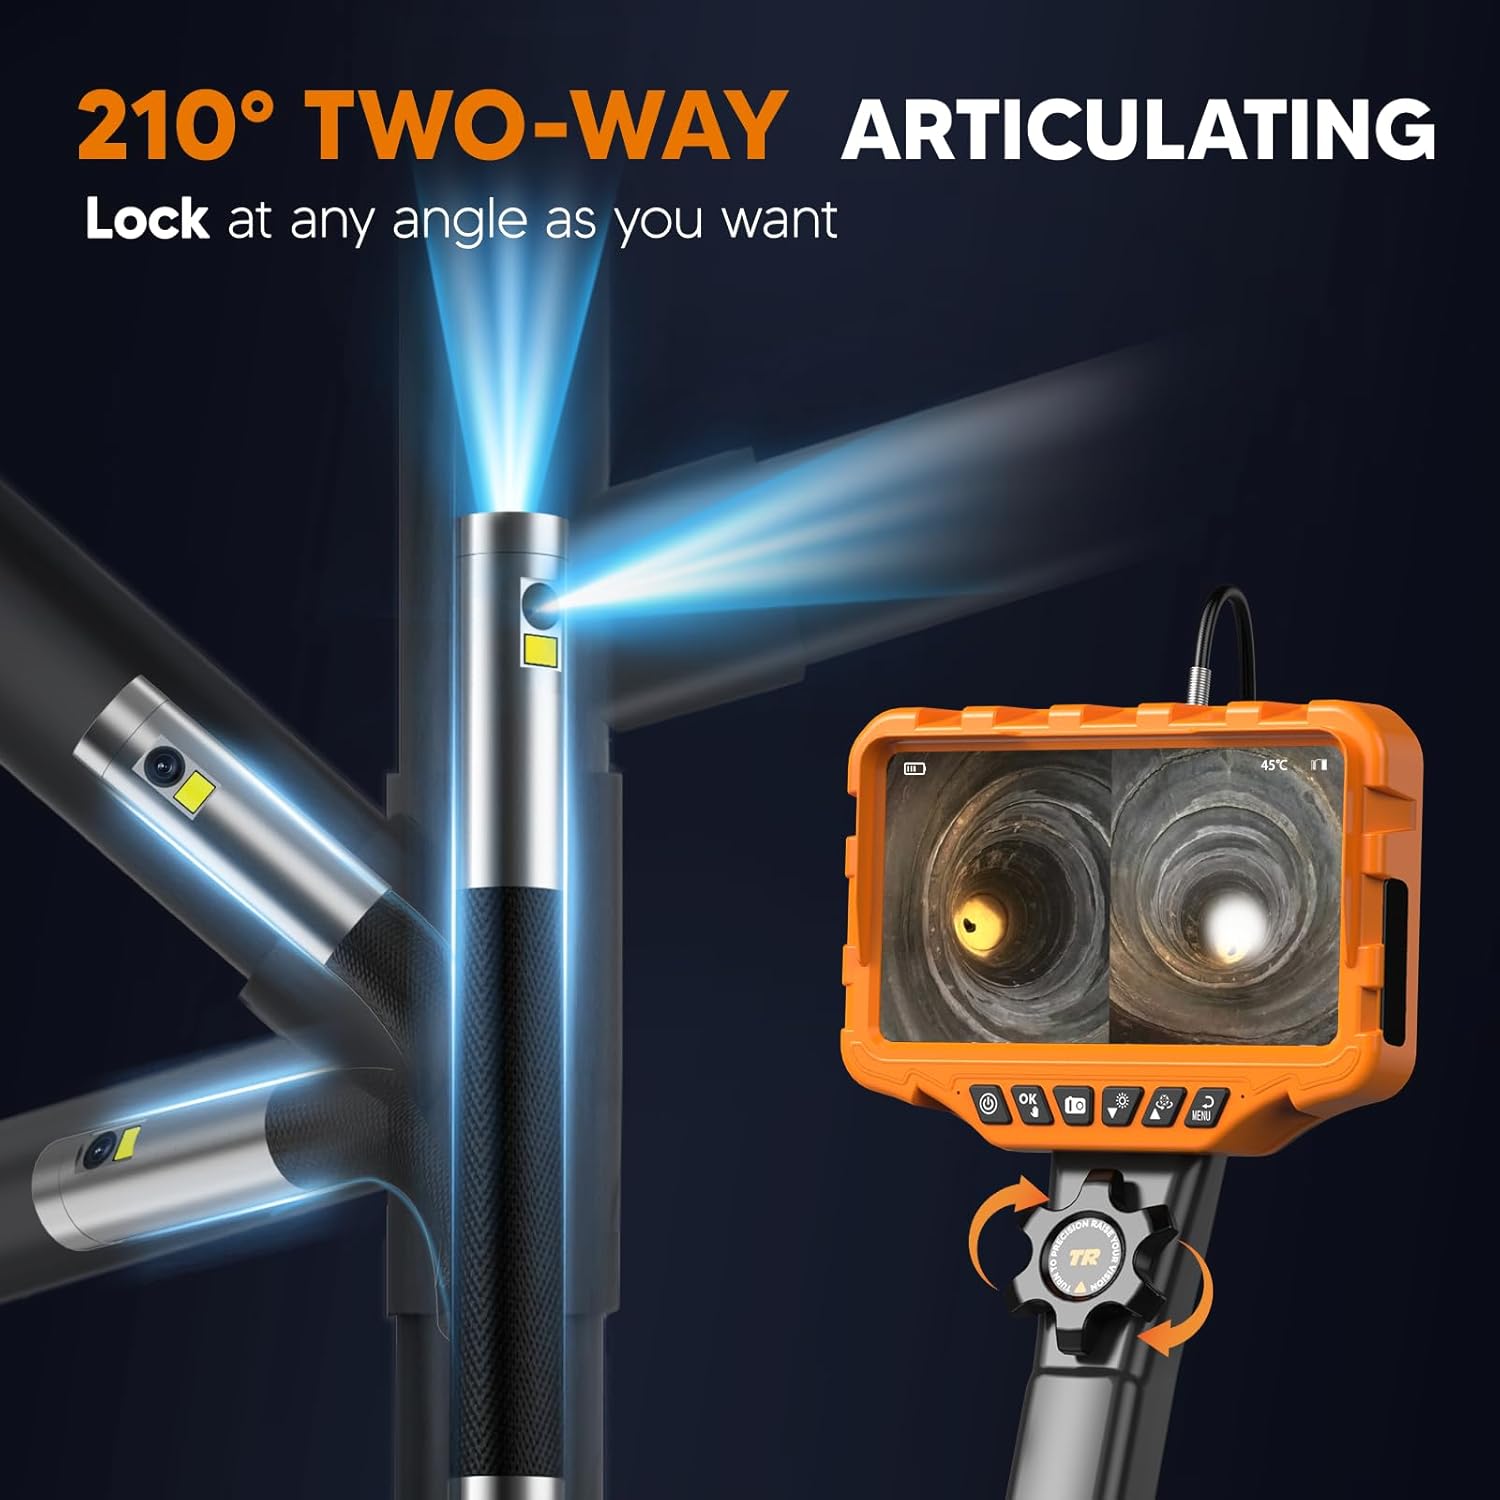
Figure 4: The probe tip can be articulated up to 210 degrees in two directions using the control wheel.
The AT040 features a 210° two-way articulating probe. To control the probe tip:
- Locate the control wheel on the handle of the borescope.
- Rotate the wheel to bend the probe tip in the desired direction.
- The probe tip can be locked at any angle by holding the wheel in position, allowing for stable viewing.
4.4 Dual-Lens and Split-Screen Functionality

Slika 5: Eksplodirano view of the dual-lens camera system, providing 1080P HD imaging.
The borescope is equipped with both a front-facing and a side-facing lens. To utilize this feature:
- Press the dedicated dual-lens button (refer to device interface for icon, typically two overlapping squares or similar) to switch between single front view, single side viewili prikaz na podijeljenom ekranu.
- In split-screen mode, both camera feeds are shown simultaneously on the 7-inch IPS screen, enhancing inspection efficiency.
4.5 Podešavanje svjetline LED diode
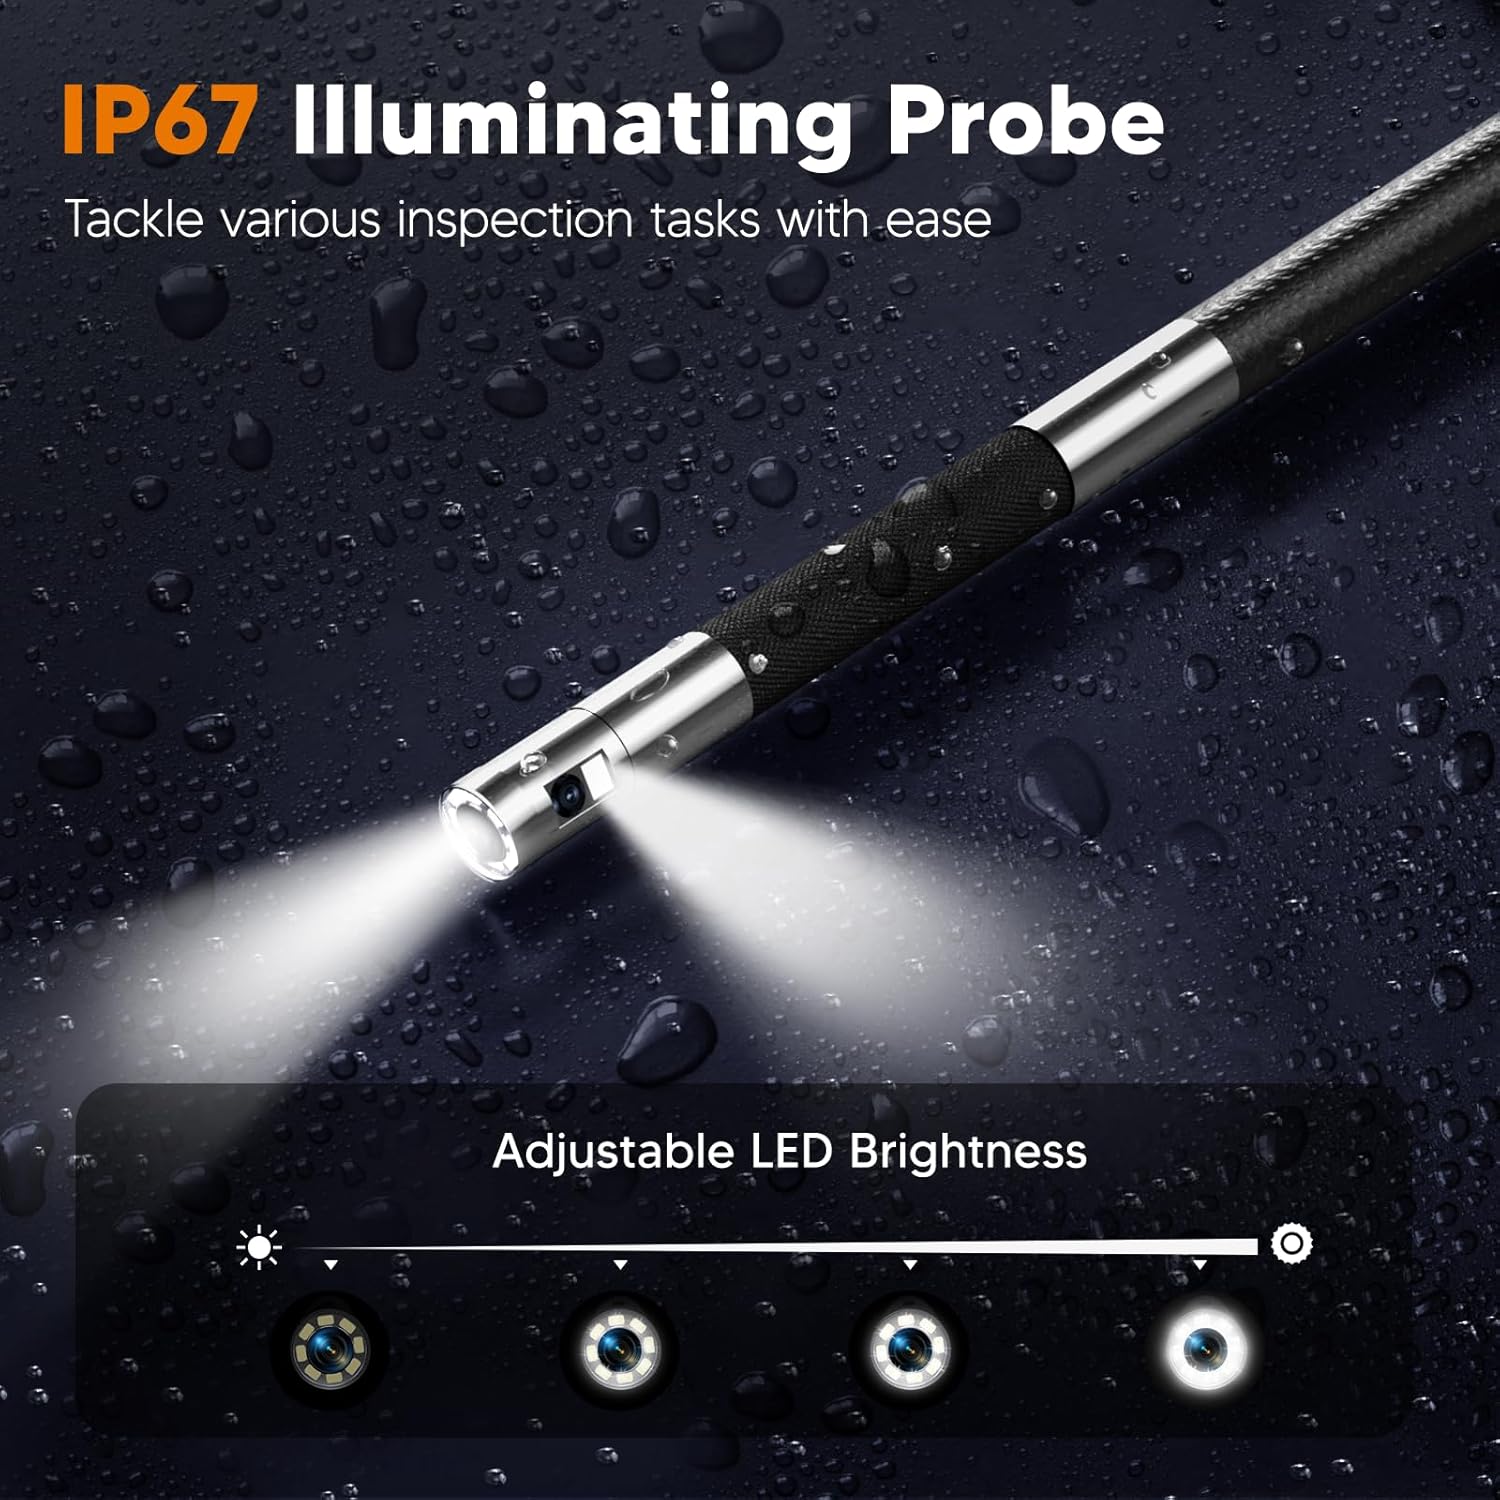
Figure 6: The IP67 rated probe features adjustable LED lights for optimal illumination in various conditions.
To adjust the brightness of the LED lights on the probe tip:
- Locate the LED brightness control button (often indicated by a light bulb icon).
- Press the button repeatedly to cycle through different brightness levels or use a dedicated dial if available.
4.6 Snimanje fotografija i videozapisa
The borescope supports capturing JPG images and AVI video recordings.
- Za snimanje fotografije: Press the 'Photo' button (typically a camera icon). The image will be saved to the inserted memory card.
- Za snimanje videozapisa: Press the 'Video' button (typically a video camera icon) to start recording. Press it again to stop recording. Videos are saved to the memory card.
- The device also supports audio recording via a built-in microphone during video capture.
4.7 Flexible Rigid Gooseneck

Figure 7: The flexible rigid gooseneck probe can be bent and shaped to suit various inspection needs.
The probe cable is designed to be flexible yet rigid enough to hold its shape. This allows you to bend, shape, and extend the probe to navigate complex pathways and maintain the desired viewing angle during inspection.
5. Održavanje
5.1 Čišćenje
- Probe and Lens: After each use, especially in dirty environments, gently wipe the probe and camera lenses with a soft, dry cloth. For stubborn dirt, a slightly damp cloth can be used, followed by drying. Ensure no liquid enters the probe tip.
- Zaslon zaslona: Clean the IPS screen with a soft, lint-free cloth. Avoid abrasive cleaners.
- Glavna jedinica: Obrišite glavnu jedinicu suhom ili lagano natopljenom krpomamp tkanina. Nemojte uranjati glavnu jedinicu u vodu.
5.2 Njega baterija
- Kako biste produžili vijek trajanja baterije, izbjegavajte često potpuno pražnjenje baterije.
- Redovito punite uređaj, čak i ako ga ne koristite, kako biste održali zdravlje baterije.
- Uređaj čuvajte na hladnom i suhom mjestu kada se ne koristi dulje vrijeme.
5.3 Skladištenje
Store the borescope and its accessories in the provided carrying case to protect it from dust, impacts, and environmental damage. Keep it away from extreme temperatures and direct sunlight.
6. Rješavanje problema
| Problem | Mogući uzrok | Otopina |
|---|---|---|
| Uređaj se ne uključuje | Slaba baterija; Gumb za napajanje nije pravilno pritisnut | Charge the device fully. Press and hold the power button for several seconds. |
| Loša kvaliteta slike | Dirty lens; Insufficient lighting; Incorrect focus distance | Clean the camera lens. Adjust LED brightness. Ensure the object is within the camera's optimal focal range. |
| Artikulacija sonde ne radi | Control wheel jammed; Internal damage | Check for obstructions around the control wheel. If the issue persists, contact support. |
| Ne mogu snimati fotografije/videozapise | Memory card full or not inserted; File sistemska greška | Check if the 32GB memory card is correctly inserted and has free space. Format the card if necessary (this will erase all data). |
| Kratko trajanje baterije | Battery not fully charged; High brightness settings; Aging battery | Ensure the device is fully charged. Reduce LED brightness if possible. Battery performance may degrade over time. |
7. Specifikacije
| Značajka | Specifikacija |
|---|---|
| Model | AT040 |
| Promjer sonde | 0.25 inča (6.5 mm) |
| Kut artikulacije | 210° Two-Way |
| Veličina zaslona | 7-inčni IPS zaslon |
| Rezolucija kamere | 1080P HD (for both lenses) |
| Duljina kabela | 5.3 stope (otprilike 1.6 metara) |
| Kapacitet baterije | 4000 mAh |
| Vrijeme rada | Do 4 sati (nakon potpunog punjenja) |
| memorijska kartica | 32 GB (uključeno) |
| Format slike | JPG |
| Video format | AVI |
| Probe Water Resistance | IP67 |
| Radna temperatura | Refer to device for specific range (often includes temperature sensor at tip) |
| Težina | 1.78 kg (približno 3.9 lbs) |
| Proizvođač | PODIZANJE OKRETA |
8. Jamstvo i podrška
For warranty information, technical support, or service inquiries, please refer to the documentation included with your purchase or contact the TURN RAISE customer support directly. Keep your purchase receipt as proof of purchase.