1. Važne sigurnosne upute
Please read all instructions carefully before using your Klarstein Ice Maker Machine. Keep this manual for future reference.
- Provjerite je li napajanje voltage odgovara naljepnici s nazivnim vrijednostima na uređaju.
- Ne uranjajte uređaj, kabel za napajanje ili utikač u vodu ili druge tekućine.
- Isključite uređaj iz utičnice kada se ne koristi i prije čišćenja.
- Nemojte koristiti uređaj s oštećenim kabelom ili utikačem, ili nakon što uređaj ne radi ispravno ili je na bilo koji način oštećen.
- Place the ice maker on a stable, level surface, away from direct sunlight and heat sources.
- Allow at least 10 cm (4 inches) of space around the appliance for proper ventilation.
- Ovaj uređaj nije namijenjen za korištenje od strane osoba (uključujući djecu) sa smanjenim fizičkim, osjetilnim ili mentalnim sposobnostima, ili nedostatkom iskustva i znanja, osim ako nisu pod nadzorom ili su dobili upute o korištenju uređaja od strane osobe odgovorne za njihovu sigurnost.
- U spremniku za vodu koristite samo pitku vodu.
2. Proizvod je gotovview
Familiarize yourself with the components of your Klarstein Ice Maker Machine.

Slika 2.1: Prednja strana view of the Klarstein Ice Maker Machine with included accessories.

Slika 2.2: Unutrašnjost view showing the ice basket and bullet-shaped ice cubes.
Komponente:
- Upravljačka ploča: Features power button, ice size selection, and indicator lights.
- Rezervoar vode: Smještena ispod košare za led, sadrži vodu za proizvodnju leda.
- košara za led: Uklonjiva košara za sakupljanje proizvedenih kockica leda.
- žlica za led: For convenient removal of ice cubes.
- Prozirni poklopac: Allows monitoring of the ice-making process.
3. Postavljanje
Follow these steps to set up your ice maker for first use.
3.1 Raspakiranje
- Pažljivo izvadite ledomat iz ambalaže.
- Uklonite sav materijal za pakiranje, uključujući traku ili zaštitne folije.
- Provjerite ima li oštećenja tijekom transporta. Ako je uređaj oštećen, nemojte ga koristiti i obratite se korisničkoj podršci.
3.2 Postavljanje
- Place the ice maker on a firm, level, and stable surface.
- Ensure adequate ventilation by leaving at least 10 cm (4 inches) of space around the unit.
- Izbjegavajte postavljanje uređaja u blizinu izvora topline (npr. pećnica, radijatora) ili na izravnu sunčevu svjetlost.
- Do not place the unit in an enclosed cabinet or on a soft surface where vents could be blocked.

Figure 3.1: Recommended placement and dimensions for the ice maker.
3.3 Početno čišćenje
Prije prve upotrebe očistite unutrašnjost aparata za led.
- Uklonite košaru za led.
- Očistite unutrašnjost mekom krpom dampoperite toplom vodom i blagim deterdžentom.
- Temeljito isperite i obrišite.
- Run a self-cleaning cycle (refer to Section 5.2) before making ice for consumption.
4. Upute za rad
Follow these steps to produce ice cubes with your Klarstein Ice Maker Machine.

Figure 4.1: Quick start guide for ice production.
- Napunite spremnik za vodu: Otvorite poklopac i napunite spremnik za vodu pitkom vodom do oznake 'MAX'. Nemojte prepuniti.
- Priključite napajanje: Uključite ledomat u uzemljenu električnu utičnicu.
- Uključivanje: Press the 'POWER' button on the control panel to turn on the appliance.
- Odaberite veličinu leda: Press the 'SELECT' button to choose between small (S) or large (L) ice cube sizes. The corresponding indicator light will illuminate.
- Početak proizvodnje leda: The machine will automatically begin the ice-making cycle after a few seconds. The 'ICE MAKING' indicator light will be on.
- Pratite napredak: The first batch of ice cubes will be ready in approximately 7-9 minutes, depending on the selected size and ambient temperature.
- Indikator pune leda: When the ice basket is full, the 'ICE FULL' indicator light will illuminate, and the machine will pause operation. Remove ice to resume production.
- Indikator dodavanja vode: If the water level in the reservoir is too low, the 'ADD WATER' indicator light will illuminate, and the machine will pause. Add more water to resume.
- Isključiti: Press the 'POWER' button to turn off the ice maker when you are finished.
5. Održavanje
Regular cleaning and proper maintenance will ensure the longevity and optimal performance of your ice maker.
5.1 Opće čišćenje
- Prije čišćenja uvijek isključite uređaj iz struje.
- Očistite izvana mekom, damp tkanina. Nemojte koristiti abrazivna sredstva za čišćenje ili otapala.
- Remove the ice basket and clean it with warm, soapy water. Rinse and dry thoroughly.
- Drain any remaining water from the reservoir by removing the drain plug (usually located at the bottom or side of the unit).
- Clean the interior of the water reservoir and ice-making components with a soft cloth and a mild, food-safe cleaning solution. Rinse thoroughly with clean water.
5.2 Funkcija samočišćenja
The ice maker features a self-cleaning function for convenient maintenance.
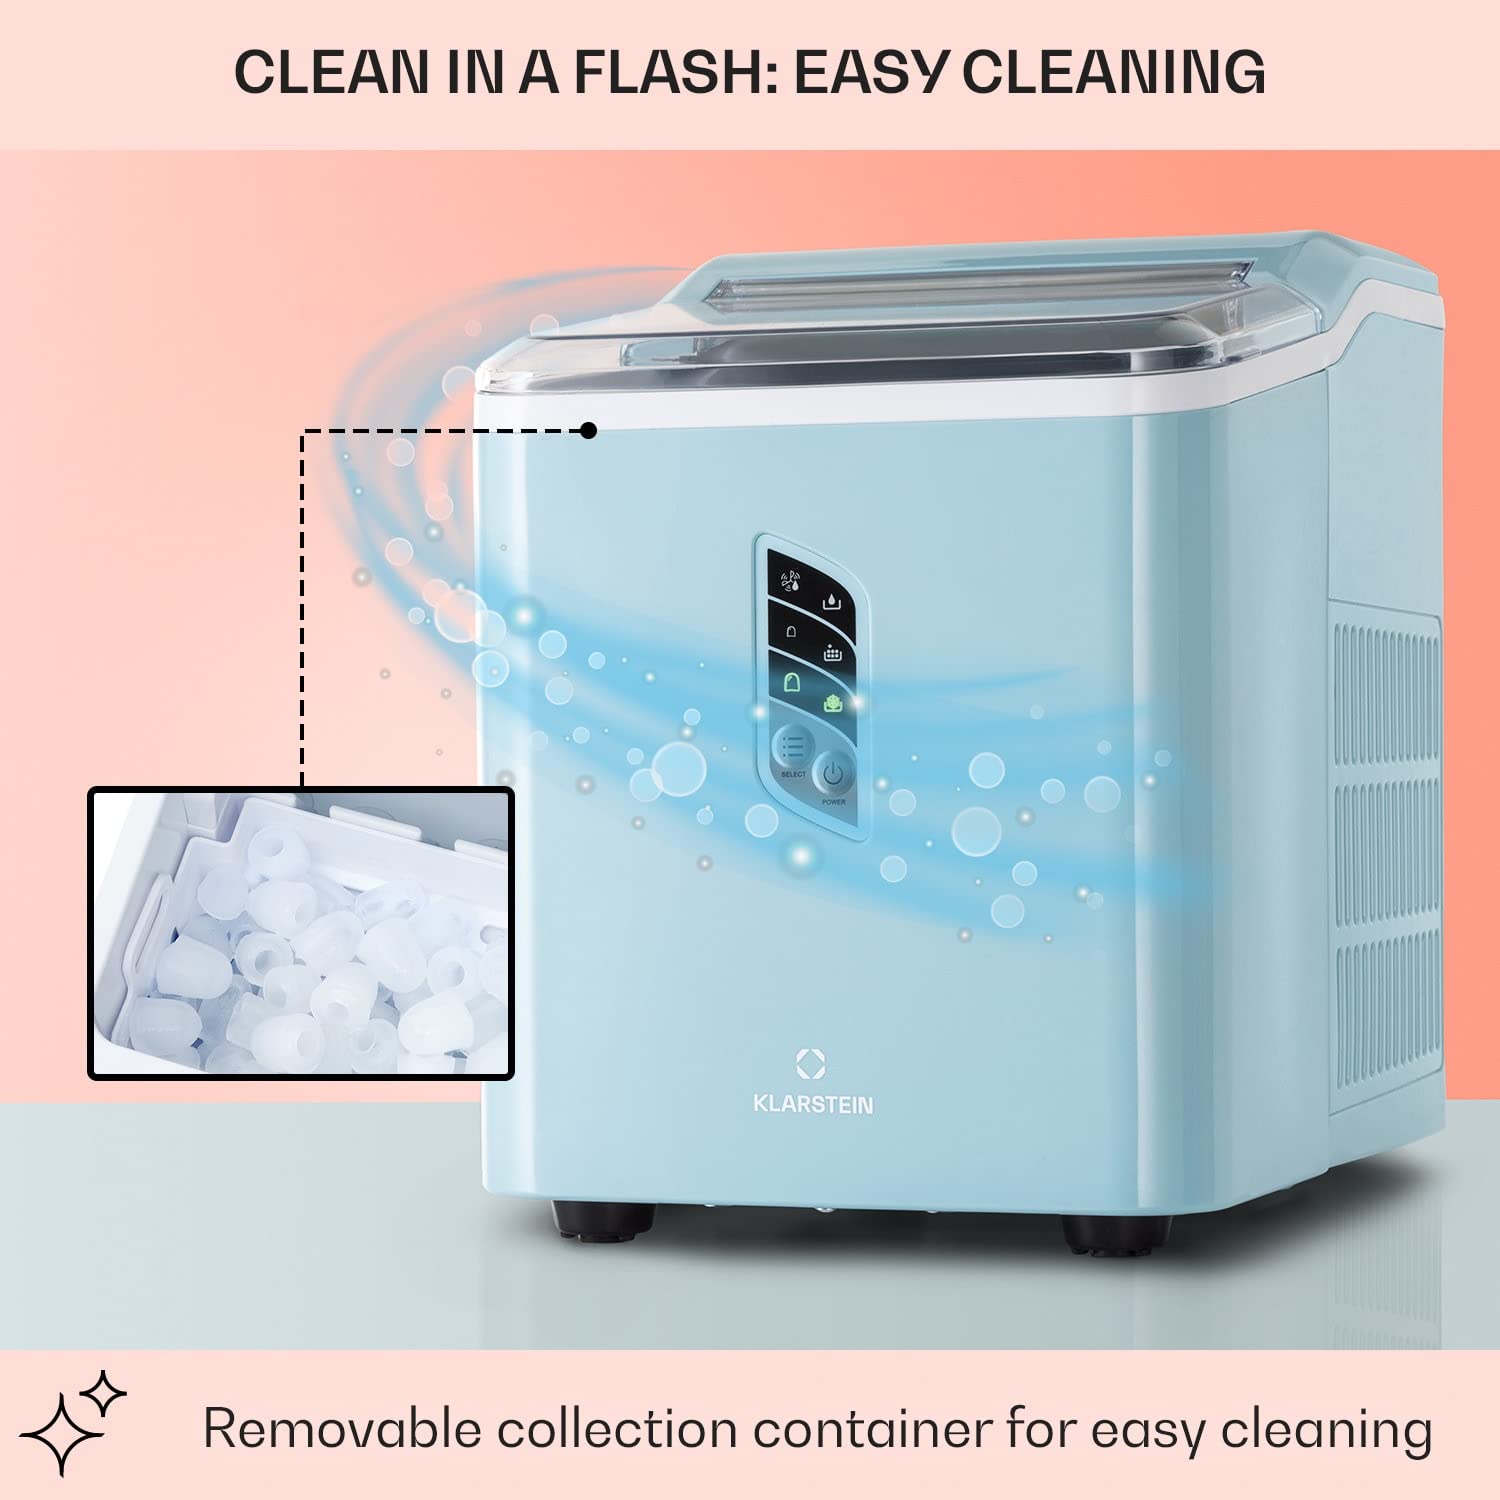
Figure 5.1: Self-cleaning function overview.
- Provjerite je li spremnik za vodu napunjen čistom vodom.
- Refer to your specific model's control panel for the self-cleaning activation method (often a long press of the 'SELECT' or 'POWER' button, or a dedicated 'CLEAN' button).
- The machine will circulate water through its system to clean internal components.
- Nakon što je ciklus završen, ispustite vodu iz spremnika i obrišite unutrašnjost do suha.
5.3 Skladištenje
If storing the ice maker for an extended period:
- Perform a thorough cleaning and self-cleaning cycle.
- Ensure all internal components are completely dry to prevent mold or mildew growth.
- Čuvajte uređaj na hladnom i suhom mjestu, dalje od izravne sunčeve svjetlosti.
6. Rješavanje problema
U ovom odjeljku potražite uobičajene probleme i njihova rješenja.
| Problem | Mogući uzrok | Otopina |
|---|---|---|
| Ledomat se ne uključuje | Nema napajanja | Provjerite je li kabel za napajanje sigurno uključen u ispravnu utičnicu. |
| 'ADD WATER' indicator is on | Spremnik za vodu je prazan ili nizak | Napunite spremnik za vodu pitkom vodom do oznake 'MAX'. |
| 'ICE FULL' indicator is on | Košara za led je puna | Remove ice cubes from the basket. The machine will resume operation. |
| Nema proizvodnje leda | Insufficient water, high ambient temperature, or air blockage | Ensure water is filled. Place the unit in a cooler environment. Check for proper ventilation. |
| Kockice leda su premale ili grudaste | Water temperature too high, or first cycle | Use colder water. The first few cycles may produce smaller ice. Ensure proper ventilation. |
| Neuobičajena buka tijekom rada | Normal compressor operation, or unit not level | Neka buka je normalna. Provjerite je li uređaj na stabilnoj, ravnoj površini. |
7. Specifikacije
Technical data for the Klarstein Countertop Ice Maker Machine.
| Značajka | Specifikacija |
|---|---|
| Marka | KLARSTEIN |
| Naziv modela | Radni ledomat |
| Dimenzije proizvoda (D x Š x V) | 29 x 22.5 x 32 cm |
| Capacity (Water Reservoir) | 1.5 litara |
| Kapacitet proizvodnje leda | Do 12 kg (26.5 lbs) dnevno |
| Ciklus proizvodnje leda | Approx. 7-9 minutes per batch |
| Wattage | 11500 watts (Note: This value seems unusually high for an ice maker and might be a data entry error. Please refer to the product label for accurate wattage). |
| Voltage | 220 volti |
| Težina artikla | 7.6 kilograma (16.7 lbs) |
| Rashladno sredstvo | R600a |
| Vrsta materijala | Nehrđajući čelik |
8. Jamstvo i podrška
For warranty information, technical support, or service inquiries, please refer to the warranty card included with your product or contact Klarstein customer service directly. Contact details can typically be found on the manufacturer's official webweb-mjestu ili u dokumentaciji o kupnji.