
ComMarker B6 60W JPT Mopa Fiber Laser Engraver User Manual
Model: B6 MOPA
Sigurnosne informacije
This device is a Class 1 Laser Product. Adhere to all safety guidelines during operation to prevent injury or damage.
- Laserska klasa: LASERSKI PROIZVOD KLASE 1
- Izlazna snaga: 1.95 mW
- IEC 60825-1 Report Number: 2501Q25848E-SFA1
- FDA Accession No.: 2521455-000
Always wear appropriate laser safety goggles when operating the machine. Ensure the work area is well-ventilated to disperse any fumes generated during engraving.
1. Postavljanje
1.1 Raspakiranje i sadržaj paketa
Carefully unpack all components from the box. Verify that all items listed below are present before proceeding with assembly.

Image: All components included with the ComMarker B6 Laser Engraver, laid out on a table. This includes the main engraver unit, power adapter, data cable, foot switch, Type-C cable, riser, Allen wrench set, ruler, placing helper, safety goggles, OTG adapters, USB drive, paperboard, and steel for testing, along with various screws.
Paket uključuje:
- 1x B6 Laser Engraver
- 1x adapter za napajanje
- 1x podatkovni kabel
- 1x Foot Switch
- 1x Type-C kabel
- 1x Riser
- 1x Allen Wrench Set
- 1x Placing Helper
- 1x Zaštitne naočale
- 2x OTG Adapter
- 1x USB pogon
- 1x Paperboard (for testing)
- 1x Steel For Testing
- Screws: M5*14 x 6, M5*10 x 12, M4*12 x 4, M5*12 x 2
1.2 Fizička montaža
Follow these steps to assemble your ComMarker B6 laser engraver:
- Postavite glavnu baznu jedinicu na stabilnu, ravnu površinu.
- Attach the supporting tower to the base unit using the provided screws. Ensure it is securely fastened.
- Connect the laser head assembly to the top of the supporting tower.
- Connect the necessary cables (power, data) between the laser head, base unit, and power adapter.
- If using the riser, place it between the base unit and the supporting tower for increased working height.
Video: This video demonstrates the physical assembly of the ComMarker B6 laser engraver, showing how to connect the main components and secure them.
1.3 Instalacija softvera
The ComMarker B6 supports Lightburn and EzCad2 software. Installation instructions for Lightburn on Windows and Mac are provided below.
Video: Step-by-step guide on how to install Lightburn software on a Windows operating system for use with the ComMarker B6 laser engraver.
Video: Step-by-step guide on how to install Lightburn software on a Mac operating system for use with the ComMarker B6 laser engraver.
For EzCad2 installation and usage, refer to the software documentation provided on the USB drive.
2. Upute za rad
2.1 Powering On and Initial Focus
Connect the power adapter to the engraver and a suitable power outlet (110V). Press the power button to turn on the device.
The ComMarker B6 features a one-touch autofocus system. Place your material on the work surface and activate the autofocus function. The laser will automatically adjust its height for optimal focus.

Image: The ComMarker B6 laser engraver with its one-touch autofocus system in action, showing the laser beam adjusting to find the correct focal distance on a workpiece. This image highlights the automatic, electric, and manual lifting options for focus adjustment.
2.2 Material Compatibility and Engraving
The B6 Mopa fiber laser engraver is compatible with a wide range of materials, including:
- Metals: Stainless steel (for color marking), aluminum, gold, silver, alloys.
- Plastics: Most non-transparent plastics.
- Other materials: Painted products.
The engraving speed can reach up to 15,000mm/s, allowing for efficient marking. The device is capable of color marking on stainless steel.
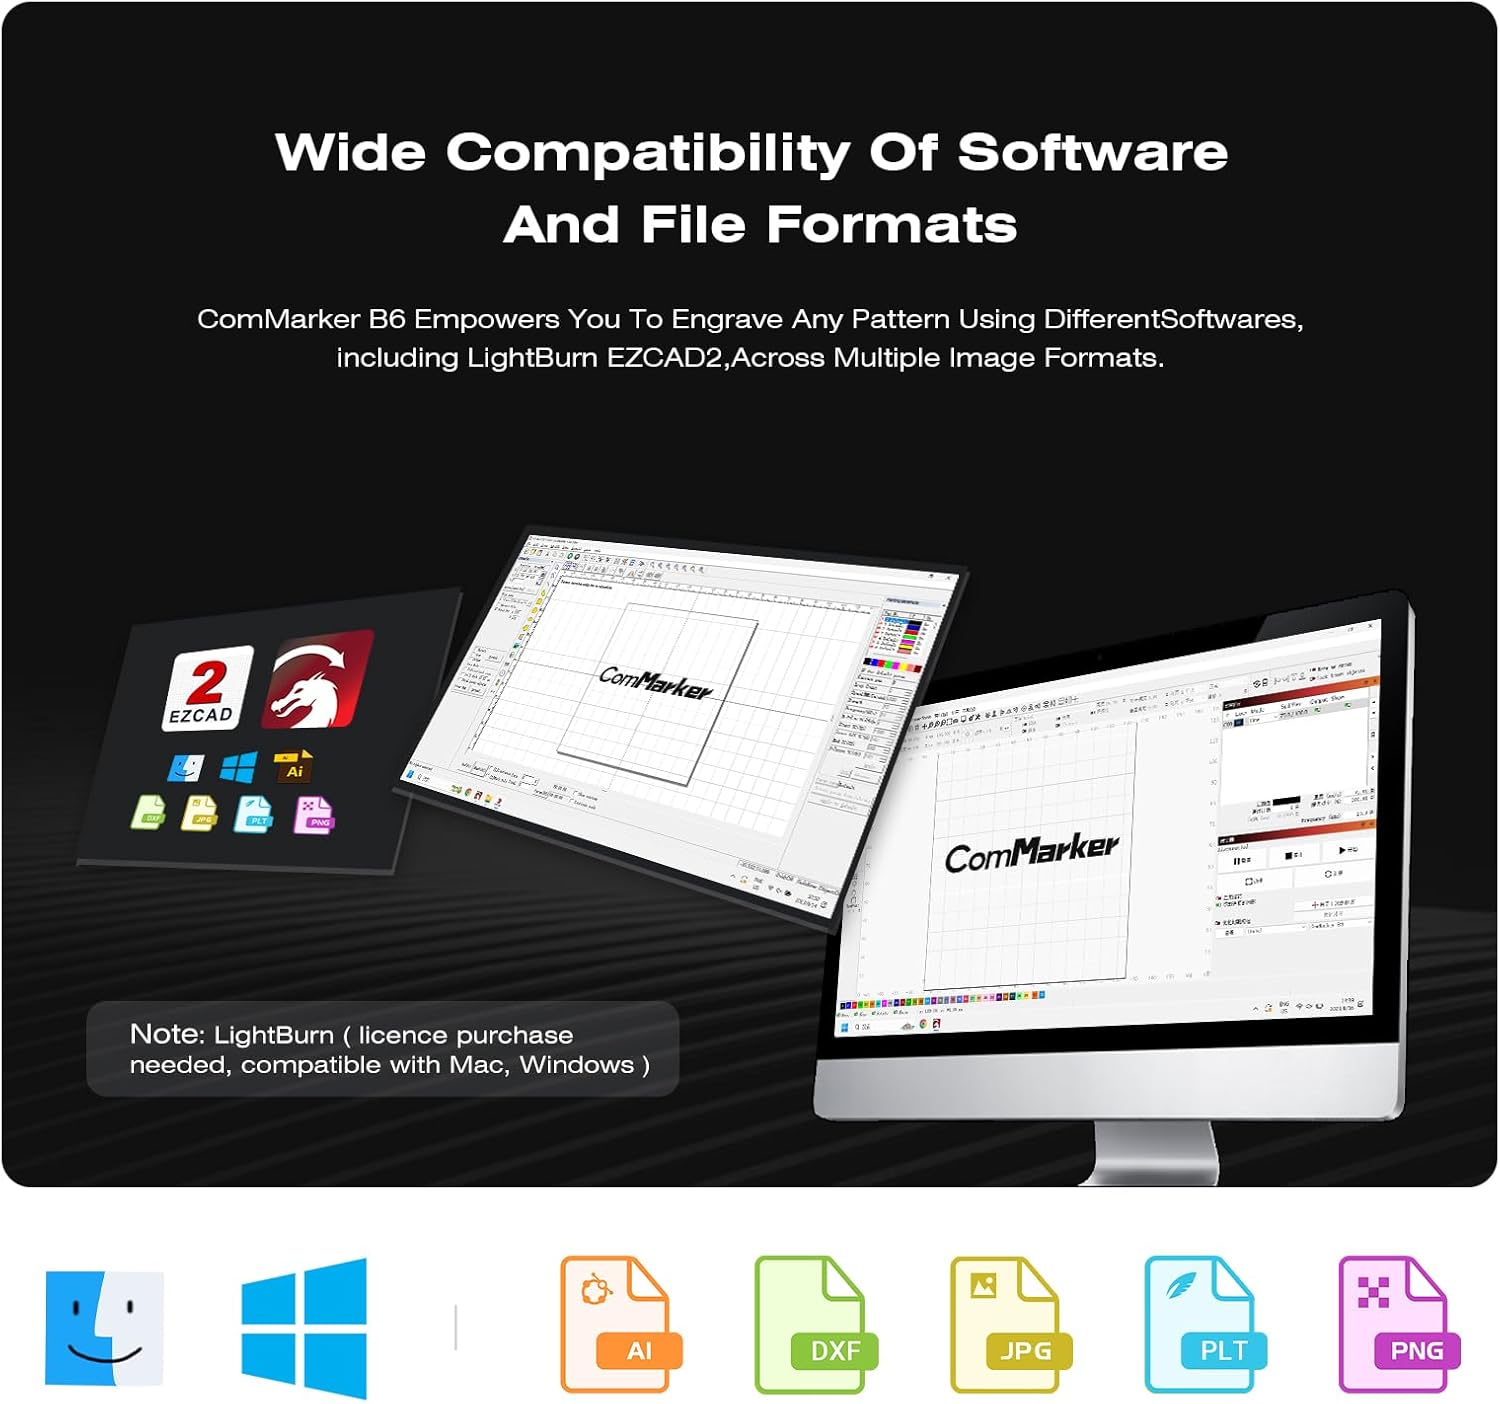
Image: A display of various materials and objects that can be engraved by the ComMarker B6, such as stainless steel, copper, aluminum, plastics, rubber, leather, slate, paint-finished items, stone, and different types of jewelry, demonstrating the engraver's versatility.

Image: A stainless steel plate showcasing various numbered color markings, demonstrating the color marking capability of the ComMarker B6. Below it are several engraved dog tags featuring different cartoon characters, illustrating detailed engraving on metal.
2.3 Software Usage and File Formati
The engraver supports Lightburn and EzCad2. Supported graphic formats include BMP, GIF, JPG, JPEG, DXF, DST, AI, etc.

Image: This image illustrates the wide software compatibility of the ComMarker B6, showing computer screens running Lightburn and EzCad2. Below, icons represent supported graphic formats including AI, DXF, JPG, PLT, and PNG.
Video: A demonstration of the ComMarker fiber laser engraver in action, engraving various items such as knives, coins, jewelry, and cups, showcasing its precision and versatility.
3. Održavanje
Regular maintenance ensures optimal performance and longevity of your ComMarker B6 laser engraver.
- Čišćenje: Periodically clean the lens and work area to prevent dust and debris buildup, which can affect laser performance. Use a soft, lint-free cloth and appropriate lens cleaning solution.
- Ventilacija: Ensure the ventilation system is clear and unobstructed to dissipate heat effectively.
- Pregled kabela: Regularly check all cables for any signs of wear or damage. Replace damaged cables immediately.
- Ažuriranja softvera: Keep your engraving software (Lightburn, EzCad2) updated to the latest version for new features and bug fixes.
4. Rješavanje problema
This section provides solutions to common issues you might encounter during the operation of your ComMarker B6 laser engraver.
4.1 Uobičajeni problemi i rješenja
| Problem | Mogući uzrok | Otopina |
|---|---|---|
| Laser ne pali | Power cable disconnected, emergency stop engaged, software error. | Check power connections. Release emergency stop button. Restart software and engraver. |
| Loša kvaliteta graviranja | Incorrect focus, wrong material settings, dirty lens. | Perform autofocus. Adjust laser power/speed settings for the material. Clean the laser lens. |
| Softver se ne povezuje s graverom | USB cable issue, driver not installed, incorrect port selection. | Ensure USB cable is securely connected. Install necessary drivers from the USB drive. Select the correct COM port in software. |
If you encounter issues not covered here, please contact ComMarker customer support for further assistance.
5. Specifikacije
| Značajka | Detalj |
|---|---|
| Model | B6 MOPA |
| Laserski izvor | 60W JPT M7 Fiber Laser |
| Brzina graviranja | Do 15,000mm/s |
| Radni prostor | 150 mm x 150 mm |
| Autofokus | Yes, One-Touch Screen |
| Color Marking | Yes, on stainless steel |
| Kompatibilnost softvera | Lightburn, EzCad2 |
| Podržani OS | Windows 7/8/10/11, MAC (Lightburn) |
| Supported Graphic Formats | BMP, GIF, JPG, JPEG, DXF, DST, AI, etc. |
| Laserska valna duljina | 1064 nm |
| Dimenzije proizvoda | 12 x 10 x 28 inča |
| Težina artikla | 53 funti (otprilike 24 kg) |
| Ulazna snaga | 110 V |
6. Jamstvo i podrška
6.1 Informacije o jamstvu
For detailed warranty information, please refer to the documentation included with your product or visit the official ComMarker webstranica. Proizvodi obično dolaze s jamstvom proizvođača koje pokriva nedostatke u materijalima i izradi.
6.2 Korisnička podrška
If you require technical assistance, have questions about your product, or need to report an issue, please contact ComMarker customer support through their official webweb-mjesto ili kontaktne podatke navedene u pakiranju proizvoda.
Također možete posjetiti ComMarker Store on Amazon za dodatne resurse i informacije o proizvodu.