
1. Uvod
This manual provides essential information for the installation, operation, and maintenance of your ADATA Legend 860 Solid State Drive. Please read this guide thoroughly before using the product to ensure optimal performance and longevity.
The ADATA Legend 860 is a high-performance NVMe SSD designed for expanding storage in compatible devices such as desktop PCs, laptops, and gaming consoles like the PlayStation 5. It utilizes PCIe Gen4 x4 interface for fast data transfer speeds.

Figure 1: ADATA Legend 860 NVMe Solid State Drive
2. Sigurnosne informacije
- SSD uvijek držite za rubove kako biste izbjegli dodirivanje zlatnih konektora ili komponenti.
- Ensure your system is powered off and unplugged before installation.
- Discharge any static electricity from your body before handling the SSD. Use an anti-static wrist strap if available.
- SSD držite dalje od vlage, ekstremnih temperatura i jakih magnetskih polja.
- Do not attempt to disassemble or modify the SSD, as this will void the warranty.
3. Sadržaj paketa
Provjerite jesu li svi artikli prisutni u vašem paketu:
- ADATA Legend 860 Solid State Drive

Figure 2: ADATA Legend 860 SSD Retail Packaging
4. Specifikacije
| Marka | ADATA |
| Niz | Legenda 860 |
| Broj modela | SLEG-860-1000GCS |
| Kapacitet digitalne pohrane | 1 TB |
| Sučelje tvrdog diska | NVMe |
| Tehnologija povezivanja | PCIe Gen4 x4 |
| Form Factor | M.2 2280 |
| Kompatibilni uređaji | Desktop, Gaming Console (PS5), Laptop |
| Težina artikla | 0.353 unci |
| Dimenzije proizvoda | 5.24 x 0.31 x 1.57 inča |
5. Postavljanje i instalacija
The ADATA Legend 860 SSD is designed for easy installation into compatible M.2 slots. Follow these general steps for installation:
- Pripremite svoj sustav: Power off your computer or gaming console and unplug all cables. Open the casing to access the motherboard or M.2 expansion slot.
- Pronađite M.2 utor: Identify an available M.2 slot on your motherboard. These slots are typically labeled and may be covered by a heatsink.
- Umetnite SSD: Gently slide the ADATA Legend 860 SSD into the M.2 slot at a 30-degree angle. Ensure the gold connectors are fully seated.
- Osigurajte SSD: Once inserted, push the SSD down until it is parallel with the motherboard. Secure it with the provided screw (usually included with your motherboard or console).
- Zatvori Casing: Replace any heatsinks or covers, and close your system's casing.
- Power On and Initialize: Reconnect all cables and power on your system. You may need to initialize and format the new SSD through your operating system's Disk Management (Windows) or Disk Utility (macOS) before it can be used. Refer to your operating system's documentation for detailed instructions.
Ugradnja Examples:
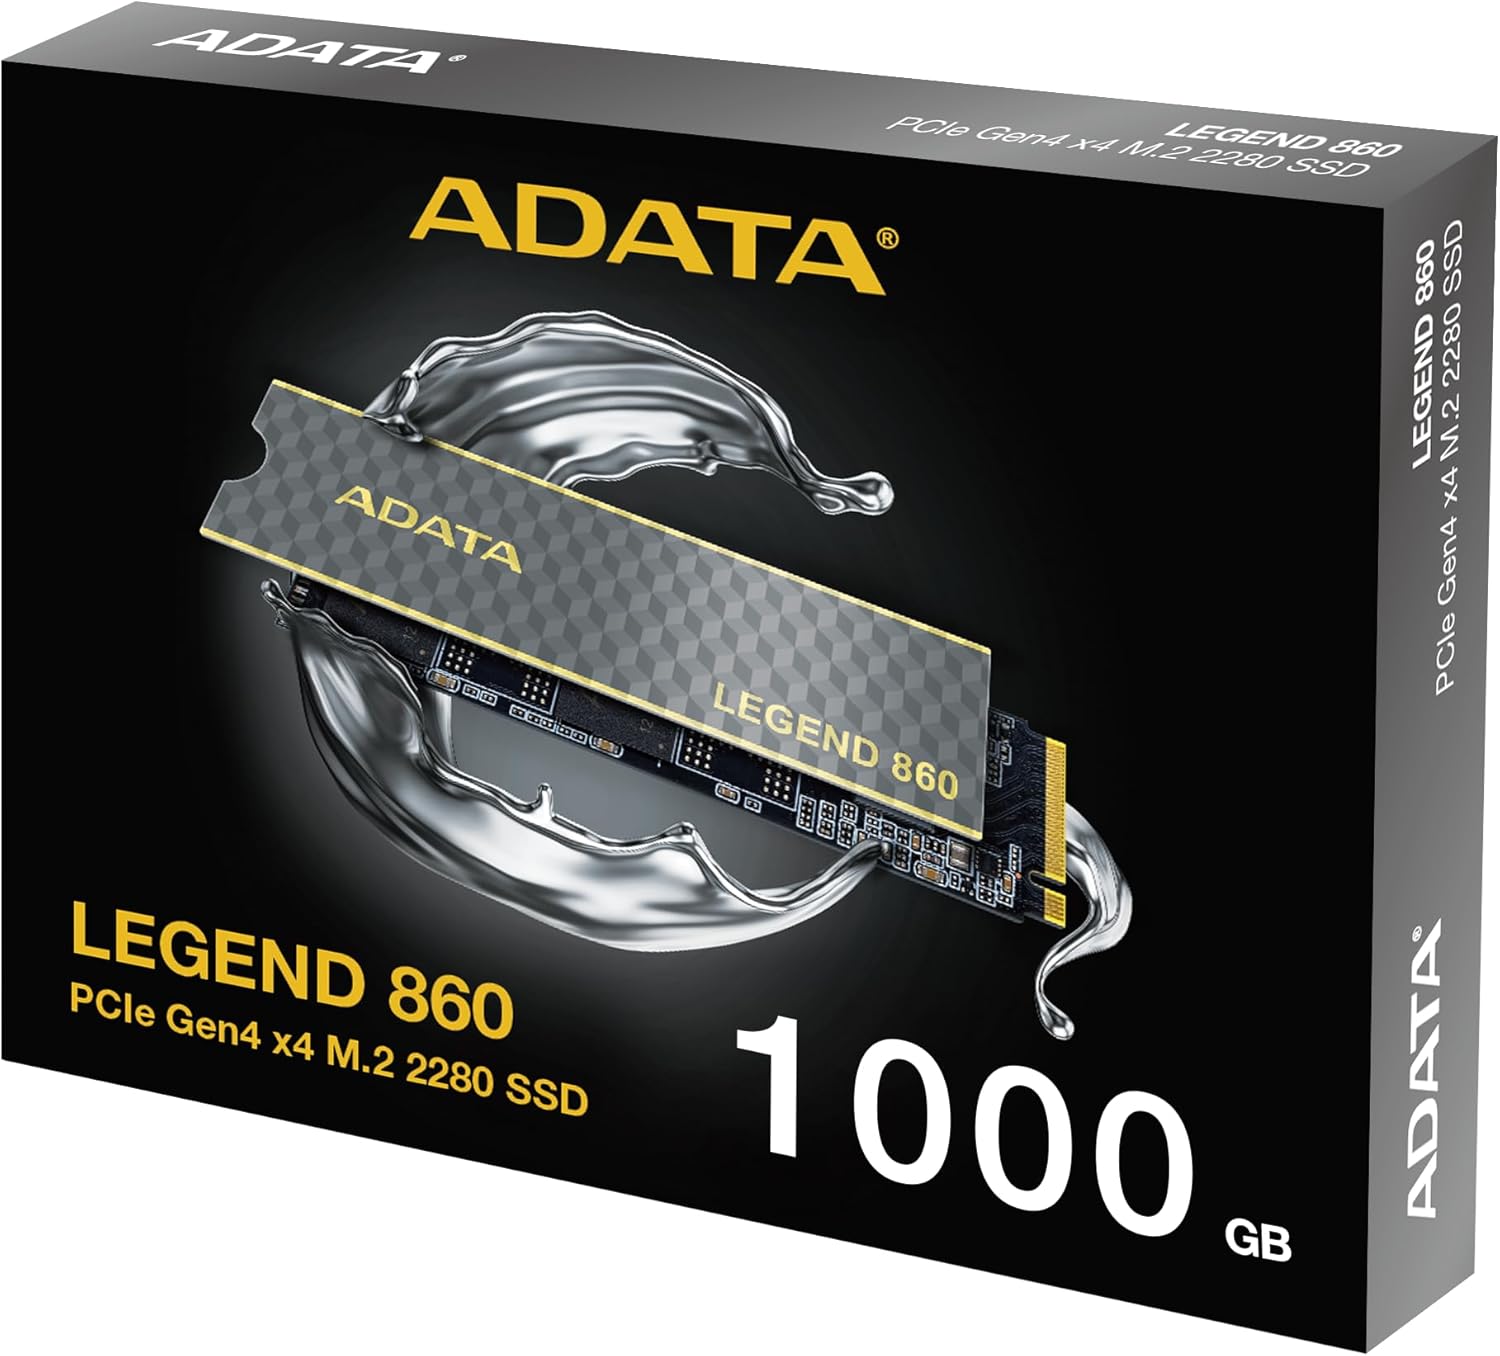
Figure 3: SSD installed in a desktop motherboard
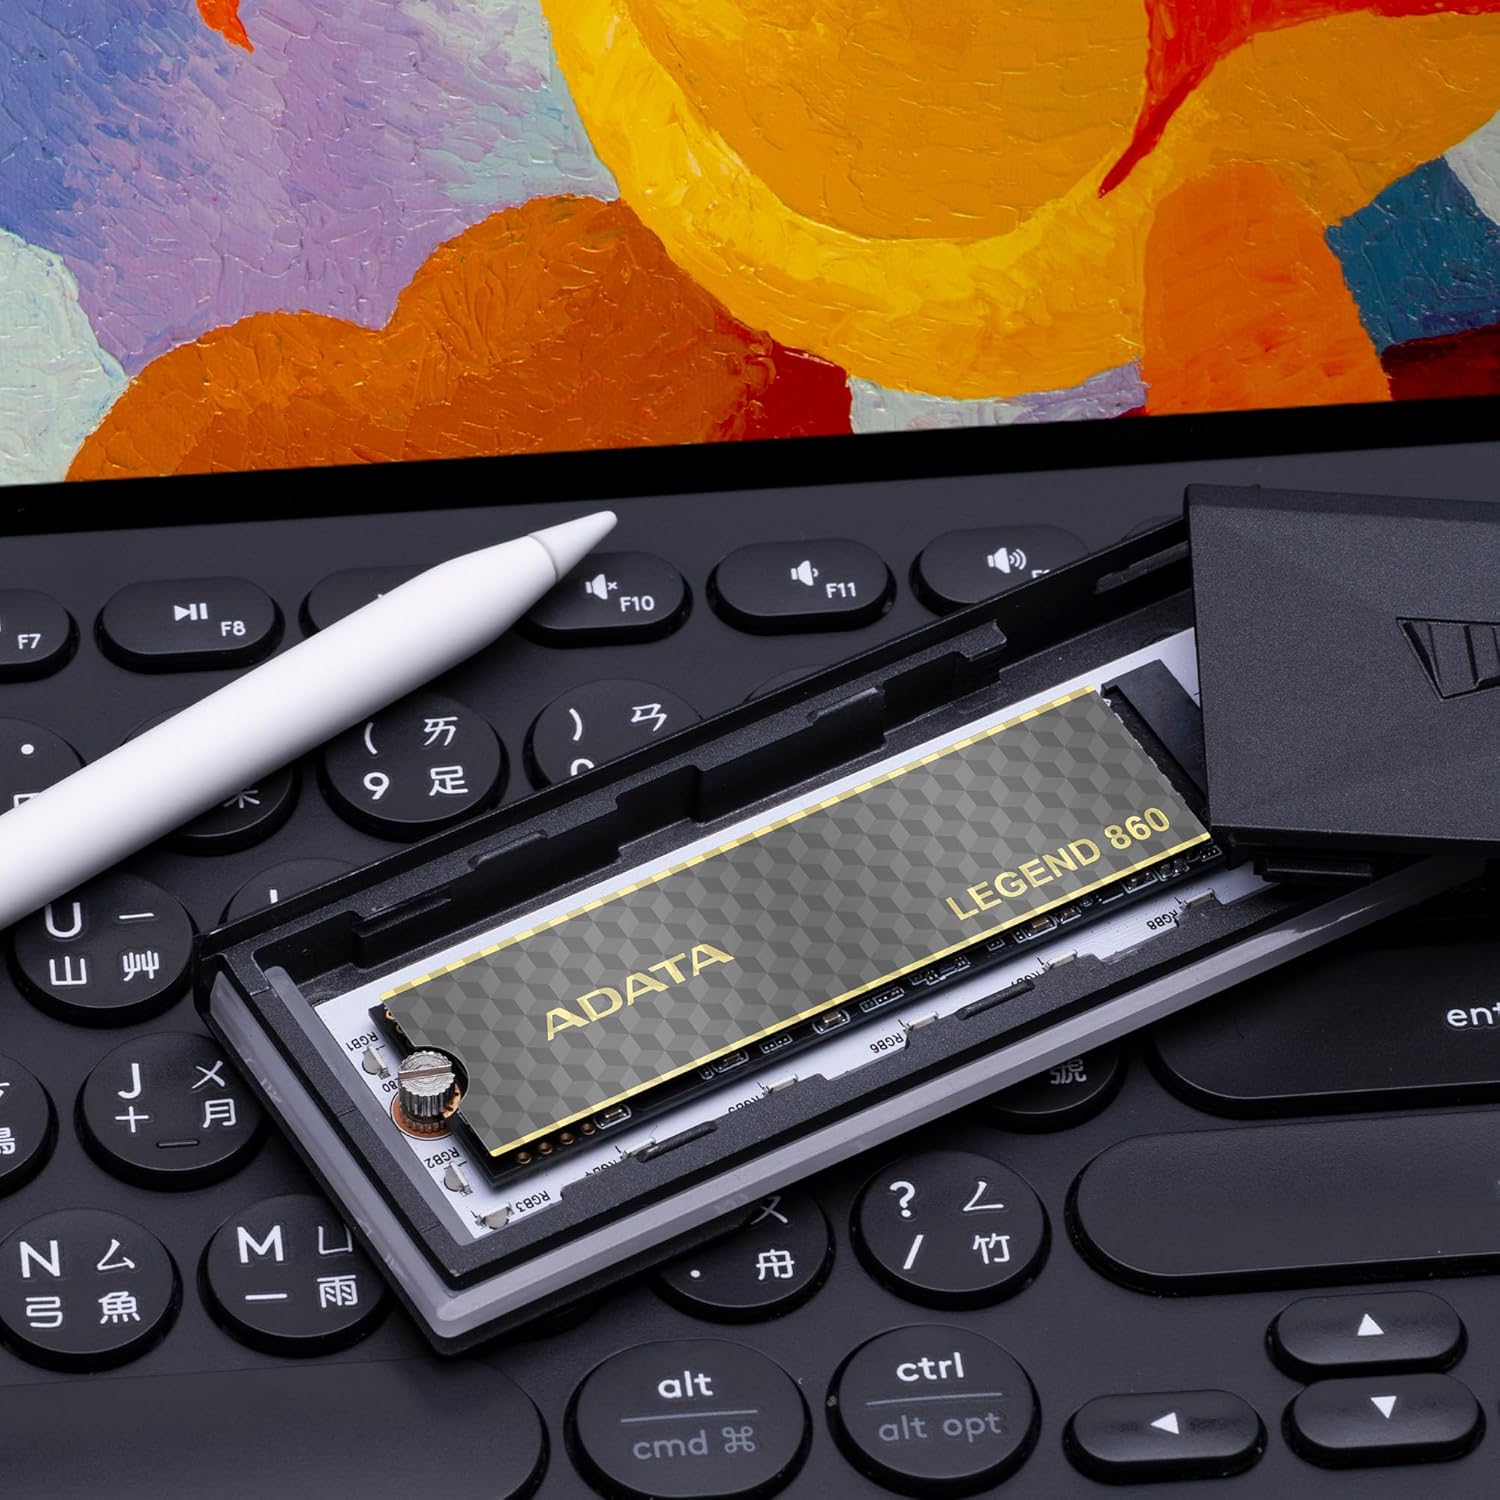
Figure 4: SSD installed in a PlayStation 5 console
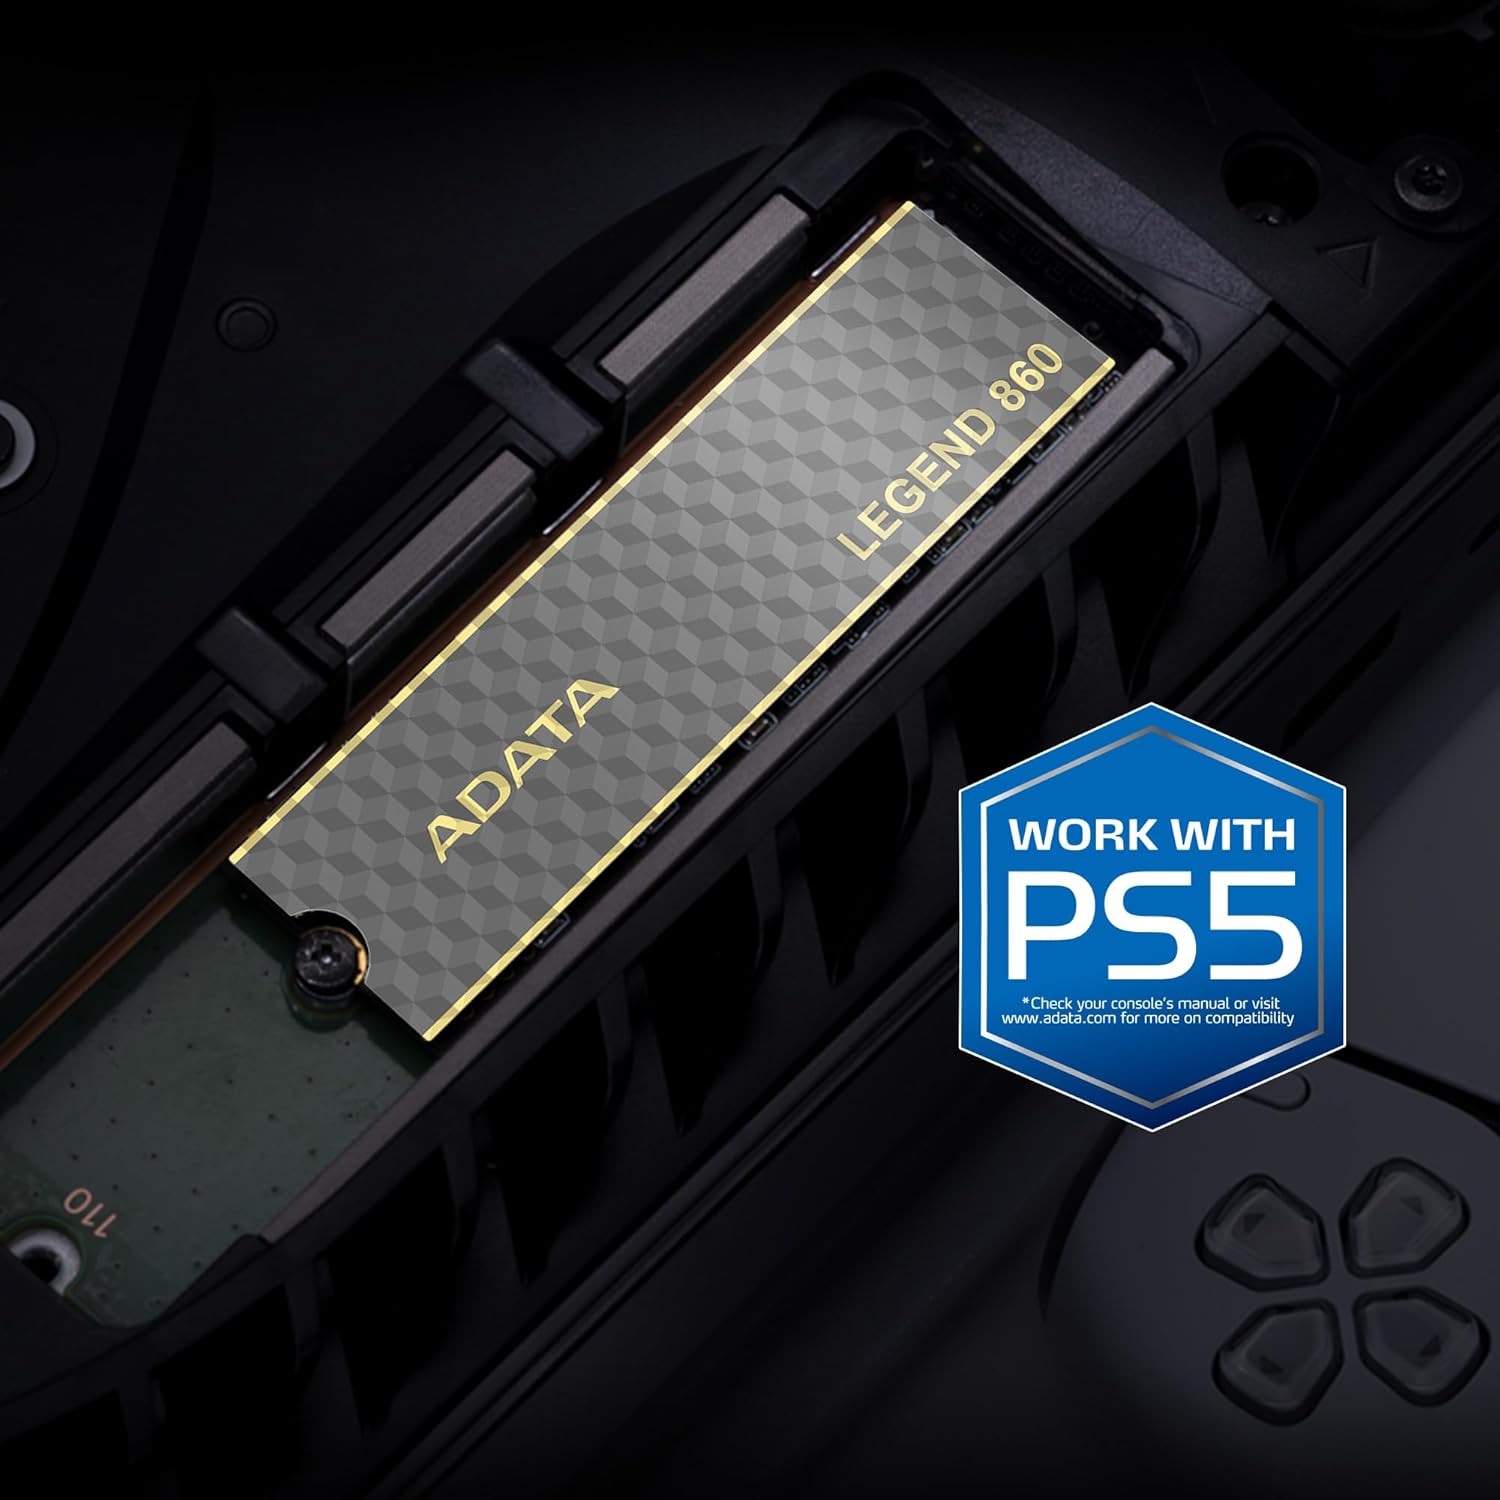
Figure 5: SSD installed in a laptop
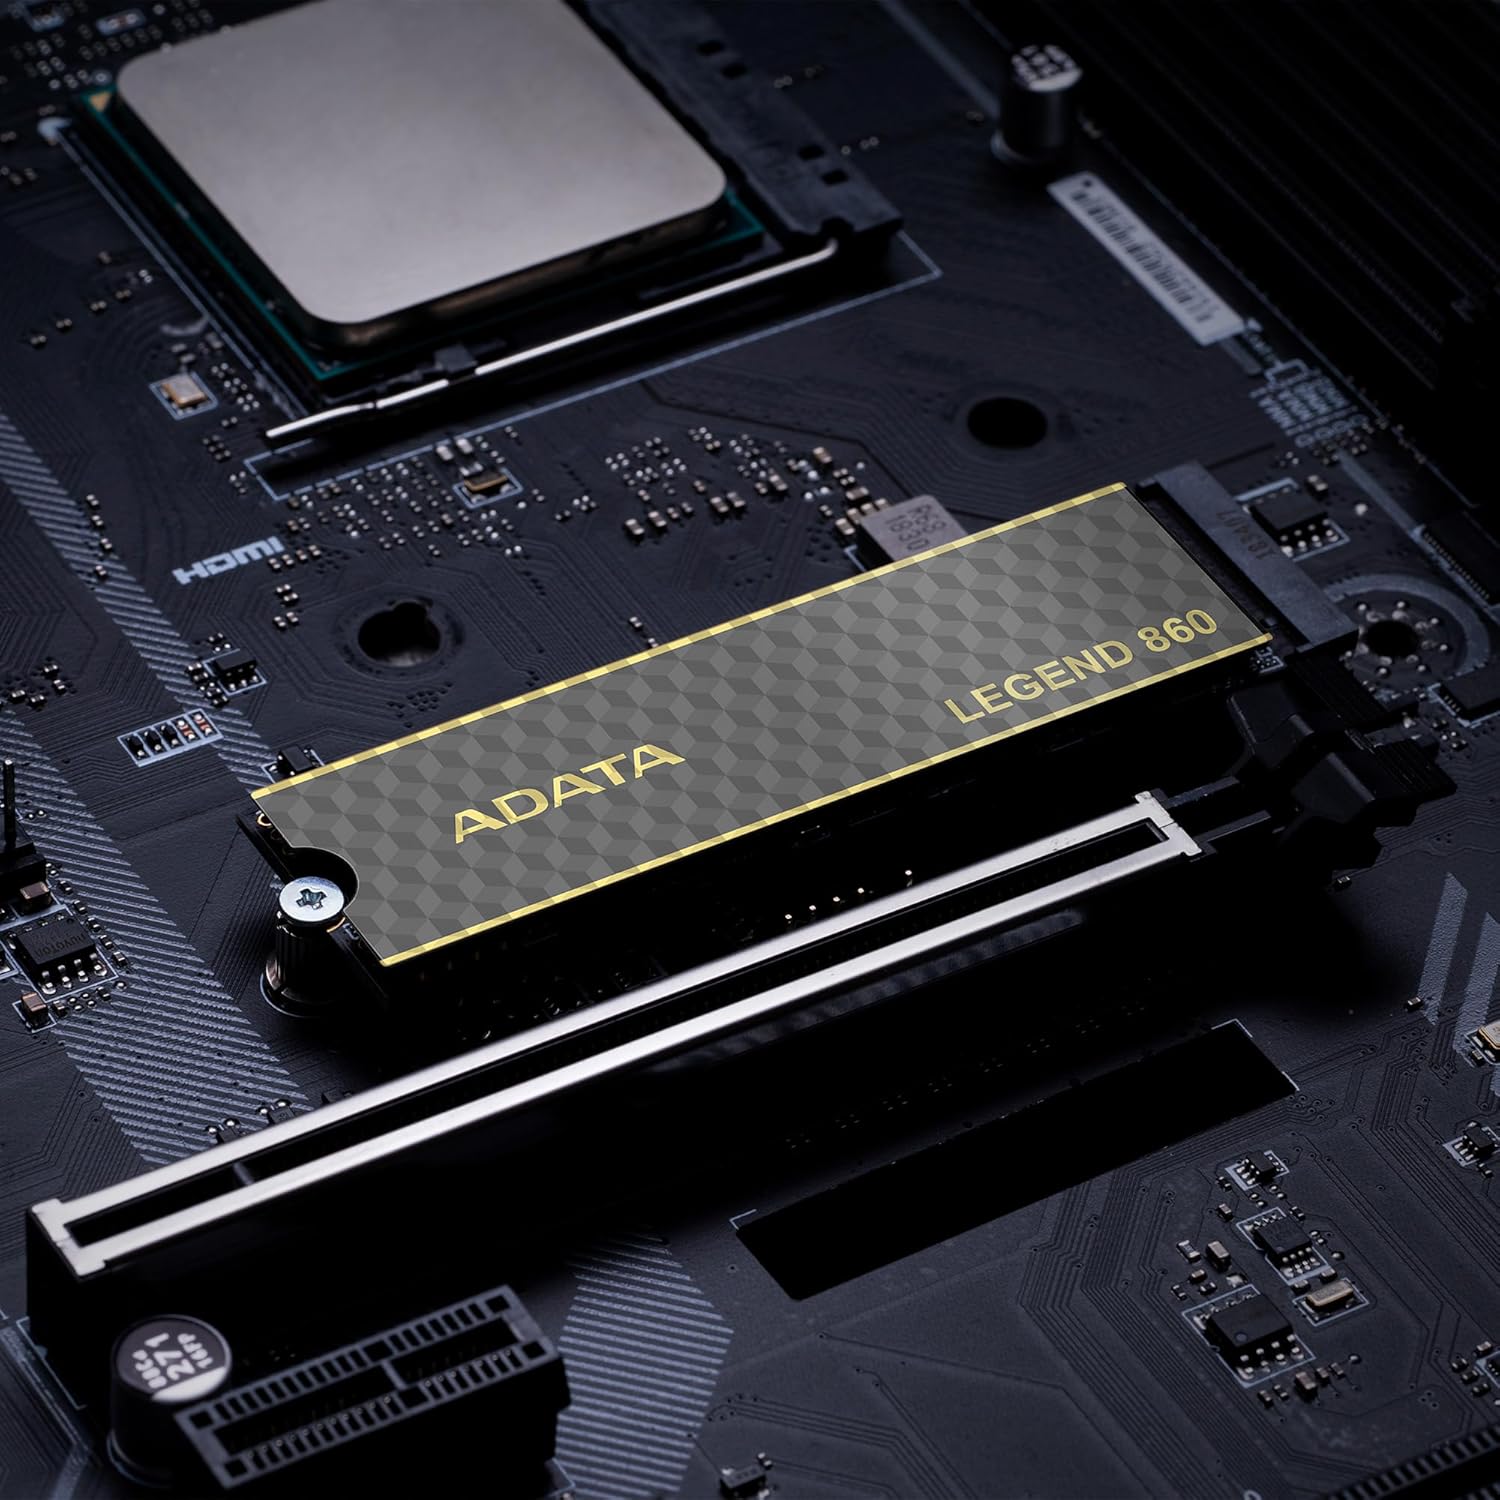
Figure 6: SSD in an external enclosure for portable use
6. Operacija
Once installed and formatted, your ADATA Legend 860 SSD will function as a high-speed storage device. You can use it for:
- Pogonski sklop operativnog sustava: Install your operating system for faster boot times and overall system responsiveness.
- Gaming Library: Store your games to significantly reduce load times and improve gaming experience.
- Pohrana aplikacije: Install demanding applications for quicker launch and operation.
- Pohrana podataka: Use it for high-speed storage of large files, such as 4K videos, high-resolution images, and large project files.
For optimal performance, ensure your system's drivers and firmware are up to date.
7. Održavanje
To maintain the performance and longevity of your ADATA Legend 860 SSD:
- Redovito ažurirajte firmware: Periodically check the ADATA official webstranica za ažuriranja firmvera za vaš SSD. Ažuriranja firmvera mogu poboljšati performanse, stabilnost i kompatibilnost.
- Izbjegavajte prekomjerno punjenje: While SSDs perform well even when nearly full, leaving some free space (typically 10-15%) can help maintain optimal performance and extend lifespan.
- Omogući TRIM: Provjerite je li TRIM omogućen u vašem operativnom sustavu. TRIM pomaže SSD-u da učinkovito upravlja svojim prostorom za pohranu, sprječavajući smanjenje performansi tijekom vremena. Većina modernih operativnih sustava omogućuje TRIM prema zadanim postavkama za SSD-ove.
- Pratite zdravlje: Use SSD monitoring tools (often provided by ADATA or third-party software) to check the health and estimated lifespan of your drive.
- Redovite sigurnosne kopije: Regularly back up important data to another storage device. While SSDs are reliable, no storage device is immune to failure.
8. Rješavanje problema
If you encounter issues with your ADATA Legend 860 SSD, consider the following troubleshooting steps:
- SSD nije otkriven:
- Provjerite je li SSD ispravno postavljen u M.2 utor.
- Check your system's BIOS/UEFI settings to confirm the M.2 slot is enabled and configured correctly.
- Verify that your motherboard or console supports NVMe PCIe Gen4 SSDs.
- Try the SSD in a different M.2 slot or a compatible external enclosure to rule out a motherboard issue.
- Spora izvedba:
- Ensure your system's M.2 slot supports PCIe Gen4 speeds. If it's a Gen3 slot, the SSD will operate at Gen3 speeds.
- Check if TRIM is enabled (as mentioned in Maintenance).
- Ensure the SSD is not nearly full.
- Update your motherboard's chipset drivers and SSD firmware.
- Nestabilnost/rušenja sustava:
- Ensure the SSD is properly secured and not overheating.
- Run a diagnostic tool to check the SSD's health.
- Check for system-wide issues (RAM, CPU, power supply).
If problems persist, contact ADATA customer support for further assistance.
9. Jamstvo i podrška
The ADATA Legend 860 Solid State Drive typically comes with a manufacturer's warranty. Please refer to the official ADATA website or your product packaging for specific warranty terms and conditions, including the duration and coverage details.
For technical support, driver downloads, firmware updates, and additional product information, please visit the official ADATA support webstranica: www.adata.com
Čuvajte svoj dokaz o kupnji za jamstvene zahtjeve.