
1. Uvod
This manual provides essential information for setting up, operating, and maintaining your GenMachine Mini PC AMD Ryzen 7 7735HS. Please read this manual thoroughly before using the device to ensure proper functionality and safety.
2. Sigurnosne informacije
Pridržavajte se sljedećih sigurnosnih uputa kako biste spriječili oštećenje uređaja ili ozljede:
- Ne izlažite uređaj vodi, vlazi ili ekstremnim temperaturama.
- Osigurajte odgovarajuću ventilaciju kako biste spriječili pregrijavanje. Nemojte blokirati ventilacijske otvore.
- Koristite samo isporučeni strujni adapter.
- Izbjegavajte ispuštanje ili izlaganje uređaja jakim udarcima.
- Ne pokušavajte sami otvarati ili popravljati uređaj. Za sve servisne radove obratite se kvalificiranom osoblju.
3. Sadržaj paketa
Provjerite jesu li svi artikli prisutni u paketu:
- GenMachine Mini PC
- korisnički priručnik
- Adapter napajanja
- HDMI kabel
- Montažni nosač (s vijcima)

Image: Package Contents. This image displays the items included in the GenMachine Mini PC box: the Mini PC unit, user manual, power adapter, HDMI cable, and a mounting bracket with screws.
4. Proizvod je gotovview
The GenMachine Mini PC is a compact, high-performance computer designed for various applications, from home office tasks to multimedia consumption. Its small footprint allows for versatile placement.

Slika: prednja strana View of GenMachine Mini PC. This image shows the front panel of the GenMachine Mini PC, featuring the power button, USB-C port, audio jack, and two USB 3.0 ports.
4.1 Prednja ploča
- Gumb za napajanje: Pritisnite za uključivanje/isključivanje uređaja.
- USB-C priključak: For data transfer and display output.
- Audio priključak: Za slušalice ili vanjske zvučnike.
- USB 3.0 priključci (x2): For connecting peripherals like keyboards, mice, or external storage.
4.2 Stražnja ploča

Slika: Stražnja strana View of GenMachine Mini PC. This image illustrates the rear panel of the Mini PC, highlighting the power input, HDMI ports, Ethernet ports, and additional USB ports.
- Ulazna snaga (DC IN): Ovdje spojite strujni adapter.
- HDMI priključci (x2): Connect to monitors or TVs for video output. Supports 4K resolution.
- Ethernet Ports (x2): For wired network connections (Dual 2.5G).
- USB 2.0 priključci (x2): Za spajanje raznih USB uređaja.
4.3 Design and Dimensions

Image: GenMachine Mini PC Size Comparison. This image compares the compact size of the GenMachine Mini PC to a traditional tower chassis, illustrating its space-saving design. Dimensions are shown as 126mm x 130mm x 40mm.
The GenMachine Mini PC features an ultra-durable, lightweight metal casing. Its compact design (approximately 126 x 130 x 40 mm) makes it significantly smaller than traditional desktop computers, ideal for any work environment.
5. Postavljanje
5.1 Spajanje perifernih uređaja
- Connect your monitor(s) to the HDMI ports or the USB-C port using appropriate cables.
- Spojite USB tipkovnicu i miš na dostupne USB priključke.
- If using wired internet, connect an Ethernet cable to one of the Ethernet ports.
- Connect the power adapter to the DC IN port on the Mini PC, then plug it into a power outlet.
5.2 Uključivanje
Press the power button on the front panel of the Mini PC. The power indicator light will illuminate, and the system will begin to boot.
5.3 Initial Operating System Setup
Upon first boot, you will be guided through the operating system setup process (e.g., Windows 11). Follow the on-screen instructions to configure language, region, network, and user accounts.
6. Upute za rad
6.1 Mrežna povezivost
- Wi-Fi: During initial setup or via the operating system's network settings, select your Wi-Fi network and enter the password. The Mini PC supports Wi-Fi 6 for faster and more stable wireless connections.
- Ethernet: If an Ethernet cable is connected, the system should automatically detect and connect to the wired network. The Mini PC features dual 2.5G network ports for enhanced connectivity.
6.2 Bluetooth uređaji
The Mini PC supports Bluetooth 5.2. To pair a Bluetooth device (e.g., headphones, keyboard, mouse):
- Enable Bluetooth on your device and set it to pairing mode.
- On the Mini PC, go to the operating system's Bluetooth settings.
- Tražiti and select your device from the list, then follow any on-screen prompts to complete pairing.
6.3 Postavljanje više zaslona
The GenMachine Mini PC supports up to four displays simultaneously, utilizing its two HDMI ports and one full-function USB-C port (which supports 4K display output).
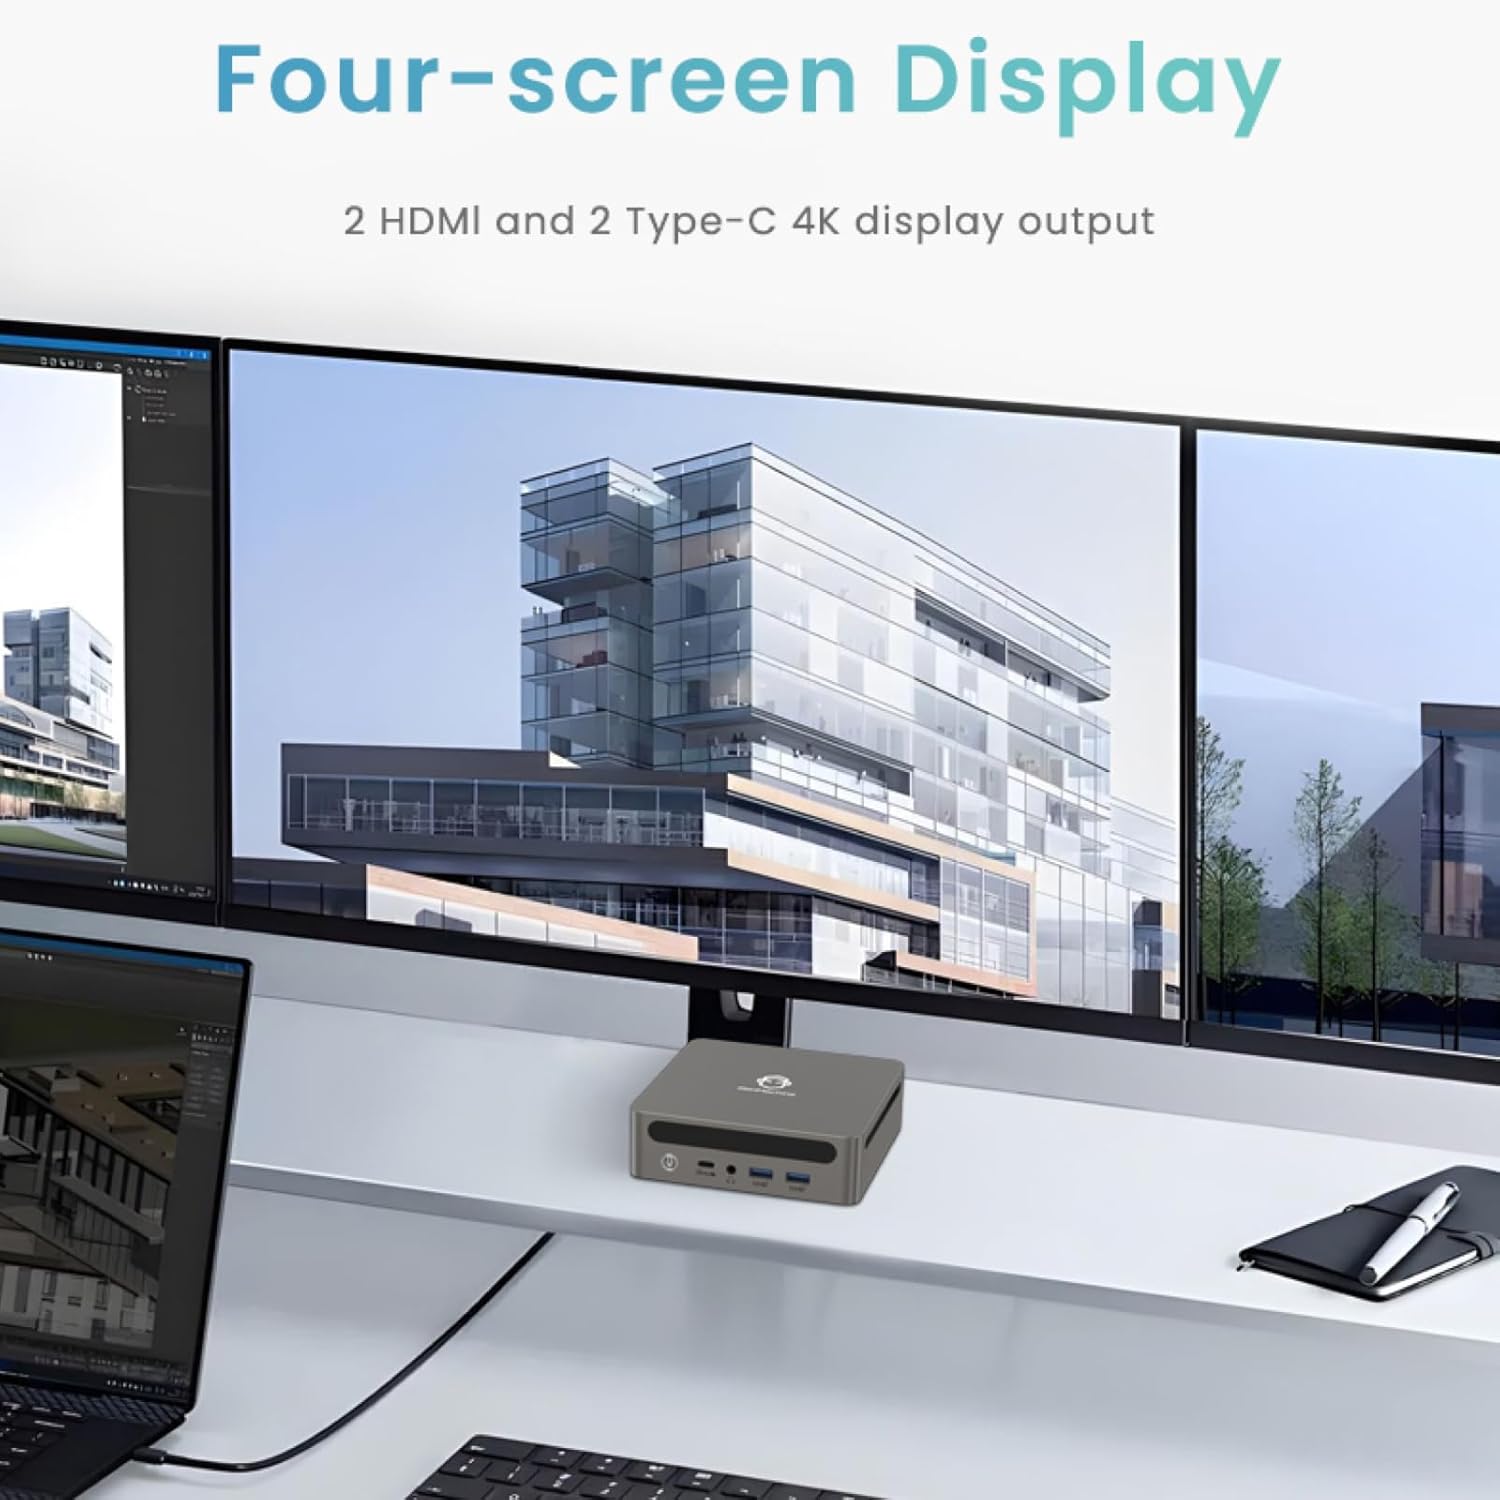
Image: Four-Screen Display Setup. This image demonstrates the GenMachine Mini PC connected to four monitors, showcasing its multi-display capabilities for enhanced productivity.
To configure multiple displays, connect your monitors and then adjust display settings within your operating system (e.g., Extend, Duplicate, or Second screen only).
7. Održavanje
7.1 Čišćenje
Regularly clean the exterior of the Mini PC with a soft, dry cloth. For stubborn dirt, slightly dampen the cloth with water. Do not use harsh chemicals or abrasive cleaners. Ensure ventilation openings are free of dust buildup.
7.2 Ažuriranja softvera
Keep your operating system and drivers updated to ensure optimal performance and security. Check for updates regularly through your operating system's settings.
7.3 Skladištenje
When not in use for extended periods, store the Mini PC in a cool, dry place, away from direct sunlight and extreme temperatures.
8. Rješavanje problema
| Problem | Mogući uzrok | Otopina |
|---|---|---|
| Nema struje | Adapter za napajanje nije spojen; utičnica je neispravna. | Provjerite je li adapter za napajanje sigurno spojen na Mini PC i ispravnu utičnicu. Pokušajte s drugom utičnicom. |
| Nema prikaza na monitoru | Monitor not connected; incorrect input source selected on monitor; faulty cable. | Check HDMI/USB-C cable connections. Ensure the monitor is set to the correct input source. Try a different cable or monitor. |
| Wi-Fi se ne povezuje | Incorrect password; router issue; Wi-Fi adapter driver issue. | Verify Wi-Fi password. Restart your router. Check operating system settings for Wi-Fi adapter status and drivers. |
| Sustav je spor ili ne reagira | Too many applications running; insufficient free storage; outdated drivers. | Close unnecessary applications. Free up disk space. Update operating system and drivers. Restart the Mini PC. |
9. Specifikacije
The following table details the technical specifications of the GenMachine Mini PC AMD Ryzen 7 7735HS:
| Značajka | Detalj |
|---|---|
| Procesor | AMD Ryzen 7 7735HS (3.2 GHz, 8 Cores, 16 Threads, up to 4.75 GHz Max Boost Clock) |
| Grafika | AMD Radeon Graphics (Integrated, 680 MB RAM) |
| OVAN | 32GB LPDDR5 (up to 6400 Mb/s) |
| Skladištenje | 512GB 2280 SSD (PCIE x 16 interface) |
| Operativni sustav | OS (Windows 11 typically pre-installed) |
| Video izlaz | 2x HDMI (4K @ 60Hz), 1x USB-C (4K display output), supports up to 3 displays |
| USB priključci | 2x USB 3.0, 2x USB 2.0, 1x USB-C (full-function USB 4.0 port) |
| umrežavanje | Wi-Fi 6, Bluetooth 5.2, Dual 2.5G Ethernet |
| Audio | Audio utičnica |
| Dimenzije | 6.34 x 6.3 x 3.62 inča (otprilike 16.1 x 16 x 9.2 cm) |
| Težina | 2.4 funti (otprilike 1.09 kg) |
| Boja | tračak |

Image: AMD Ryzen 7 7735HS Processor. This image highlights the specifications of the AMD Ryzen 7 7735HS processor, including its 8 cores, 16 threads, and up to 4.75 GHz max boost clock.

Image: LPDDR5 Memory Performance. This image illustrates the enhanced speed of LPDDR5 RAM, showing a 50% increase in maximum DRAM bandwidth compared to LPDDR4X, reaching up to 6400 Mb/s.
10. Jamstvo i podrška
For warranty information and technical support, please refer to the documentation included with your purchase or visit the official GenMachine webstranicu. Sačuvajte dokaz o kupnji za slučaj reklamacije.
For further assistance, you may contact GenMachine customer service through their official channels.