
VIKIO HOME VKH-RC13-36GB1
VIKIO HOME Under Cabinet Range Hood 36 Inch
Model: VKH-RC13-36GB1
Uvod
This manual provides detailed instructions for the installation, operation, and maintenance of your VIKIO HOME Under Cabinet Range Hood. Please read this manual thoroughly before installation and use to ensure proper function and safety.
The VIKIO HOME Under Cabinet Range Hood features a dual-motor design with 900 CFM airflow, offering efficient ventilation for various cooking styles. It includes intuitive gesture and touch controls, a 5-layer aluminum filter for effective grease removal, and energy-efficient LED lighting.
Što je u kutiji
Prije početka instalacije provjerite jesu li sve komponente prisutne:
- Rectangular Duct Adapter × 1 (with Dampovaj)
- Aluminum Mesh Filters × 2
- Mounting Screw Kit × 1
- Korisnički priručnik × 1
- Installation Positioning Template × 1

Image: Components included with the range hood, including filters, LED lights, and duct adapter.
Postavljanje i instalacija
Proper installation is crucial for the performance and safety of your range hood. Follow these steps carefully.
1. Pripremite mjesto za instalaciju
Ensure the cabinet space is clear and accessible. Use the provided installation positioning template to mark screw holes and vent openings on the underside of the cabinet and the wall.
Video: This video demonstrates the installation steps for the RC13 range hood, including marking and preparing the cabinet space.

Image: Detailed dimensions and vent options for installation.
2. Secure Mounting Screws and Anchors
Drill pilot holes according to the template. Insert wall anchors if necessary for secure mounting. Partially screw in the mounting screws, leaving enough space for the range hood to slide into place.
Video: This video illustrates the process of securing the range hood to the cabinet, including the use of screws and ensuring proper fit.
3. Connect Ductwork and Electrical
Attach the rectangular duct adapter to the range hood. Ensure all connections are sealed to prevent air leaks. Connect the electrical wiring according to local codes. The range hood supports both top and rear venting configurations.
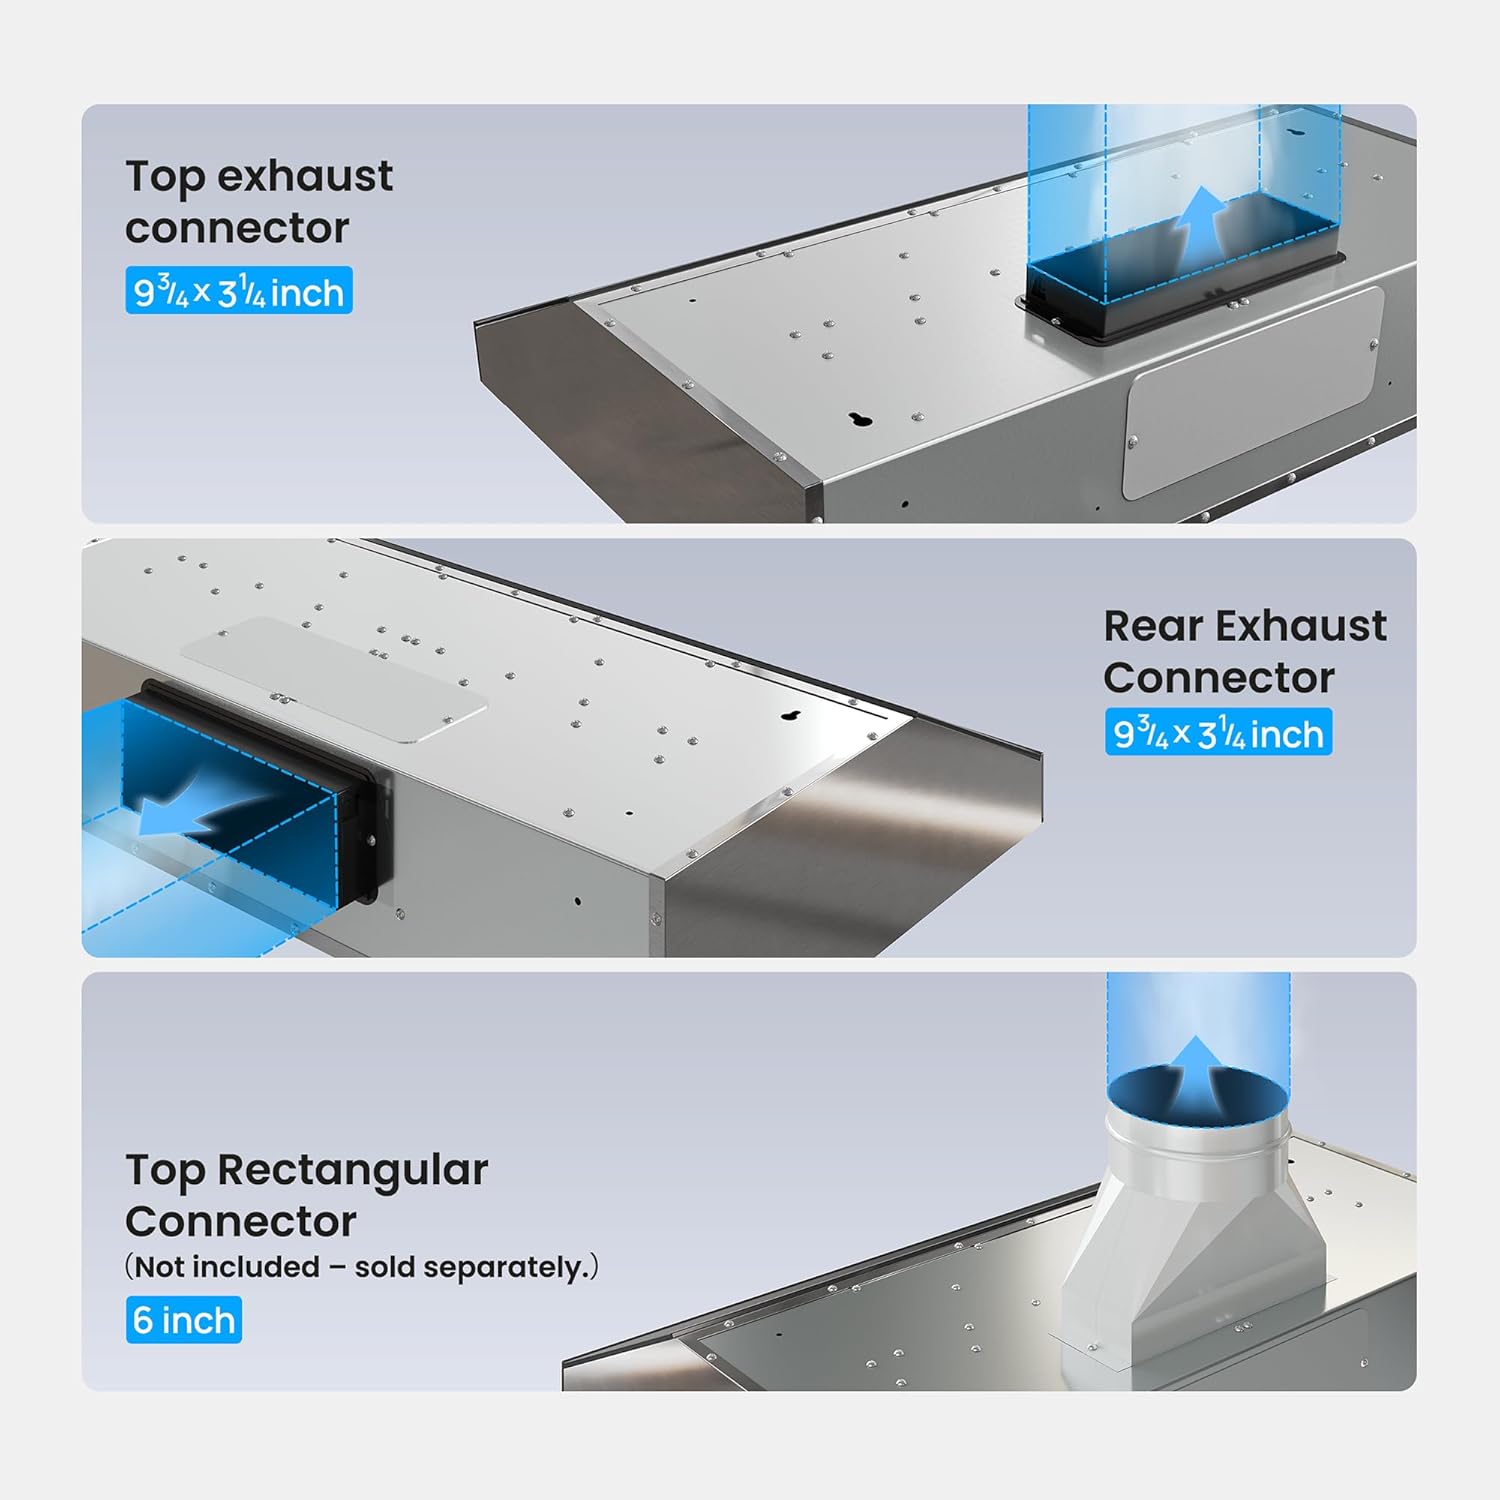
Image: Various venting options for the range hood.
4. Mount the Range Hood
Carefully lift the range hood and align it with the partially installed screws. Slide the hood into place and tighten all screws securely. Ensure the hood is level and stable.
5. Install Mesh Filters
Insert the 5-layer aluminum mesh filters into their designated slots. They should click securely into place.
Upute za rad
Your VIKIO HOME Range Hood features intuitive controls for ease of use.
Upravljačka ploča gotovaview
The control panel allows for both touch and gesture operation. Icons include On/Off, Light, Low Speed, Medium Speed, High Speed, and On/Off/Delay.

Image: The range hood's control panel with touch and gesture functions.
Kontrola gestama
Wave your hand across the sensing points to turn the hood on/off or adjust settings without touching the panel. This is convenient when your hands are wet or greasy.

Image: Demonstrating gesture control for the range hood.
Podešavanje brzine ventilatora
- Mala brzina: Ideal for light cooking or simmering.
- Srednja brzina: Suitable for general cooking and moderate smoke.
- Velika brzina: Koristite za intenzivno kuhanje, prženje ili kada su prisutni jaki dim i mirisi.
The smart memory function will recall your last used settings when the hood is turned on again.
LED rasvjeta
Press the Light button to turn the 4000K LED lights on or off. These GU10 bulbs provide natural color rendering and are energy-efficient.
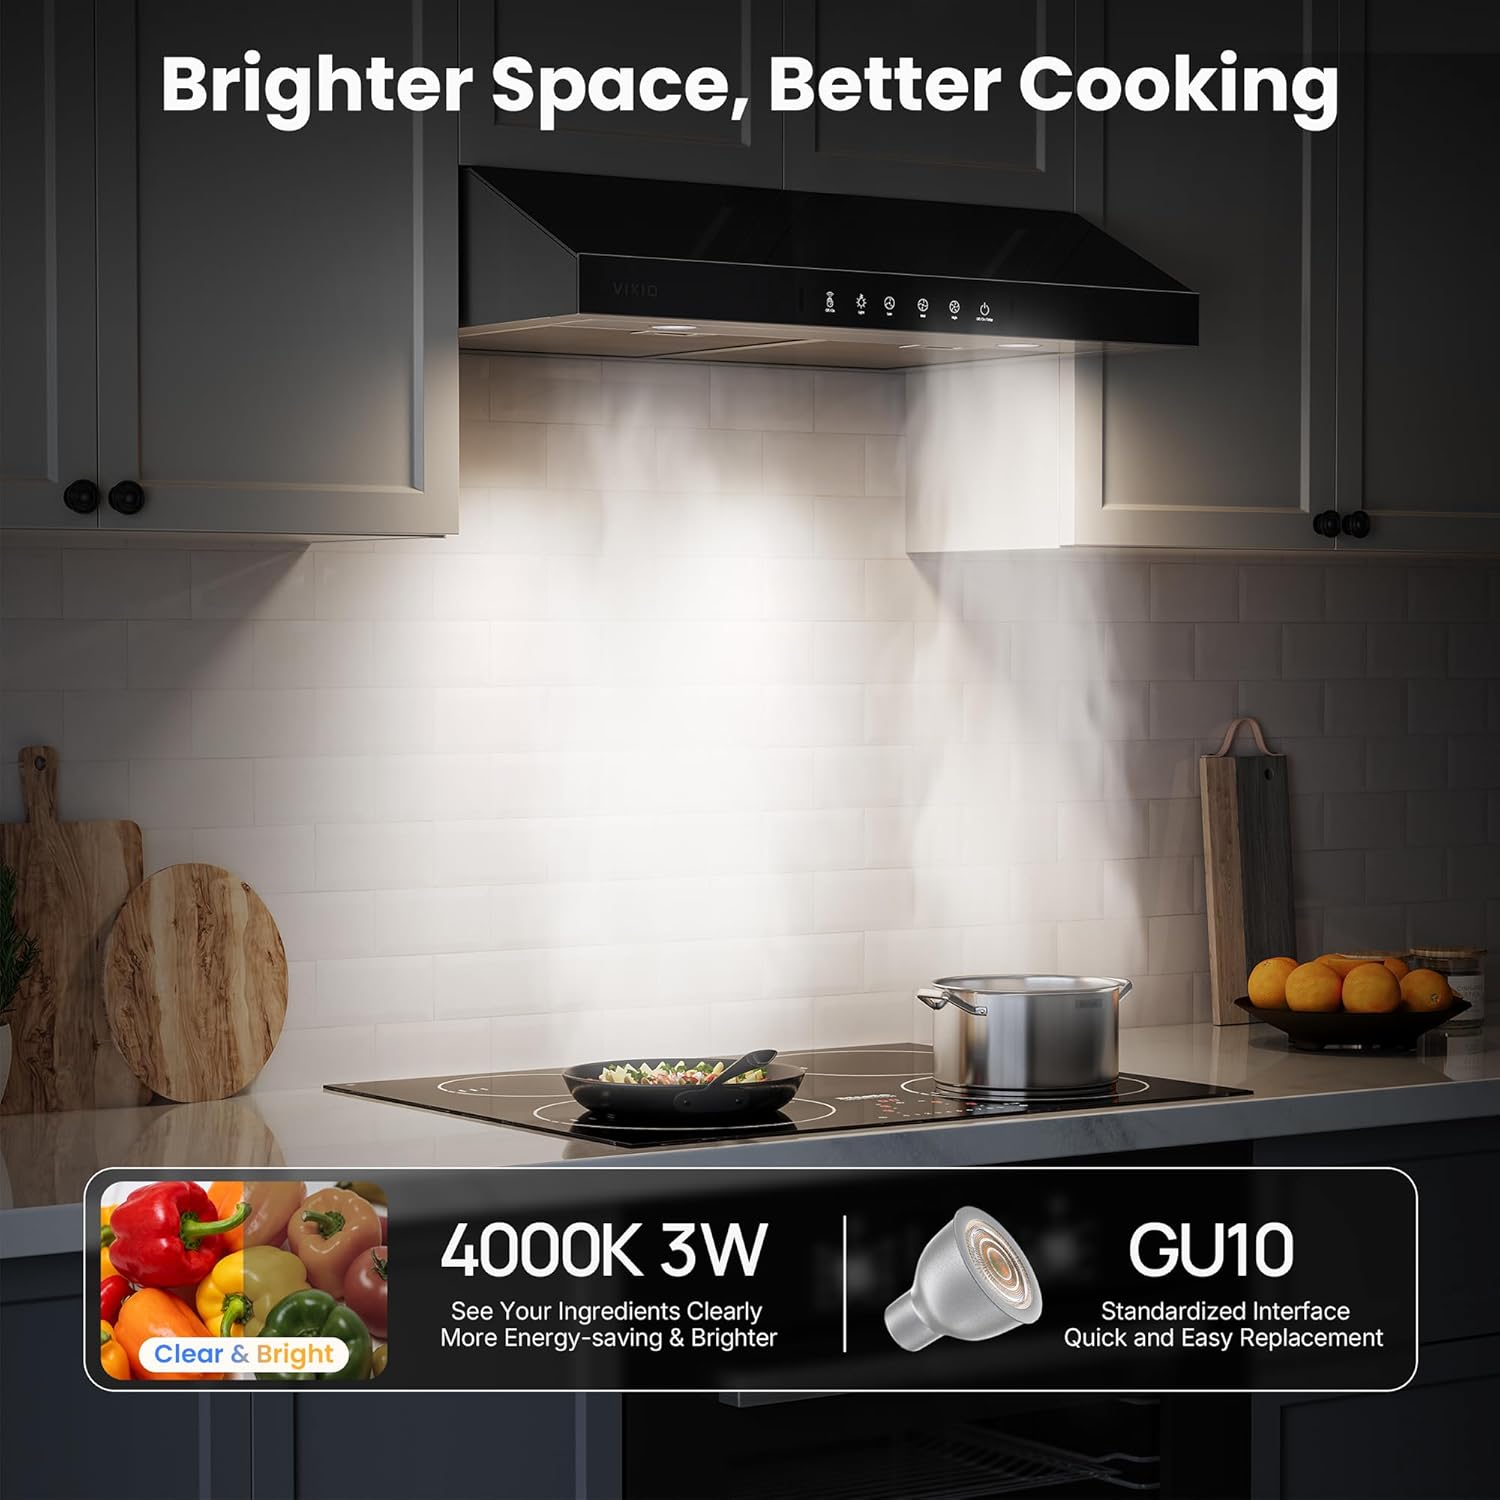
Image: The range hood's LED lighting in operation.
Auto-Delay Shutdown
After cooking, activate the 3-minute auto-delay shutdown feature to clear any residual smoke and odors from your kitchen.
Održavanje
Redovito održavanje osigurava optimalne performanse i dugotrajnost vaše nape.
Čišćenje aluminijskih mrežastih filtera
The 5-layer aluminum mesh filters are designed to trap grease and cooking residue. They are easy to remove and dishwasher safe. For manual cleaning, rinse with warm, soapy water.
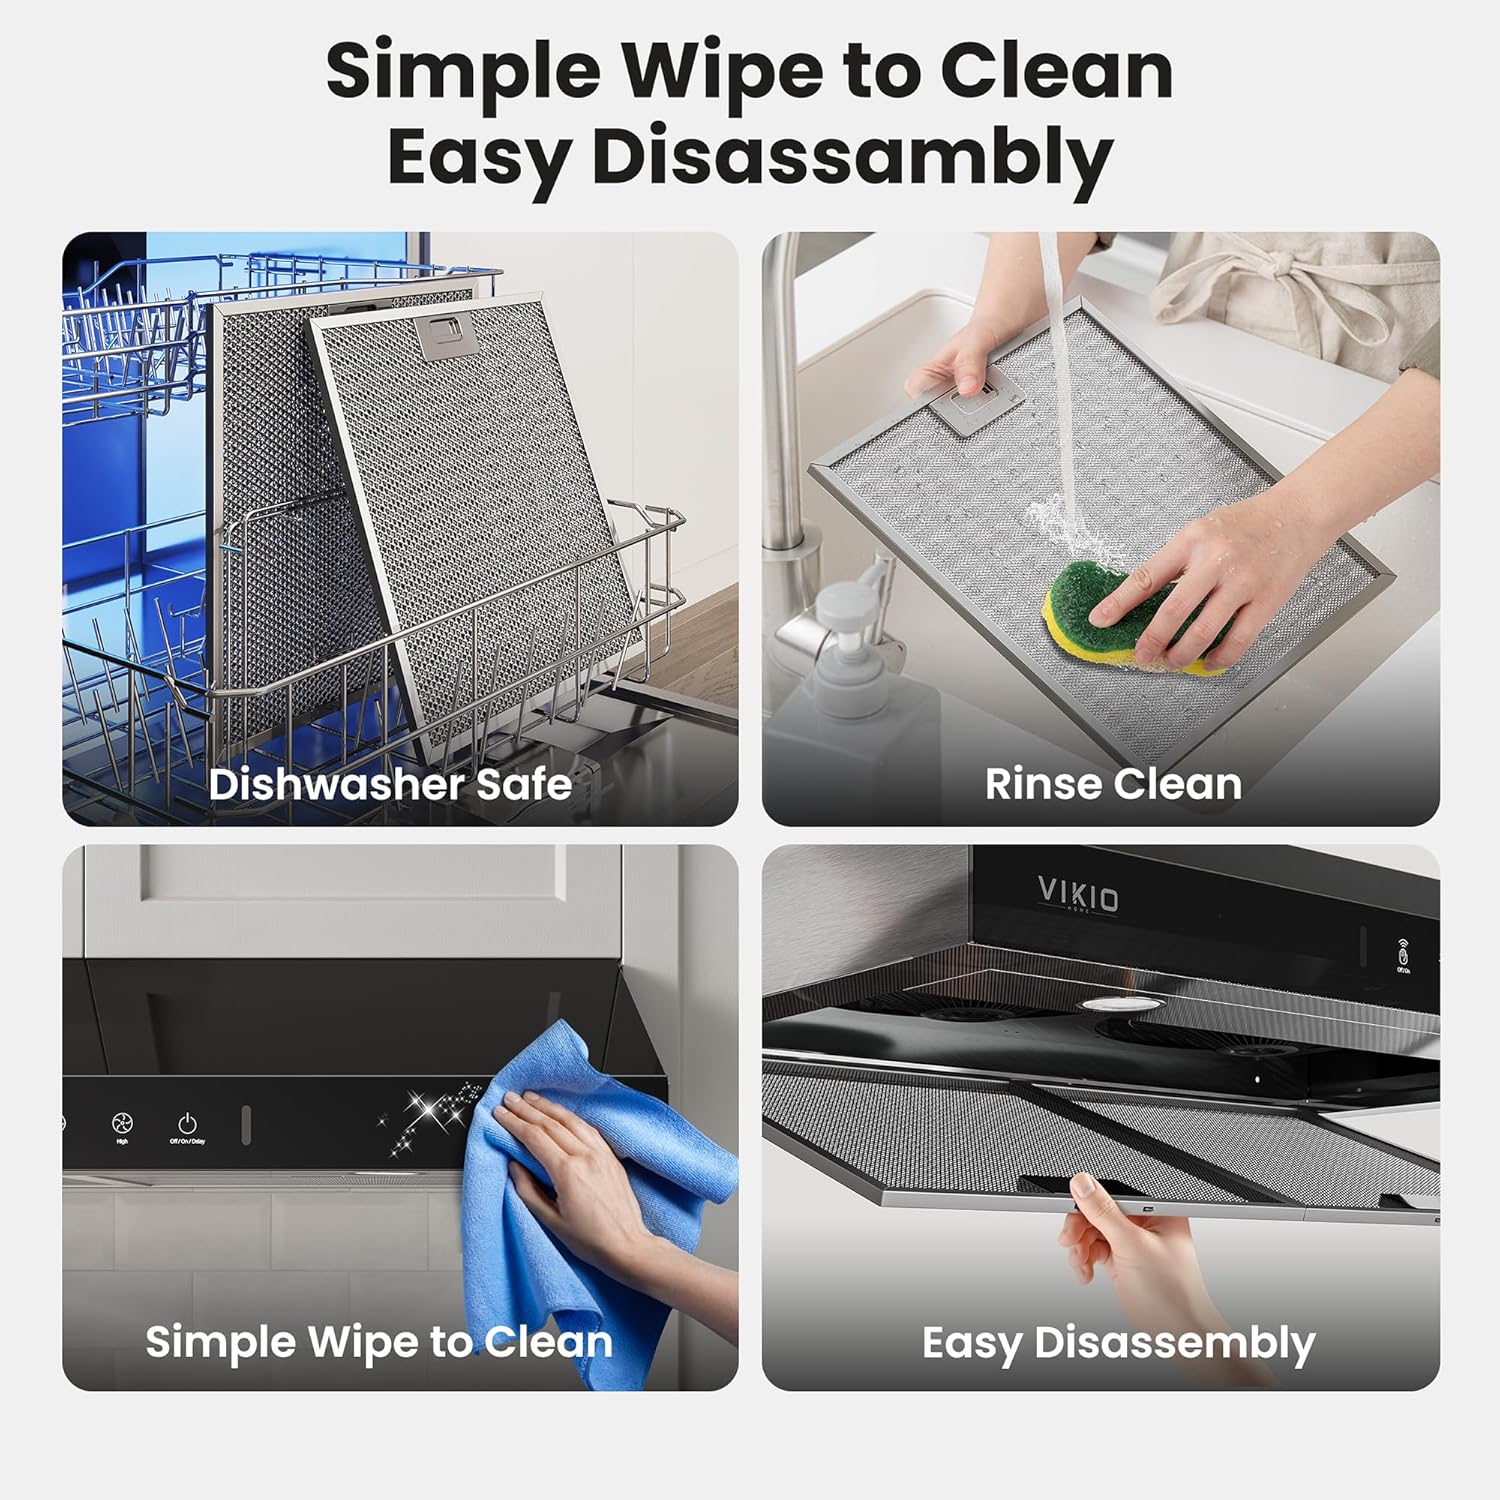
Image: Steps for cleaning the mesh filters and the range hood exterior.
Čišćenje eksterijera
The premium black tempered glass and stainless steel exterior are stain and scratch-resistant. Wipe clean with a soft cloth and mild detergent. Avoid abrasive cleaners.
Zamjena LED žarulja
The range hood uses standard GU10 bulbs, which can be replaced easily in under a minute. Ensure the power is off before replacing bulbs.
Tehnički podaci
| Marka | VIKIO HOME |
| Broj modela | VKH-RC13-36GB1 |
| Dimenzije proizvoda | 19.68"D x 35.56"Š x 6"V |
| Vrsta materijala | Nehrđajući čelik |
| Vrsta završetka | Staklo |
| Kapacitet protoka zraka | 900 kubičnih stopa po minuti (CFM) |
| Razina buke | 50 decibela (dB) |
| Broj brzina | 3 |
| Izvor svjetlosti | LED (GU10) |
| Voltage | 110 volti |
| Frekvencija | 60 Hz |
| Vrsta filtra | Mesh (5-layer aluminum) |
| Vrsta montaže | Ispod nosača ormarića |
| Vrsta ventilacije | valovodno |
| Težina artikla | 37.4 funti |
| Certifikacija | CE |
Rješavanje problema
If you encounter issues with your range hood, refer to the following common solutions:
- Bez napajanja: Check the power connection and circuit breaker. Ensure the unit is properly plugged in or hardwired.
- Slabo usisavanje: Verify that the mesh filters are clean and not clogged. Ensure ductwork is properly sealed and free of obstructions.
- Pretjerana buka: Check for loose components or obstructions in the fan. Ensure the unit is securely mounted.
- Svjetla ne rade: Check if the GU10 bulbs need replacement. Ensure power is supplied to the unit.
Za uporne probleme obratite se korisničkoj podršci.
Jamstvo i podrška
Your VIKIO HOME Under Cabinet Range Hood comes with a 2-godišnje jamstvo proizvođača.
For any questions, technical assistance, or warranty claims, please reach out to our 24/7 online customer support team. Contact information can be found on the product packaging or the official VIKIO HOME webmjesto.
Ask a question about this manual
Ask about setup, troubleshooting, compatibility, parts, safety, or missing instructions. Manuals+ will review the question and use this page’s manual context to help answer it.