
1. Uvod
This manual provides detailed instructions for assembling, operating, and maintaining your STRICH SLP-D30 LP Style DIY Electric Guitar Kit. Designed for enthusiasts and aspiring luthiers, this kit allows you to build a high-quality electric guitar with a mahogany body, maple neck, and powerful HH pickups. Please read all instructions carefully before beginning assembly to ensure a successful and enjoyable building experience.

Figure 1: Fully assembled STRICH SLP-D30 LP Style Electric Guitar.
2. Što je u kutiji
Your STRICH SLP-D30 kit includes all necessary components for assembly. Please verify all parts are present before starting.
- Mahogany Body (LP Style)
- Maple Neck with HPL Fingerboard
- HH Pickups (Humbucker-Humbucker configuration)
- Bridge and Tailpiece
- Tuning Machines (6-in-line)
- Pre-wired Electronics (Potentiometers, Switch, Output Jack)
- Guitar Strings (6-piece set)
- Kabel za gitaru
- Strap Buttons
- Neck Plate and Screws
- Truss Rod Cover
- Control Knobs (Volume and Tone)
- Allen Key and Wrench
- All necessary screws and small hardware

Figure 2: All components included in the DIY Electric Guitar Kit.
3. Upute za sastavljanje
Follow these steps carefully to assemble your STRICH SLP-D30 electric guitar. A visual guide is also available in the embedded video below.
Video 1: STRICH SLP-D30 Installation Tutorial. This video demonstrates the complete assembly process for the guitar kit.
3.1. Headstock Assembly
- Install Tuning Pegs: Insert the tuning machine posts into the pre-drilled holes on the headstock. Secure them from the front with washers and nuts, then tighten with the provided wrench.
- Attach Truss Rod Cover: Place the truss rod cover over the truss rod access point on the headstock and secure it with the small screws.

Slika 3: Detaljno view of the maple headstock with tuning pegs.
3.2. Body Wiring and Pickup Installation
- Thread Wires: Carefully thread the pre-wired electronic cables through the designated channels within the mahogany body. Ensure all wires are routed correctly to their respective cavities.
- Install Pickups: Place the HH pickups into their routed cavities. Connect the pickup wires to the main wiring harness using the provided connectors, matching colors. Secure the pickups with screws.
- Install Potentiometers and Switch: Insert the volume and tone potentiometers and the pickup selector switch into their respective holes. Secure them with their nuts and washers. Connect the remaining wires to the potentiometers and switch, ensuring correct color matching.
- Install Output Jack: Mount the output jack plate to the side of the guitar body and secure it with screws. Connect the output jack wires to the main harness.
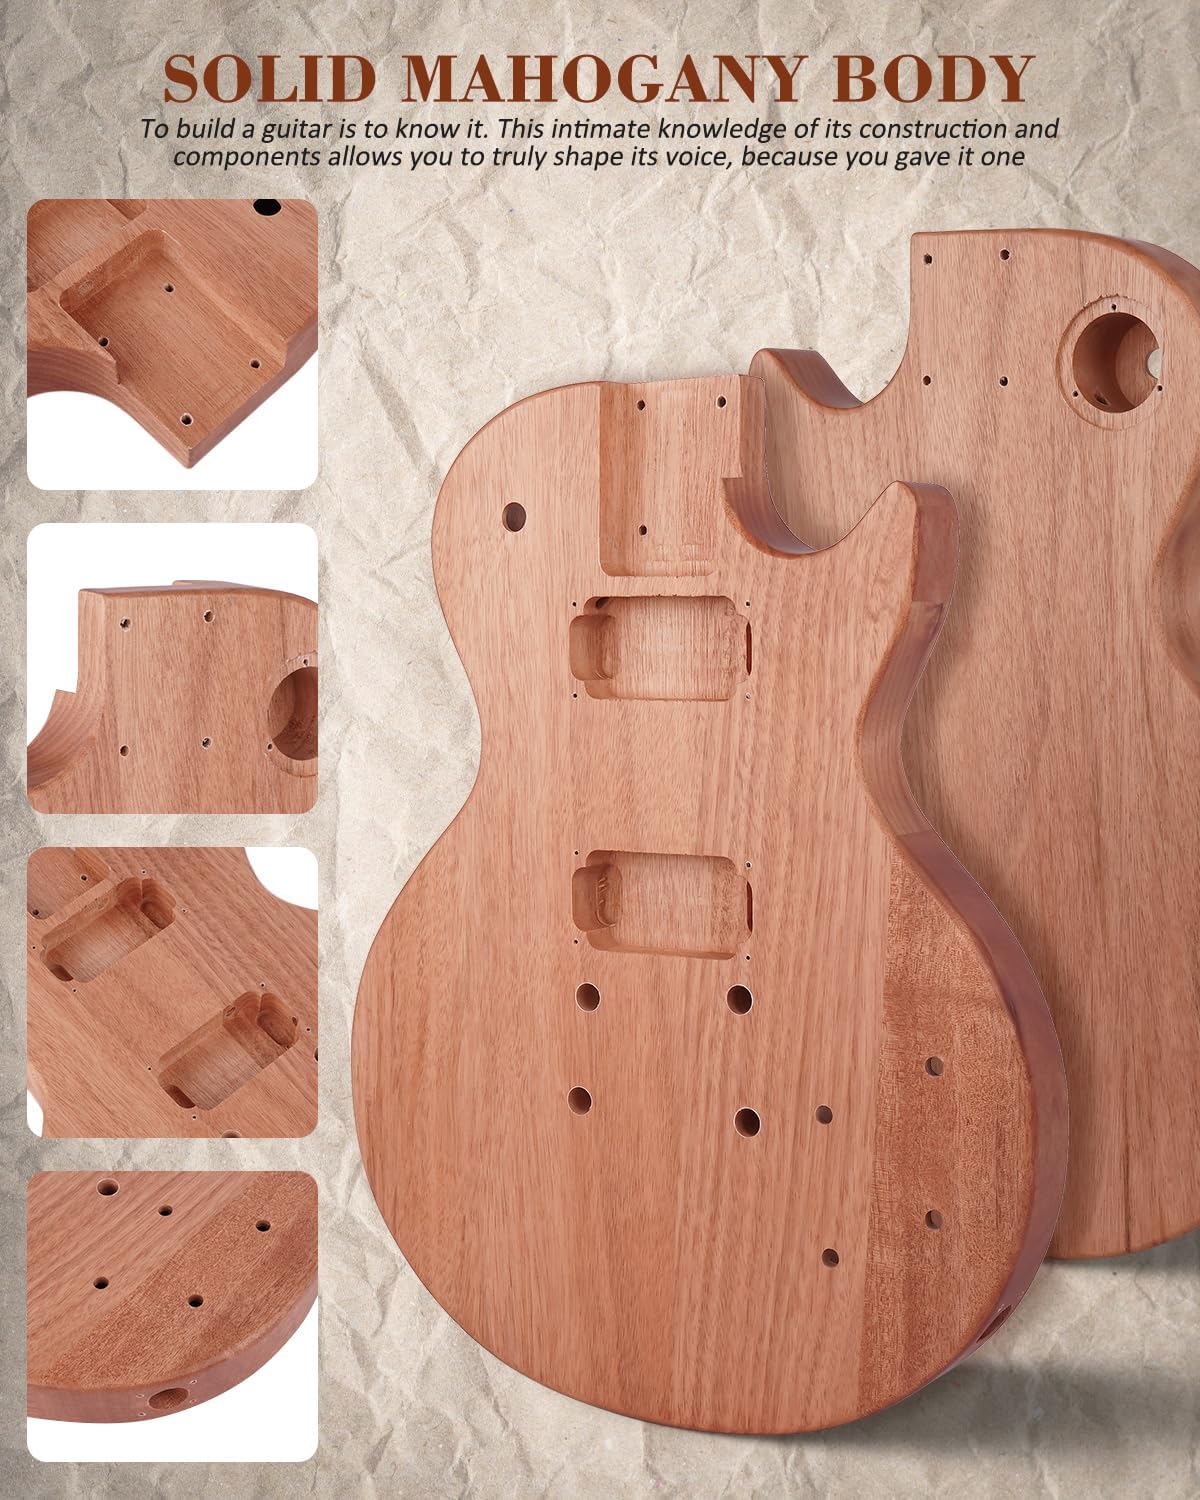
Figure 4: The guitar body showcasing the HH pickups and pre-varnished finish.
3.3. Bridge and Knobs Installation
- Install Bridge Posts: Gently tap the bridge posts into the pre-drilled holes on the guitar body using a hammer.
- Install Bridge and Tailpiece: Place the bridge and tailpiece onto their respective posts.
- Pričvrstite upravljačke gumbe: Push the volume and tone control knobs onto the potentiometer shafts.
3.4. Neck Attachment
- Attach Neck to Body: Carefully align the maple neck with the neck pocket on the body. Ensure a snug fit without noticeable gaps.
- Secure Neck Plate: Place the neck plate over the four screw holes on the back of the body where the neck attaches. Insert and tighten the four neck screws securely.
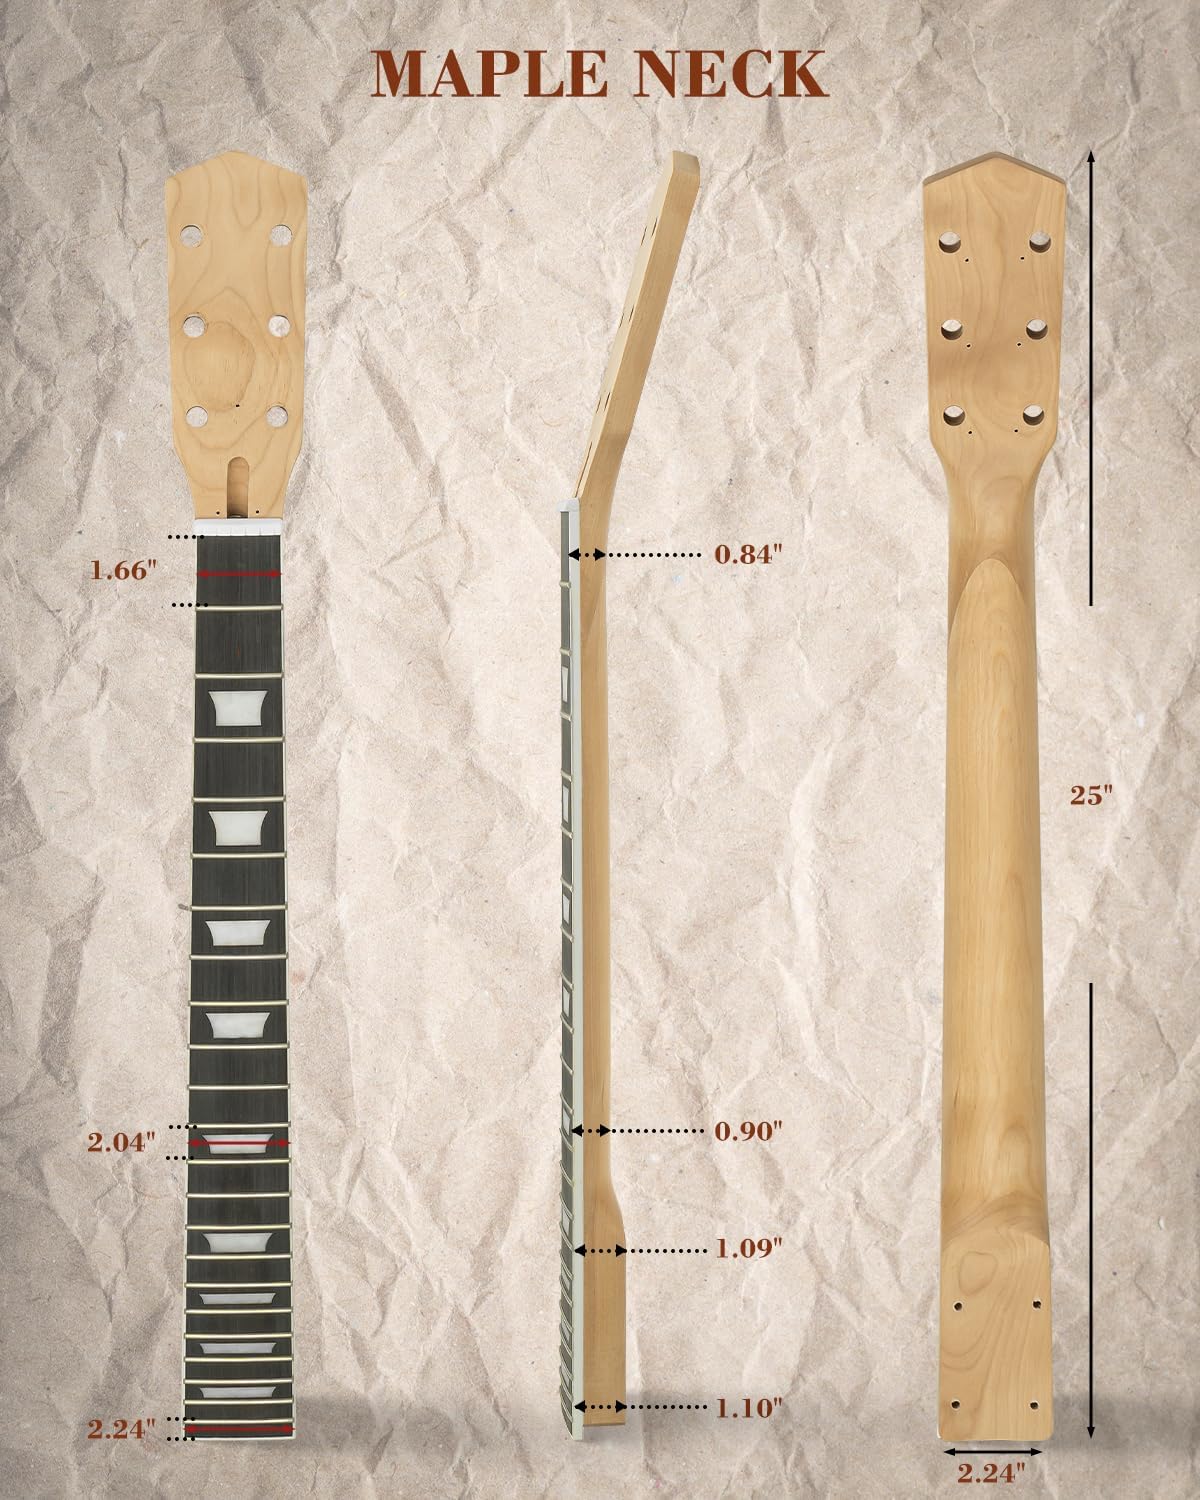
Figure 5: Close-up of the securely attached neck joint.
3.5. Završni dodiri
- Install Strap Buttons: Screw the strap buttons into the pre-drilled holes on the body.
- Install Control Cavity Covers: Place the plastic covers over the control cavities on the back of the body and secure them with screws.
- String Installation: Thread each string through the tailpiece, over the bridge, and through the corresponding tuning machine post on the headstock. Wind the strings tightly and tune the guitar.
4. Upute za rad
Once assembled, your STRICH SLP-D30 electric guitar is ready to play. Here are basic operating guidelines:
- ugađanje: Use an electronic tuner to accurately tune your guitar strings to standard E-A-D-G-B-e or your preferred tuning.
- Gumbi za glasnoću: Control the overall output volume of the guitar.
- Gumbi za ton: Adjust the treble and bass frequencies for each pickup.
- Prekidač za odabir preuzimanja: This 3-way switch allows you to select different pickup configurations:
- Pozicija 1 (Vrat): Activates the neck pickup for warmer, fuller tones.
- Pozicija 2 (Sredina): Activates both neck and bridge pickups for a balanced tone.
- Pozicija 3 (Most): Activates the bridge pickup for brighter, sharper tones.
- Povezivanje s Ampdizalica: Use a standard 1/4" (6.35mm) instrument cable to connect the guitar's output jack to your ampsredstvo za podsticanje.
5. Održavanje
Proper maintenance will prolong the life and playability of your guitar:
- Čišćenje: Wipe down the body, neck, and strings with a soft, dry cloth after each use. For deeper cleaning, use guitar-specific cleaning products.
- Zamjena niza: Replace strings regularly (e.g., every 1-3 months, depending on usage) to maintain optimal tone and playability.
- Briga o ušiju: Periodically clean and condition the HPL fretboard to prevent drying and cracking.
- Podešavanje rešetkaste šipke: If the neck shows excessive forward or backward bow, a truss rod adjustment may be necessary. This is an advanced procedure; if unsure, consult a professional luthier.
- Provjera hardvera: Periodically check all screws and nuts for tightness, especially on tuning machines, bridge, and neck plate.
6. Rješavanje problema
Evo rješenja za uobičajene probleme s kojima se možete susresti:
| Problem | Mogući uzrok | Otopina |
|---|---|---|
| Nema zvuka iz amplifter | Loose cable connection, faulty cable, incorrect pickup selection, amplifier off/volume down, wiring issue. | Check all cable connections, try a different cable, ensure amplifier is on and volume is up, verify pickup selector switch position, inspect internal wiring connections. |
| Buzzing/Fretting out | Low action, uneven frets, neck relief issues, old strings. | Adjust bridge saddle height, check neck relief (truss rod adjustment if needed), replace old strings. If frets are uneven, professional attention may be required. |
| Gitara neće ostati uštimana | New strings stretching, improperly wound strings, faulty tuning machines, nut issues. | Stretch new strings thoroughly, ensure strings are correctly wound around tuning posts, lubricate nut slots, inspect tuning machines for looseness. |
| Slab ili nekonzistentan izlaz | Pickup height too low, loose wiring, faulty potentiometer/switch. | Adjust pickup height closer to strings, check all internal wiring connections, test potentiometers and switch for proper function. |
7. Specifikacije
- Naziv modela:
- SLP-D30
- Materijal tijela:
- Od mahagonija
- Materijal vrata:
- Javor
- Materijal praga:
- Engineered Wood (HPL)
- Konfiguracija preuzimanja:
- HH (Humbucker-Humbucker)
- Broj žica:
- 6
- Orijentacija ruke:
- Pravo
- Sustav mostova:
- Popravljeno
- Profesionalac zvukafile:
- Warm, heavy
- Vrsta priključka:
- 1/4" (6.35mm) audio jack
- Težina artikla:
- 4 kg
- Veličina instrumenta:
- Puna veličina
8. Jamstvo i podrška
STRICH products are designed for quality and performance. For any questions regarding assembly, operation, or potential issues, please refer to the seller's support channels or contact STRICH customer service. Please retain your proof of purchase for warranty claims.
For additional resources and support, visit the official STRICH store: STRICH Store on Amazon