1. Uvod
Thank you for choosing the Lefant M3L Robot Vacuum and Mop. This intelligent cleaning device is designed to simplify your home cleaning routine by efficiently vacuuming and mopping various floor types. Please read this manual thoroughly before using the product to ensure proper operation, maintenance, and safety.
For optimal performance, follow the instructions carefully and keep this manual for future reference.
2. Važne sigurnosne informacije
Before using the Lefant M3L, please observe the following safety precautions:
- Ovaj uređaj mogu koristiti djeca starija od 8 godina i osobe sa smanjenim fizičkim, osjetilnim ili mentalnim sposobnostima ili s nedostatkom iskustva i znanja ako su pod nadzorom ili su ih dobili upute u vezi s korištenjem uređaja na siguran način i razumiju opasnosti koje su uključene .
- Djecu treba nadzirati kako bi se osiguralo da se ne igraju s uređajem.
- Čišćenje i korisničko održavanje ne smiju obavljati djeca bez nadzora.
- Do not use the robot in environments with open flames, flammable materials, or explosive substances.
- Ensure the charging dock is placed on a level surface against a wall, with no obstacles within 1 meter in front and 0.5 meters on either side.
- Ne uranjajte robota ili njegove elektroničke komponente u vodu.
- Koristite samo originalni adapter za napajanje i punjač koje je isporučio proizvođač.
- Prije rada uklonite sve labave kablove, male predmete ili lomljive predmete s poda kako biste spriječili zapetljavanje ili oštećenje.
- Do not use the robot to clean liquids, burning objects, or sharp objects.
- Ako je kabel za napajanje oštećen, mora ga zamijeniti proizvođač, njegov serviser ili slično kvalificirana osoba kako bi se izbjegla opasnost.
3. Sadržaj paketa
Molimo provjerite je li sva dodatna oprema prisutna i u dobrom stanju:
- Lefant M3L Robot Vacuum and Mop
- Dock za punjenje
- Adapter napajanja
- Kanta za smeće
- Water Tank with Mop Pad
- Bočne četke (2 para)
- HEPA filter (1 ugrađen, 1 rezervni)
- Alat za čišćenje
- korisnički priručnik
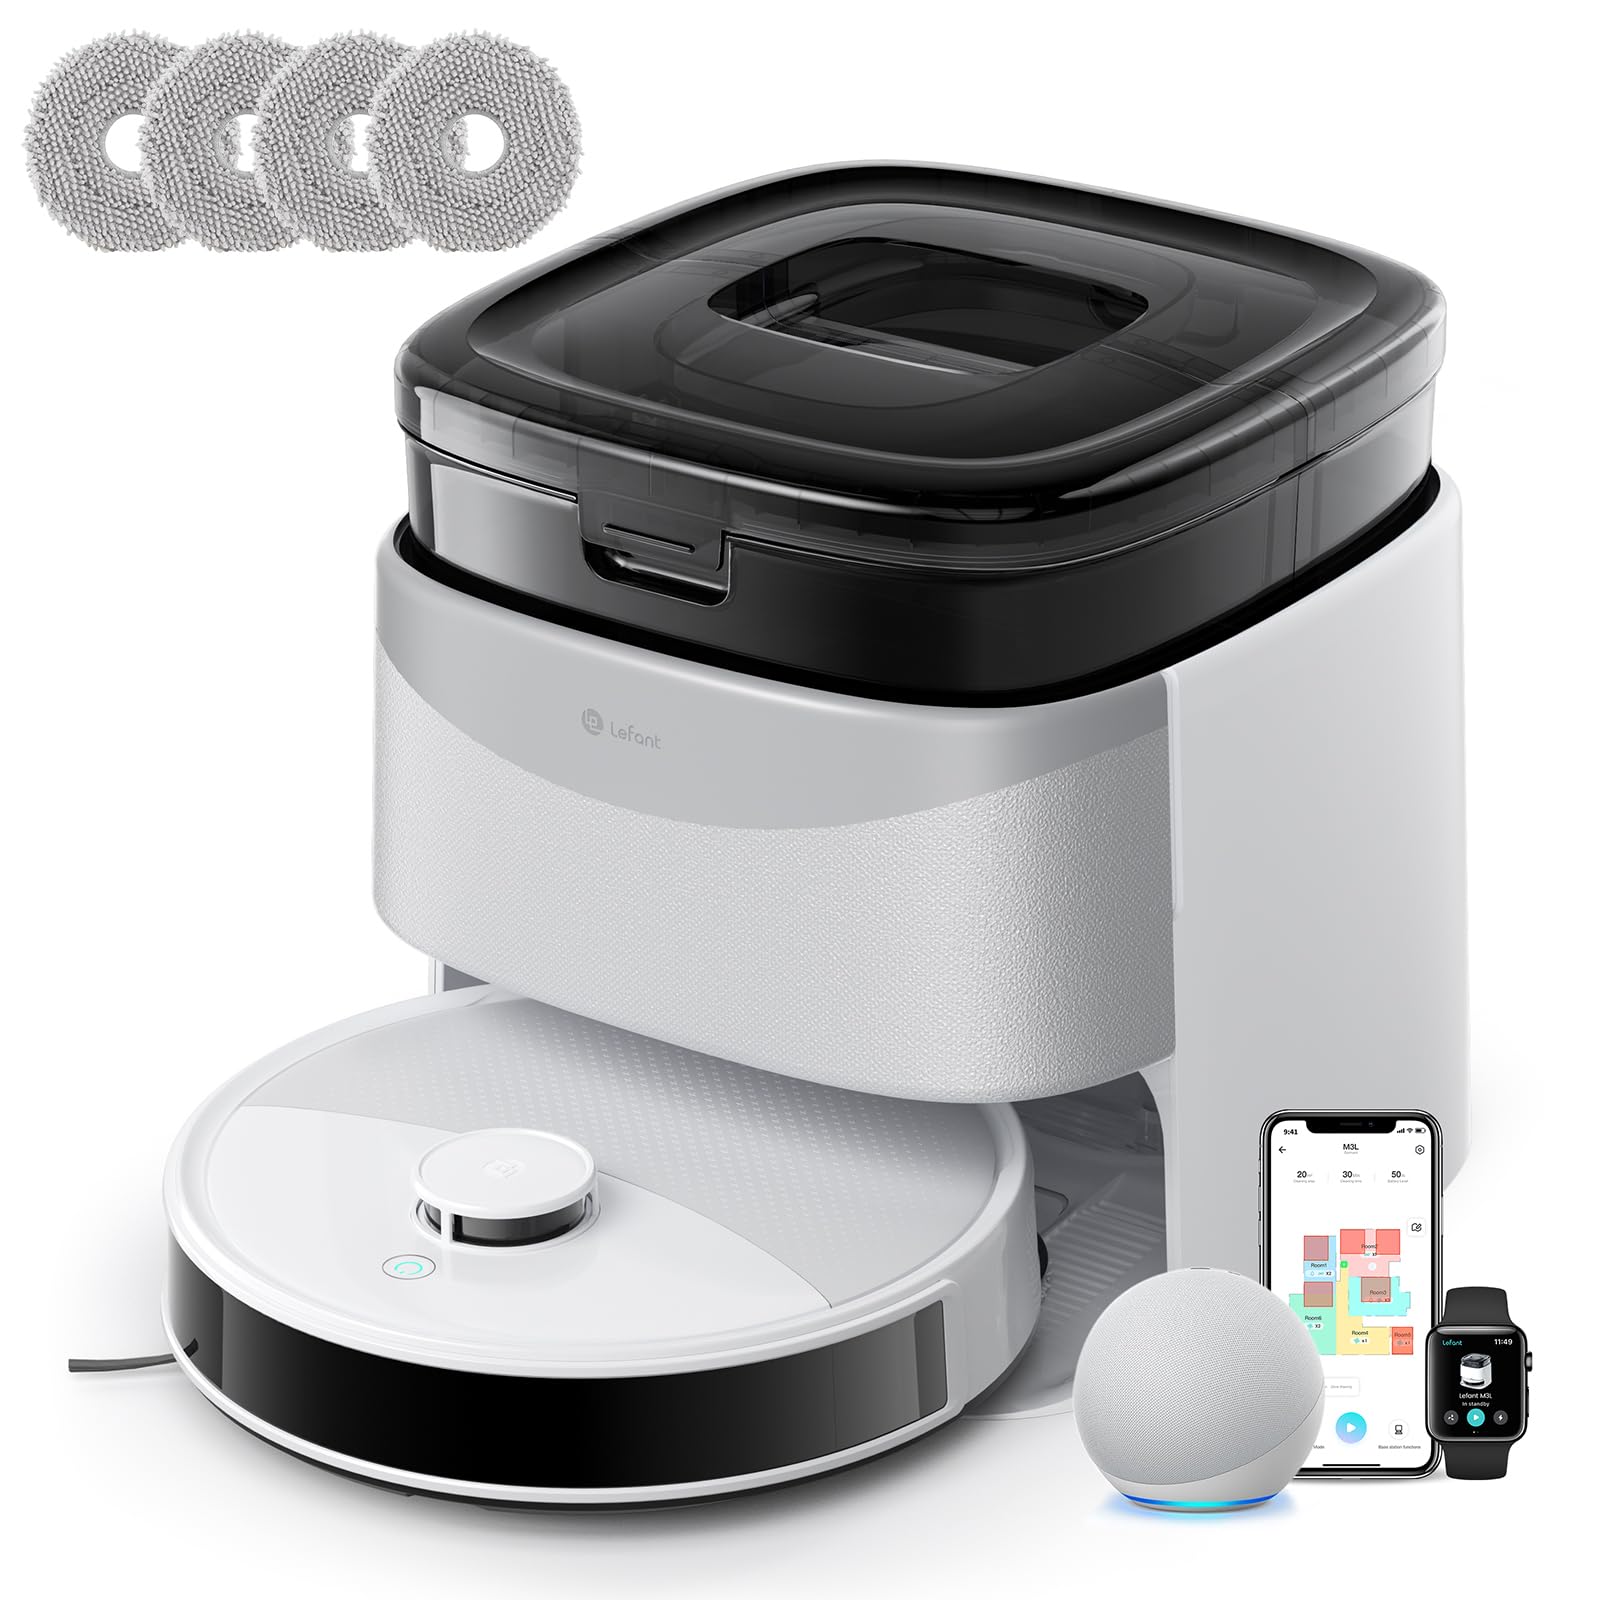
Image 1: Lefant M3L Robot Vacuum and Mop with its included accessories. This image shows the main unit, charging dock, power adapter, dustbin, water tank, mop pad, side brushes, and cleaning tool.
4. Proizvod je gotovview
4.1 Robot Top View
- Gumb za napajanje/čišćenje: Press to start/pause cleaning. Hold to power on/off.
- Svjetlo indikatora: Shows battery status and working mode.
- Gumb za otpuštanje posude za prašinu: Press to remove the dustbin.
4.2 Robot Bottom View
- Bočne četke: Collect dust and debris from edges and corners.
- Pogonski kotači: Omogućite robotu kretanje po raznim površinama.
- Univerzalni kotač: Provides 360-degree movement.
- Kontakti za punjenje: Connect with the charging dock for power.
- Senzori pada: Otkrijte rubove i spriječite padove.
- Glavna četka: Centralna četka za dubinsko čišćenje.
- Water Tank/Mop Pad Slot: Area for attaching the water tank and mop pad.
4.3 Priključna stanica za punjenje
- Indikator punjenja: Prikazuje status punjenja.
- Kontakti za punjenje: Connect with the robot for power.
- Priključak za napajanje: Spaja se na strujni adapter.
5. Vodič za postavljanje
5.1 Preparing the Robot
- Uklonite zaštitne folije: Remove all protective films from the robot and charging dock.
- Ugradnja bočnih četki: Press the side brushes onto the square posts at the bottom of the robot until they click into place. Ensure the 'L' and 'R' marks match.
- Install Dustbin: Open the top cover of the robot and insert the dustbin until it locks securely.

Image 2: Illustration of attaching the side brushes to the underside of the robot. Align the brush with the corresponding post and push until it clicks.
5.2 Positioning the Charging Dock
- Postavite punjač na tvrdu, ravnu površinu uz zid.
- Ensure there are no obstacles within 1 meter (3 feet) in front of the dock and 0.5 meters (1.5 feet) on either side.
- Spojite adapter za napajanje na priključnu stanicu za punjenje i uključite ga u zidnu utičnicu. Indikatorska lampica na priključnoj stanici će svijetliti.

Image 3: Diagram showing the recommended clear space around the charging dock for optimal robot navigation.
5.3 Početno punjenje
Place the robot onto the charging dock, ensuring the charging contacts on the robot align with those on the dock. The robot's indicator light will pulse during charging and turn solid when fully charged. For first-time use, charge the robot for at least 6 hours.
5.4 Povezivanje s Lefant aplikacijom
- Download the "Lefant" app from the App Store (iOS) or Google Play Store (Android).
- Registrirajte račun i prijavite se.
- Tap "+" to add a device and select your Lefant M3L model.
- Follow the in-app instructions to connect the robot to your home Wi-Fi network (2.4GHz only).
- Once connected, you can control the robot, set schedules, and monitor cleaning status via the app.
6. Upute za rad
6.1 Pokretanje ciklusa čišćenja
- Ručni start: Press the Power/Clean button on the robot once. The robot will automatically start cleaning in Auto mode.
- Kontrola aplikacije: Open the Lefant app, select your M3L robot, and tap "Start Cleaning".
- Glasovno upravljanje: If integrated with a smart assistant (e.g., Alexa, Google Assistant), use voice commands like "Alexa, ask Lefant to start cleaning."
6.2 Pausing/Resuming Cleaning
Press the Power/Clean button on the robot or use the app to pause a cleaning cycle. Press again to resume.
6.3 Povratak na stanicu za punjenje
The robot will automatically return to the charging dock when its battery is low or when a cleaning cycle is complete. You can also send it back manually via the app.
6.4 Using the Mopping Function
- Napunite spremnik za vodu: Open the water tank cover and fill it with clean water. Do not use cleaning solutions that are not approved by Lefant.
- Pričvrstite krpu za brisanje: Securely attach the mop pad to the bottom of the water tank.
- Ugradnja spremnika za vodu: Slide the filled water tank into the designated slot at the back of the robot until it clicks.
- Start a cleaning cycle. The robot will now vacuum and mop simultaneously.

Image 4: Steps for filling the water tank and attaching the mop pad before inserting it into the robot.
Bilješka: Remove the water tank before charging the robot or if it will be inactive for an extended period.
6.5 Cleaning Modes (via App)
- Automatsko čišćenje: Robot inteligentno navigira i čisti cijeli vaš dom.
- Spot Clean: Cleans a specific area more intensely.
- Čišćenje rubova: Čisti uz zidove i rubove namještaja.
- Planirano čišćenje: Postavite određena vremena za automatsko čišćenje robota.
7. Održavanje
Redovito održavanje osigurava optimalne performanse i produžuje vijek trajanja vašeg robotskog usisavača.
7.1 Cleaning the Dustbin and Filter (After each use)
- Pritisnite gumb za otpuštanje posude za prašinu i izvucite posudu za prašinu.
- Otvorite poklopac posude za prašinu i ispraznite njen sadržaj u kantu za smeće.
- Remove the HEPA filter and sponge filter. Tap them gently to remove dust. Do not wash the HEPA filter with water.
- Rinse the dustbin with water (ensure it's completely dry before reinstallation).
- Ponovno sastavite filtere i posudu za prašinu, a zatim ih vratite u robota.

Image 5: Visual guide on how to remove, empty, and clean the dustbin and its filters.
7.2 Cleaning the Side Brushes (Weekly)
Remove the side brushes by pulling them upwards. Use the cleaning tool to remove any hair or debris tangled around them. Rinse with water if necessary and allow to air dry completely before reattaching.
7.3 Cleaning the Water Tank and Mop Pad (After each mopping session)
Empty any remaining water from the tank. Remove the mop pad and wash it by hand or machine. Allow both to air dry completely before storage or next use.
7.4 Cleaning Sensors and Charging Contacts (Monthly)
Wipe the drop sensors (on the bottom of the robot) and the charging contacts (on the robot and charging dock) with a clean, dry cloth. This ensures proper navigation and charging.

Slika 6: Krupni plan view of the robot's underside, highlighting the locations of the drop sensors and charging contacts for cleaning.
8. Rješavanje problema
| Problem | Mogući uzrok | Otopina |
|---|---|---|
| Robot se ne uključuje. | Slaba baterija; Isključeno napajanje. | Charge the robot; Ensure the main power switch (usually on the side/bottom) is ON. |
| Robot se ne može puniti. | Charging contacts dirty; Dock not powered; Robot not properly aligned. | Clean charging contacts; Check power adapter connection; Manually place robot on dock. |
| Robot se često zaglavi. | Too many obstacles; Loose cables; High thresholds. | Clear the cleaning area; Use virtual boundaries if available; Block off problematic areas. |
| Slabe performanse čišćenja. | Dustbin full; Filters clogged; Side brushes worn. | Ispraznite spremnik za prašinu; Očistite/zamijenite filtere; Očistite/zamijenite bočne četke. |
| Funkcija brisanja ne radi. | Water tank empty; Mop pad dirty/dry; Water outlet clogged. | Fill water tank; Clean/wet mop pad; Check water tank for blockages. |
| Problemi s povezivanjem aplikacije. | Incorrect Wi-Fi password; Router too far; 5GHz Wi-Fi used. | Ensure 2.4GHz Wi-Fi; Re-enter password; Move robot closer to router; Restart router/robot. |
9. Specifikacije
| Značajka | Detalj |
|---|---|
| Naziv modela | M3L |
| Marka | Lefant |
| Dimenzije (D x Š x V) | 32D x 32D x 9.7V centimetara |
| Težina artikla | 9.7 kilogram |
| Vrsta baterije | Litij-ionski |
| Vrsta filtra | HEPA |
| Vrsta kontrole | Kontrola aplikacije, glasovna kontrola |
| Posebne značajke | Dry and Wet Cleaning, Carpet Cleaning |
| Preporučena površina | Hard floors, Wood floors, Tiles, Carpets |
| Form Factor | Krug |
| Izvor napajanja | Napajanje na baterije |
| Uključene komponente | Mop head, Water tank |
10. Jamstvo i korisnička podrška
Lefant products come with a standard manufacturer's warranty. For detailed warranty terms and conditions, please refer to the warranty card included in your package or visit the official Lefant webmjesto.
If you encounter any issues or have questions regarding your Lefant M3L Robot Vacuum and Mop, please contact Lefant Customer Support. You can usually find contact information (email, phone, or online chat) on the official Lefant website or through the Lefant app.
Please have your model number (M3L) and purchase information ready when contacting support.