
1. Uvod i krajview
This manual provides essential instructions for the assembly, operation, and maintenance of your Greesum 10x16FT Plastic Outdoor Storage Shed. Designed for durability and convenience, this shed offers a robust storage solution for your garden, lawn, or backyard.
The shed features high-density polyethylene (HDPE) construction, a lockable door, integrated windows, and skylights for natural light and ventilation. Please read this manual thoroughly before beginning assembly to ensure proper installation and safe use.
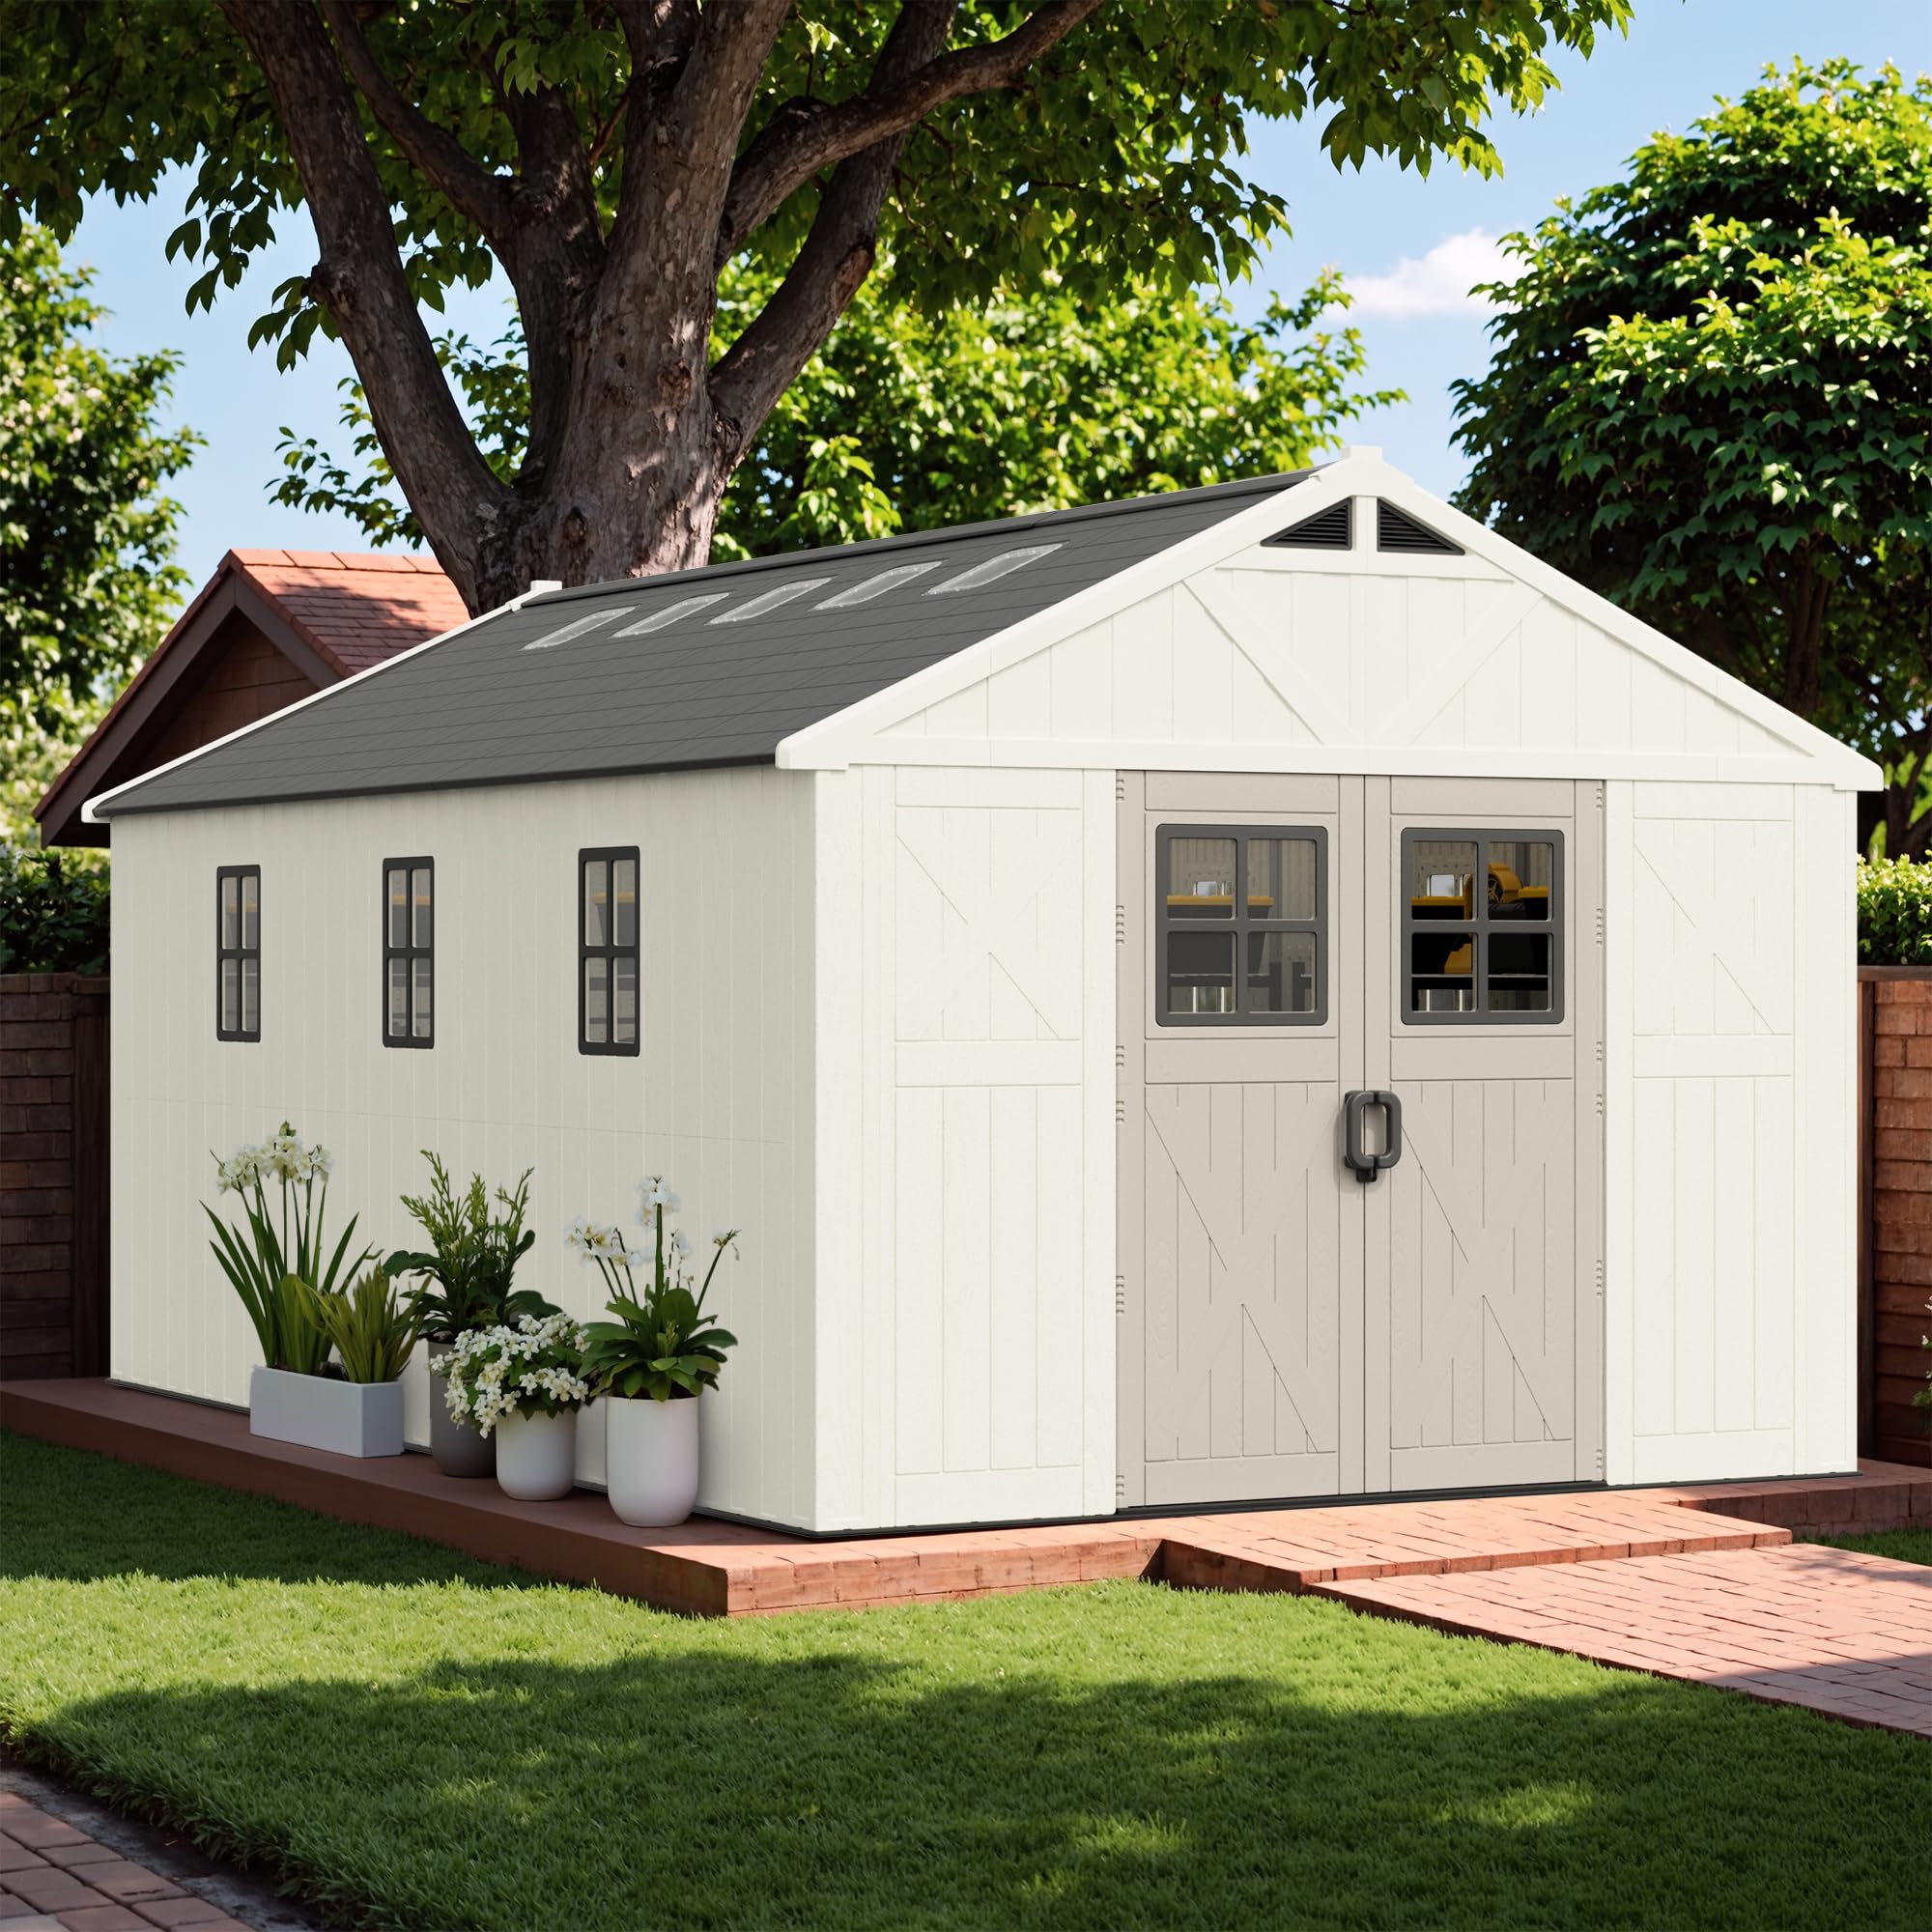
Slika 1.1: Prednja strana view of the Greesum 10x16FT Plastic Outdoor Storage Shed.
2. Sigurnosne informacije
- Tijekom montaže uvijek nosite odgovarajuću zaštitnu opremu, uključujući rukavice i zaštitu za oči.
- Osigurajte da je područje montaže bez prepreka i ravno.
- Držite djecu i kućne ljubimce dalje od područja okupljanja.
- Ne pokušavajte sastavljati šupu pri jakom vjetru ili nepovoljnim vremenskim uvjetima.
- Verify local homeowner association (HOA) policies and building codes regarding outdoor storage structures before installation.
- Ne skladištite zapaljive tekućine ili opasne materijale unutar šupe.
- Distribute weight evenly inside the shed; do not overload shelves or roof.
3. Sadržaj paketa
Your Greesum storage shed is shipped in multiple packages. Please ensure all boxes are received before starting assembly.
- The product ships in 14 separate parcels, which may arrive at different times.
- The detailed installation guide is included in Box #15.
- All necessary wall panels, roof components, and hardware are included.

Image 3.1: Product dimensions and note on shipping in 14 boxes with manual in box 15.
4. Postavljanje i sastavljanje
The Greesum shed is designed for easier assembly, requiring approximately 30% fewer screws compared to standard models. Follow the numbered instructions and diagrams provided in the manual (Box #15) carefully.
4.1 Preporučeni alati (nisu uključeni)
- Gumeni čekić
- Phillips odvijač
4.2 Koraci montaže
- priprema: Unpack all boxes and sort panels and screws by type and area. This will save significant time during assembly.
- Osnovna instalacija: Ensure the ground is level. Begin by assembling the base channel.
- Wall Panel Attachment: When connecting wall panels to the base channel, press downward firmly to ensure they fully snap into place.
- Montaža krova: Follow the instructions for securing the roof components. The shed features a heavy-duty build with a strong internal frame.
- Ugradnja vrata i prozora: Install the lockable door, windows, and skylights as per the manual. The through-hole installation design facilitates convenient assembly.

Image 4.1: Illustration of through-hole installation and customizable window/skylight placement.
5. Upute za rad
5.1 Rad vrata
The shed is equipped with a secure, lockable double-hinged door. Use the provided handle and a padlock (not included) for security. Ensure the doors are fully closed and latched to protect contents from weather and unauthorized access.
5.2 Ventilation and Lighting
The shed includes dual ventilation windows and integrated skylights. These features promote airflow to prevent condensation and provide natural light, reducing the need for artificial lighting during the day.

Image 5.1: Details of the secure locking door, waterproof roof, triangular air vent, and heavy-duty construction.

Image 5.2: The shed with its double doors open, revealing ampunutarnji prostor za pohranu.
6. Održavanje
- Čišćenje: Clean the shed periodically with mild soap and water. Avoid abrasive cleaners or harsh chemicals that could damage the plastic.
- Inspekcija: Regularly inspect the shed for any loose screws, damaged panels, or signs of wear. Tighten fasteners as needed.
- Odvodnja: Ensure the area around the shed has proper drainage to prevent water accumulation at the base.
- Uklanjanje snijega: In areas with heavy snowfall, remove excessive snow from the roof to prevent structural stress, although the roof has a capacity of 75kg/m².
7. Rješavanje problema
- Teškoće sastavljanja panela: Ensure the ground surface is completely level. Apply firm, even pressure when connecting panels to the base channel. Refer to the manual for specific panel alignment.
- Curenje vode: Check all panel connections, roof seams, and window/door seals for proper installation. Ensure all screws are tightened.
- Dijelovi koji nedostaju: If any parts are missing, refer to the parts list in your instruction manual and contact Greesum customer support.
- Nepravilno poravnanje vrata: Verify that the shed base is level and that the door frame components are correctly installed and tightened.
8. Specifikacije
| Značajka | Detalj |
|---|---|
| Broj modela | GS-78116-0414 |
| Materijal | Blow-molded High-Density Polyethylene (HDPE) Plastic |
| Boja | Bež |
| Dimenzije proizvoda (D x Š x V) | 195" x 124" x 100" (otprilike 16.25 ft x 10.33 ft x 8.33 ft) |
| Podna površina | 160 kvadratnih stopa |
| Nosivost krova | 75 kg/m² (approximately 15.36 lbs/sq ft) |
| Razina vodootpornosti | Otporan na vodu |
| Stil vrata | Jednostruko šarnirno, zaključava se |
| Obavezna montaža | Da |

Image 8.1: Detail illustrating the 25mm wall thickness and roof load capacity of 16.3 PSF (75kg/m²).
9. Jamstvo i podrška
9.1 Informacije o jamstvu
For specific warranty details, please refer to the documentation included with your product or visit the official Greesum webstranica. Jamstveni uvjeti obično pokrivaju proizvodne nedostatke i nedostatke materijala pri normalnoj uporabi.
9.2 Korisnička podrška
If you have questions, require assistance with assembly, or need to report missing/damaged parts, please contact Greesum customer support. Contact information can usually be found on the product packaging or the brand's official webmjesto.
Također možete posjetiti Greesum Store on Amazon za dodatne informacije o proizvodu i resurse podrške.