Uvod
This manual provides essential instructions for the safe and efficient operation, setup, and maintenance of your 3PLUS HCB050401 18-Gauge Brad Nailer and Quiet Air Compressor Combo Kit. Please read this manual thoroughly before use and retain it for future reference.
Važne sigurnosne informacije
UPOZORENJE: Nepoštivanje ovih sigurnosnih uputa može uzrokovati ozbiljne ozljede ili materijalnu štetu.
- Always wear safety glasses and hearing protection when operating the nailer and compressor.
- Never point the nailer at yourself or others.
- Disconnect the air supply before making adjustments, clearing jams, or performing maintenance.
- Osigurajte da je radno područje čisto, dobro osvijetljeno i bez prepreka.
- Do not operate the compressor or nailer in damp ili vlažnim uvjetima.
- Držite djecu i promatrače podalje od radnog područja.
- Regularly inspect the air hose for damage and ensure all connections are secure.
- Do not exceed the maximum operating pressure of the tools.
- Compressor Safety: The compressor tank fills quickly and automatically stops when topped off. However, always monitor the pressure gauge and manually shut off the compressor if it does not stop automatically to prevent over-pressurization.
Proizvod gotovview
The 3PLUS HCB050401 combo kit includes an 18-gauge brad nailer (HF50SP) and a 1-gallon quiet air compressor (HC0504G), designed for various finish and trim applications.
Komponente kompleta
- 18-Gauge Brad Nailer (HF50SP)
- 1-Gallon Air Compressor (HC0504G)
- Air Hose with Fittings
- Zaštitne naočale
- Ključevi
- Priručnici

Slika 1: The complete 3PLUS HCB050401 18-Gauge Brad Nailer and Quiet Air Compressor Combo Kit, including the brad nailer, air compressor, air hose, safety goggles, and wrenches.
Air Compressor (HC0504G) Features
- Direct-drive, oil-free pump for clean operation and minimal maintenance.
- Roll bar design protects vital components.
- Low noise level of 65 dBA.
- 1-gallon tank capacity.
- 125 PSI maximum pressure.

Slika 2: Krupni plan view of the 3PLUS HC0504G Air Compressor, highlighting its gauges and controls. The compressor is red with black accents and features a protective roll bar handle.
Brad Nailer (HF50SP) Features
- Drives 18-gauge brad nails from 3/4'' to 2'' (20-50mm).
- Adjustable depth-of-drive for precise nail placement.
- 360° air exhaust directs air away from the user.
- Quick-clear jam release for easy maintenance.
- No-mar tip protects work surfaces.

Slika 3: Strana view of the 3PLUS HF50SP 18-Gauge Brad Nailer, showing its magazine and ergonomic grip. The nailer is black with a red top housing.
Upute za postavljanje
1. Raspakiranje i pregled
Carefully remove all components from the packaging. Inspect for any shipping damage. Ensure all listed components are present.
2. Spajanje crijeva za zrak
- Connect one end of the air hose to the compressor's air outlet. Ensure a secure, airtight connection.
- Connect the other end of the air hose to the air inlet fitting on the brad nailer.
- Verify all connections are tight to prevent air leaks.
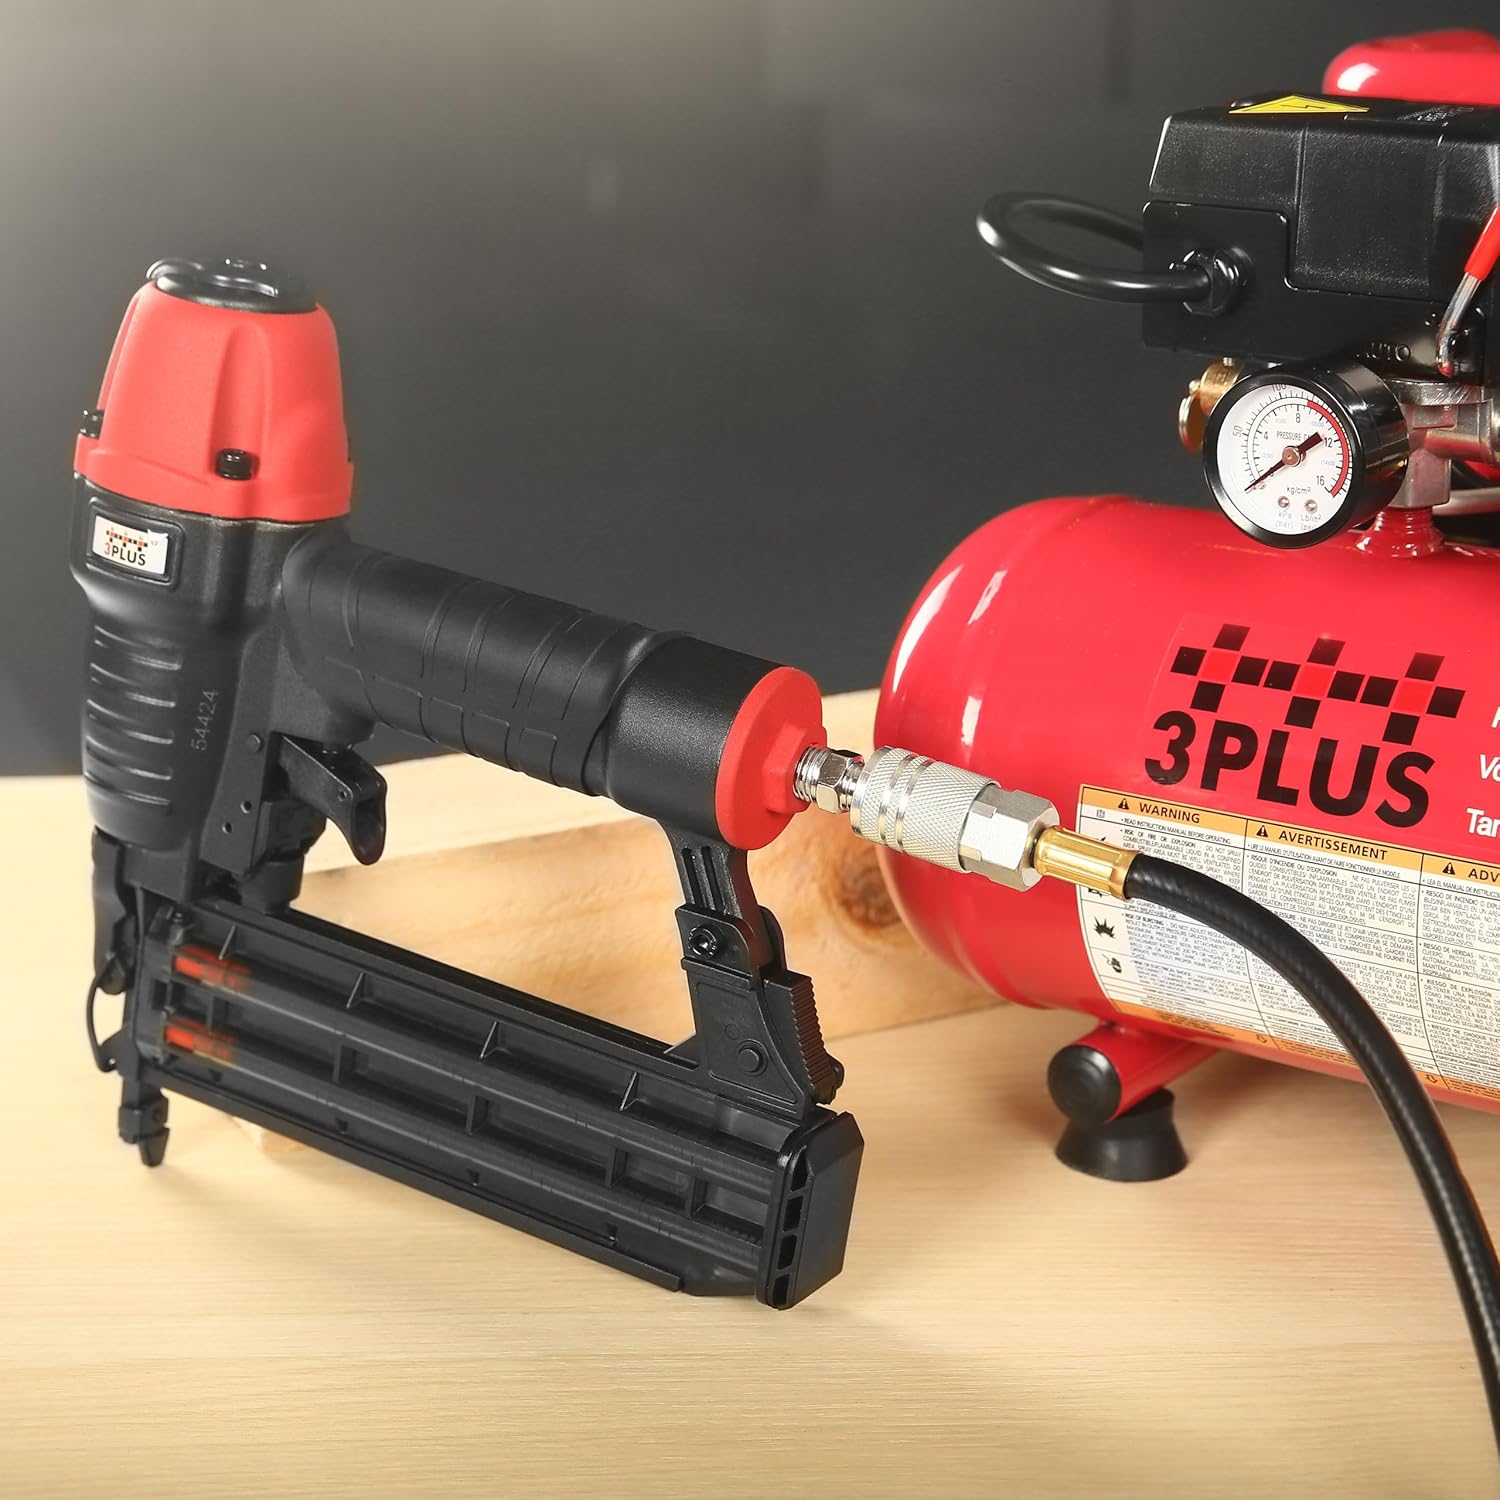
Slika 4: The air hose connected to the brad nailer, ready for operation. The quick-connect fitting ensures a secure attachment.
3. Loading the Brad Nailer
- Ensure the air supply is disconnected from the nailer.
- Pull back the magazine follower until it locks in the open position.
- Insert a strip of 18-gauge brad nails (3/4" to 2" in length) into the magazine with the points facing down.
- Otpustite pratilac spremnika, dopuštajući mu da gura čavle naprijed.
Upute za rad
1. Air Compressor Operation
- Place the compressor on a stable, level surface.
- Plug the compressor into a 120V power outlet.
- Turn the power switch to the "ON" position. The compressor will begin to fill the tank.
- Monitor the tank pressure gauge. The compressor is designed to automatically shut off when the maximum pressure (125 PSI) is reached. If it does not, immediately turn the power switch to "OFF".
- Adjust the output pressure using the regulator knob to the recommended operating pressure for your brad nailer (60-120 PSI).

Slika 5: Close-up of the air compressor's control panel, showing the pressure gauges and regulator knob. This image helps identify the components for pressure adjustment.
2. Brad Nailer Operation
- Ensure the air hose is securely connected and the compressor is set to the desired operating pressure.
- Adjust Depth-of-Drive: Use the depth adjustment wheel on the nailer to control how deep the nail is driven into the material. Test on a scrap piece of material first.
- Place the nailer's nose against the workpiece where you want to drive a nail.
- Press down firmly on the nailer to engage the safety contact trip.
- Squeeze the trigger to fire a nail.
- Release the trigger and lift the nailer from the workpiece.

Slika 6: Close-up of the brad nailer's depth adjustment wheel, illustrating how to control nail depth. The image shows examples of nails driven flush and recessed.

Slika 7: The quick-clear jam release mechanism on the brad nailer, designed for easy removal of jammed nails.

Slika 8: The 360° adjustable air exhaust on the brad nailer, allowing users to direct exhaust air away from their face and work area.
Prijave
This combo kit is suitable for various finish and trim applications, including:
- Montaža kabineta
- Furniture construction
- Interior and exterior trimming
- Door and window casings
- Craft projects

Slika 9: The brad nailer being used for installing trim, demonstrating its application in finish carpentry.
Održavanje
Regular maintenance ensures the longevity and optimal performance of your 3PLUS combo kit.
1. Air Compressor Maintenance
- Spremnik za odvod zraka: After each use, or daily if used frequently, drain moisture from the air tank. Turn off the compressor, disconnect power, and open the drain valve at the bottom of the tank until all air and moisture are expelled. Close the drain valve.
- Pumpa bez ulja: The HC0504G compressor features an oil-free pump, eliminating the need for oil changes or lubrication.
- Čisti filtar zraka: Periodically inspect and clean the air filter to ensure proper airflow.

Slika 10: Close-up of the air compressor's drain valve, located at the bottom of the tank. This valve is used to release condensed moisture.
2. Brad Nailer Maintenance
- Podmazivanje: Apply a few drops of pneumatic tool oil into the air inlet before each use.
- Čišćenje: Keep the nailer clean and free of debris. Use compressed air to clear dust from the magazine and firing mechanism.
- Pregledati: Regularly check for loose screws, worn parts, or damage. Replace any damaged components immediately.
Rješavanje problema
| Problem | Mogući uzrok | Otopina |
|---|---|---|
| Nailer does not fire or fires weakly. | Low air pressure; no nails in magazine; jammed nails; worn O-rings. | Increase compressor pressure; load nails; clear jam using quick-release; inspect and replace O-rings if necessary. |
| Nokti se često zaglavljuju. | Incorrect nail size; damaged nails; low air pressure; dirty magazine. | Use correct 18-gauge nails (3/4" to 2"); inspect nails for damage; increase air pressure; clean magazine. |
| Compressor runs continuously or does not build pressure. | Air leak; faulty pressure switch; drain valve open. | Check all connections for leaks; ensure drain valve is closed; contact customer support if pressure switch is suspected. |
| Compressor does not shut off automatically at max pressure. | Neispravan presostat. | Immediately turn off the compressor manually. This is a safety concern. Contact customer support for repair or replacement of the pressure switch. |
Tehnički podaci
Air Compressor (HC0504G)
- Motor: 0.5 HP
- Voltage: 120 volti
- Zračna dostava: 0.7 CFM @ 90 PSI
- Kapacitet spremnika: 1 galon (4L)
- Maksimalni tlak: 125 PSI (8.6 bara)
- Vrsta pumpe: Single pump, oil-free
- Razina buke: 65 dBA
- Težina artikla: 23 lbs
- Duljina crijeva: 25 Feet (included)
- Dimenzije proizvoda: 16.42"L x 16.42"W x 14.02"H (approximate, based on overall kit dimensions)

Slika 11: Diagram illustrating the key specifications and dimensions of the 3PLUS HC0504G Air Compressor.
Brad Nailer (HF50SP)
- mjerač: 18 GA
- Nosivost: 100 čavala
- Radni tlak zraka: 60-120 PSI
- Dužina noktiju: 3/4" to 2" (20-50mm) brad nails
- Značajke: Adjustable depth-of-drive, 360° air exhaust, quick-clear jam release, no-mar tip.
- Dimenzije proizvoda: 9.8"L x 2.7"W x 9.8"H (approximate, based on image)

Slika 12: Diagram illustrating the key specifications and dimensions of the 3PLUS HF50SP Brad Nailer.
Jamstvo i podrška
For warranty information, technical support, or to inquire about replacement parts, please contact 3PLUS customer service. Refer to the contact information provided with your product packaging or visit the official 3PLUS webmjesto.
Mrežni resursi: Za dodatnu podršku i informacije o proizvodu možete posjetiti 3PLUS Store on Amazon.


