1. Uvod
The Xigmatek Aqua V AIR is a high-performance mid-tower PC case designed for gaming enthusiasts. It features a spacious interior, optimized airflow, and tempered glass panels on the front and side to showcase your components. Equipped with seven 120mm ARGB fans, it supports graphics cards up to 410mm in length and is compatible with motherboards featuring hidden connectors for a clean build.
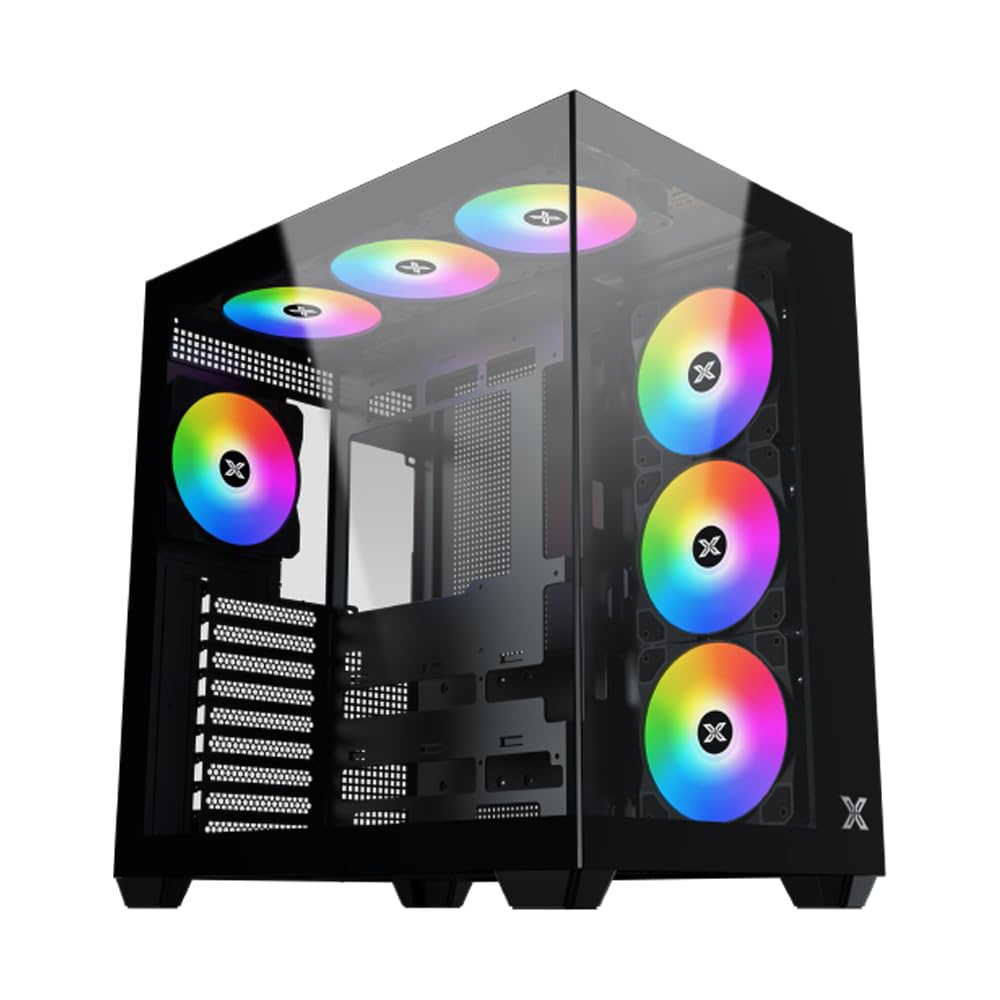
Slika 1: Sveukupno view of the Xigmatek Aqua V AIR PC Case.
2. Ključne značajke
- Materijal: Constructed from high-quality steel for durability and reliability.
- Dimenzije: 427 x 285 x 455 mm (L x W x H), offering a spacious interior.
- Sustav hlađenja: Supports up to three 120mm or two 140mm fans for optimal cooling performance.
- Podrška radijatora: Compatible with 240/280/360mm radiators on the top, bottom, and rear for versatile cooling options.
- I/O ploča: Features 2x USB 3.0 ports, 1x USB-C port, and HD audio for convenient connectivity.
- Kompatibilnost matične ploče: Supports ATX, Micro ATX, and Mini ITX motherboards, including those with hidden connectors.
- Duljina GPU-a: Prima grafičke kartice duljine do 410 mm.
- Podrška za pohranu: Pruža ample space for multiple storage drives.
3. Specifikacije
| Značajka | Detalj |
|---|---|
| Marka | Xigmatek |
| Broj modela | EN45820 |
| Niz | Aqua V AIR BLACK |
| Boja | Crna |
| Dimenzije (D x Š x V) | 42.7 x 28.5 x 45.5 cm |
| Težina proizvoda | 8.8 kilogram |
| Materijal | Legirani čelik, kaljeno staklo |
| Kompatibilnost matične ploče | ATX, Micro ATX, Mini ITX |
| Vrsta kućišta | Srednji toranj |
| Preporučena upotreba | Gaming, High-Performance Computing |
| USB 3.0 priključci | 2 |
| USB-C priključci | 1 |
| Metoda hlađenja | Water (Liquid Cooling Support) |
| Veličina ventilatora | 120 Millimeters (Pre-installed ARGB fans) |
| Vrsta montaže napajanja | Donji nosač |
4. Postavljanje i instalacija
This section provides general guidance for installing components into your Xigmatek Aqua V AIR PC case. Always refer to the specific manuals for your motherboard, power supply, and other components for detailed instructions.
4.1 Priprema slučaja
- Raspakirajte kućište računala i uklonite sav materijal za pakiranje.
- Carefully remove the tempered glass side panel(s) and front panel (if applicable) to access the interior. Store them safely to prevent damage.
- Identify the accessory box, which typically contains screws, cable ties, and other small parts.
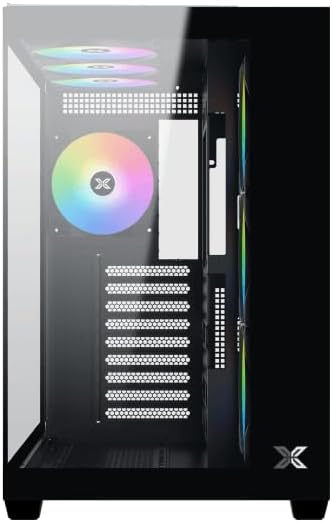
Slika 2: Unutrašnjost view s uklonjenom bočnom pločom.
4.2 Instalacija matične ploče
- Install the I/O shield (if not pre-installed on your motherboard) into the rear opening of the case.
- Align your ATX, Micro ATX, or Mini ITX motherboard with the standoffs inside the case. Ensure all standoffs match the screw holes on your motherboard.
- Secure the motherboard with the appropriate screws provided in the accessory kit.

Figure 3: Motherboard tray and cable management area.
4.3 Instalacija jedinice za napajanje (PSU)
- Pronađite područje za montažu napajanja na donjoj stražnjoj strani kućišta.
- Slide your PSU into position, ensuring the fan faces downwards (if the case has a bottom vent) or upwards.
- Pričvrstite napajanje vijcima sa stražnje strane kućišta.
4.4 Instalacija pogona za pohranu
The case supports various storage configurations. Refer to the case diagram for specific drive bay locations.
- Install 2.5" SSDs or 3.5" HDDs into the designated drive bays or mounting brackets.
- Secure the drives with screws.
4.5 Instalacija grafičke kartice (GPU)
- Uklonite potrebne poklopce PCIe utora sa stražnje strane kućišta.
- Umetnite grafičku karticu u odgovarajući PCIe utor na matičnoj ploči.
- Secure the graphics card with screws.
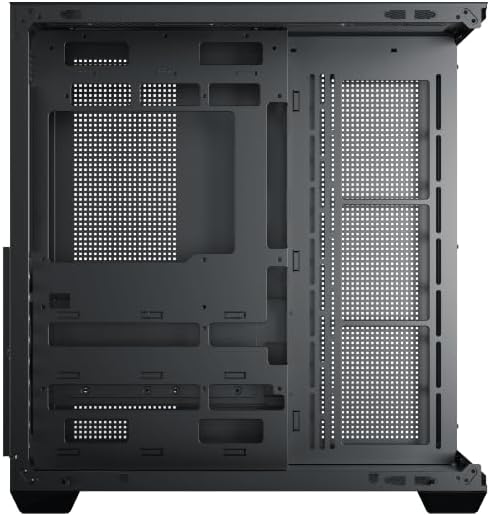
Figure 4: Components installed inside the case.
4.6 Upravljanje kabelima
Utilize the cable routing cutouts and tie-down points behind the motherboard tray to manage cables for improved airflow and aesthetics.
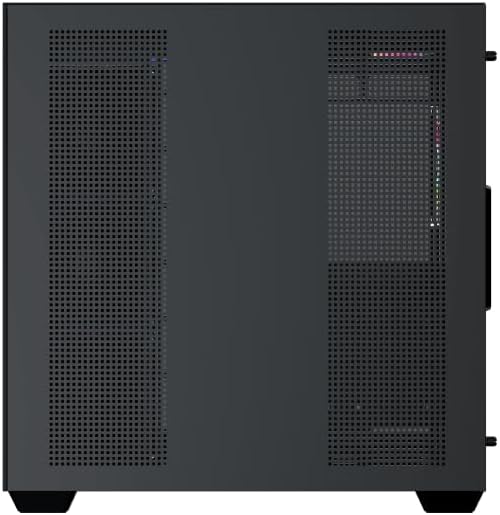
Figure 5: Top panel and I/O ports.
5. Upute za rad
5.1 Uključivanje
Once all components are securely installed and connected, close the side panels. Connect your power cable to the PSU and press the power button on the case's front I/O panel.
5.2 ARGB upravljanje ventilatorom
The Xigmatek Aqua V AIR comes with pre-installed ARGB fans. These fans can typically be controlled via:
- Softver matične ploče: If your motherboard supports ARGB synchronization, connect the fan's ARGB cables to the motherboard's 3-pin 5V ARGB header and use the motherboard's software (e.g., ASUS Aura Sync, MSI Mystic Light, Gigabyte RGB Fusion) to customize lighting effects.
- Integrirani kontroler: If your case includes a built-in ARGB controller, use the dedicated button on the I/O panel to cycle through various lighting modes and colors.
6. Održavanje
Redovito održavanje pomaže u osiguravanju optimalnih performansi i dugovječnosti komponenti vašeg računala.
6.1 Čišćenje filtera za prašinu
The Xigmatek Aqua V AIR case is equipped with dust filters to prevent dust buildup. Locate and gently remove the dust filters (typically on the top, front, and bottom). Clean them with compressed air or by rinsing with water. Ensure they are completely dry before reattaching.

Figure 6: Bottom dust filter.
6.2 Opće čišćenje
Use a soft, dry cloth to wipe down the exterior of the case. For tempered glass panels, use a glass cleaner and a microfiber cloth to avoid streaks. Avoid using abrasive cleaners or solvents.
7. Rješavanje problema
Ako naiđete na probleme, razmotrite sljedeće uobičajene korake za rješavanje problema:
- Bez napajanja:
- Ensure the PSU is switched on and properly connected to the wall outlet and motherboard.
- Check all power connections to components (motherboard, CPU, GPU, drives).
- Verify the front panel power switch cable is correctly connected to the motherboard.
- Ventilatori se ne okreću / RGB ne radi:
- Check if fan power cables are securely connected to the motherboard or fan controller.
- Ensure ARGB cables are connected to the correct 3-pin 5V ARGB header (not 4-pin 12V RGB).
- If using a controller, ensure it has power and is functioning correctly.
- Pregrijavanje:
- Ensure all fans are spinning and oriented correctly for optimal airflow (intake/exhaust).
- Očistite filtere za prašinu i unutarnje komponente.
- Provjerite jesu li hladnjak CPU-a i hladnjak GPU-a ispravno postavljeni i funkcioniraju li.
8. Jamstvo i podrška
The Xigmatek Aqua V AIR PC Case comes with a 2-godišnje jamstvo proizvođača. For technical support, warranty claims, or further assistance, please contact Xigmatek customer service or visit their official webmjesto.
Molimo sačuvajte dokaz o kupnji u svrhu jamstva.


